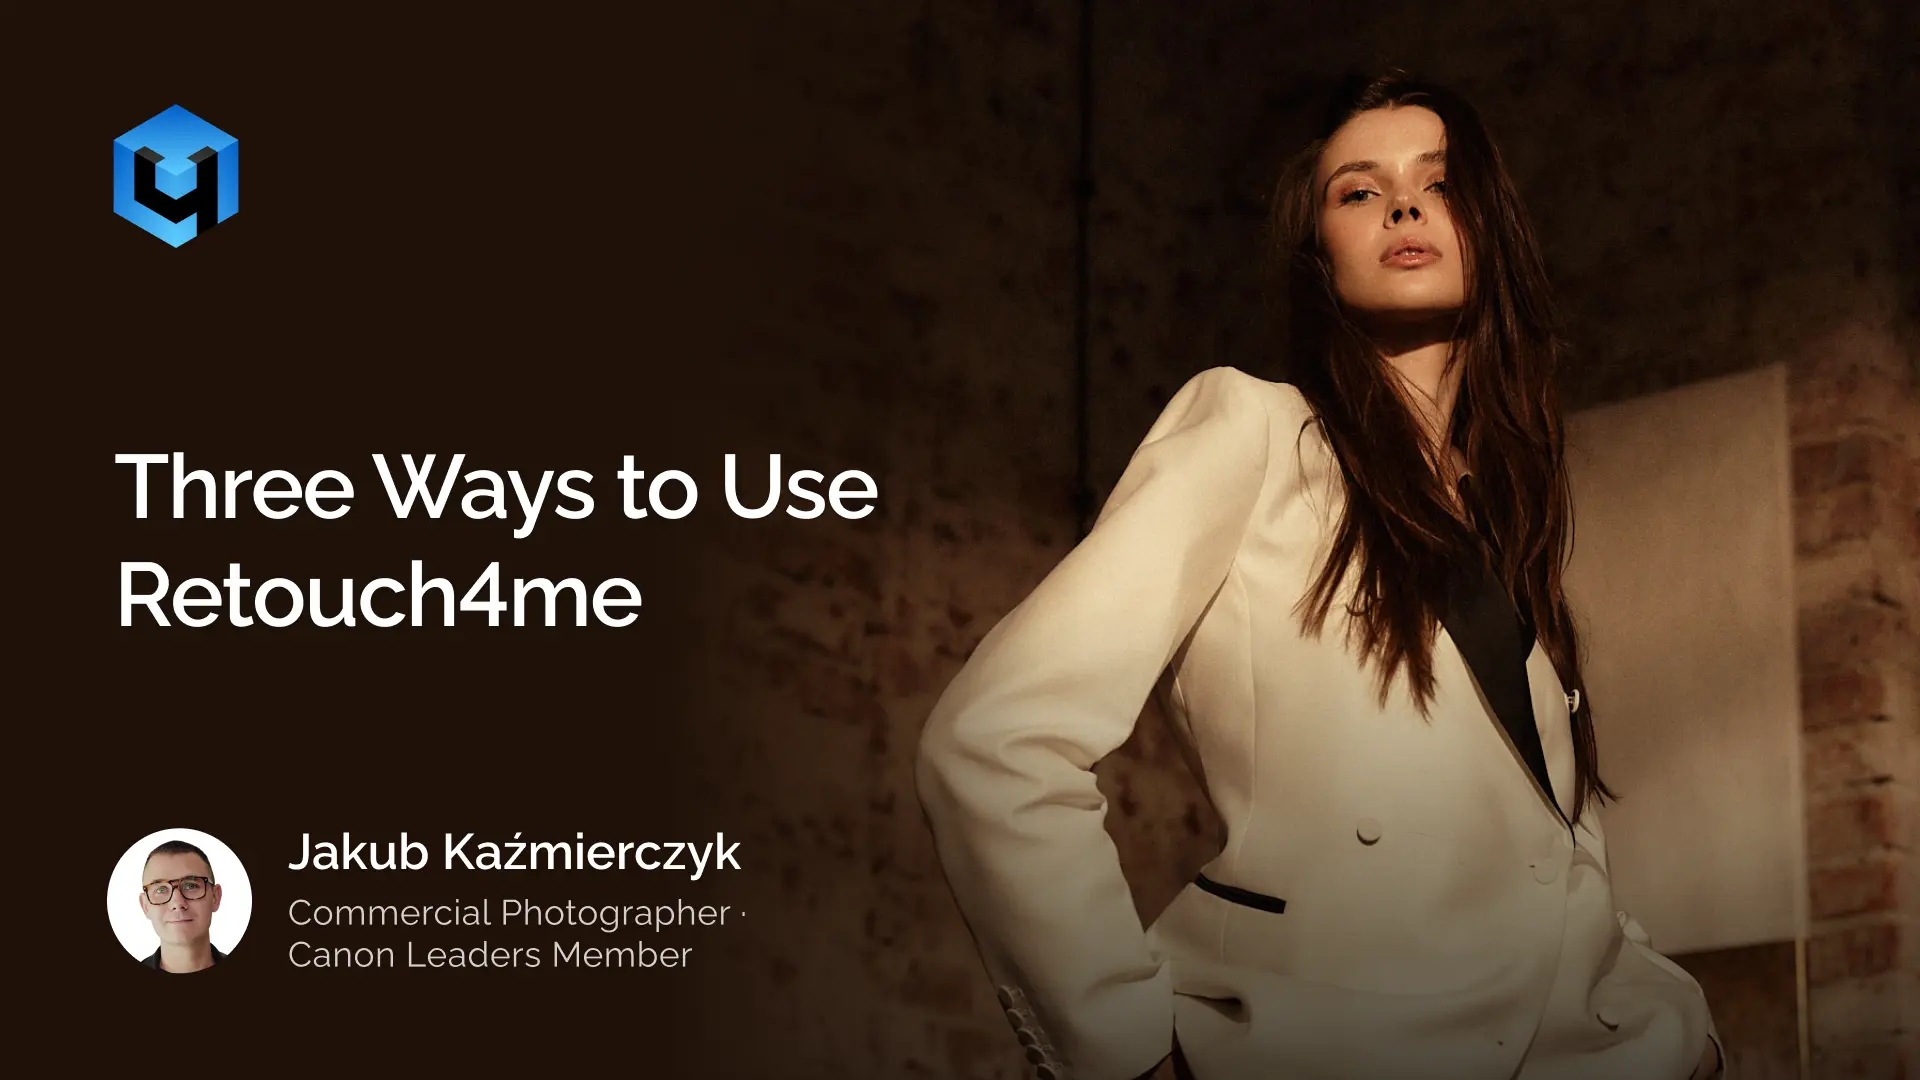
One of the most common questions from new Retouch4me users is also the most practical: where do I actually start? There are three distinct approaches Jakub Kaźmierczyk @jakub.kazmierczyk shared in our recent webinar on portrait photography.
All three produce the same output quality. The difference is in your software setup, the degree of automation you want, and how much per-image control you need.
Option 1 — Photoshop Actions: Maximum Automation
If you use Photoshop and regularly process batches of images, Actions eliminate the most time from post-production. Configure once. Run on any batch. Step away.
How it works
Export selected images from Capture One or Lightroom as 16-bit TIFFs to a folder. In Photoshop: File > Automate > Batch. Select your Retouch4me action set, point it at the folder, set destination to Save and Close. Press OK.
Photoshop processes each image through the action — Heal, Dodge & Burn, Portrait Volumes, Eye Vessels, Eye Brilliance — saving each file automatically. On a 45-megapixel RAW-derived TIFF, roughly 20 seconds per image. A 40-image session processes in under 15 minutes, unattended.
When the batch completes, paste the processed TIFFs back into your Capture One folder. Capture One imports them automatically. The original and retouched versions sit side by side.
Important: your action only runs the plugins you have licensed. Build the action around your actual toolkit. If you don’t have the plugins, the easiest way is to use the Retouch4me Photoshop Panel that allows you to test all the plugins for free with 20 free retouches for every new user.
Option 2 — Photoshop Panel: Full Layer Control
The Retouch4me Panel is right when you want to see exactly what each tool does to a specific image and adjust before committing. It’s also the best place to learn how the tools work.
How it works
Open the image in Photoshop. Access the Retouch4me Panel from the Window menu. Select your plugins, set intensity — Portrait Volumes at 30–50% is the standard professional starting point — and press Retouch. The Panel processes using locally installed plugins or cloud credits.
The result arrives as a layered file: each plugin on its own named layer. If the skin texture looks over-processed, reduce the Heal layer opacity. If dodge and burn contouring is too visible under the chin, erase that area. If a mole disappeared, restore it with the eraser on the Heal layer. AI does the work; you control the final result.
And you can use it for batch retouching and save presets for future.
Option 3 — Arams: No Photoshop Required
Arams is a free standalone desktop application for photographers who want professional AI retouching without an Adobe subscription. It handles culling and batch retouching in one interface, with both local processing and cloud credits.
How it works
Open Arams, create a project, add files. If you need to cull the album, Arams can review them and mark the unusable shots or just help you detect faces, tag names and colors.
To retouch you’d need to select an image, choose plugins, click Retouch Preview if you’d like to check how the plugins are working. AI processes and shows the result with live intensity sliders before you commit.
For batch: configure one image, right-click to copy settings, select all images, paste settings, then select all and click Retouch Preview. Export as TIFF with layers for full editability, or JPEG for direct delivery.
Local vs. cloud
Local processing uses your GPU — fast on powerful hardware, slower on older machines. Cloud processing runs on Retouch4me servers and doesn’t depend on your specs. Cloud also lets you pay per use for plugins you don’t own permanently — one credit per image.
Can You Use Retouch4me with Affinity Photo?
Yes — Retouch4me plugins can work with Affinity Photo through its built-in Photoshop plugin support. This gives photographers an alternative workflow if they prefer Affinity instead of Adobe Photoshop.
While the Retouch4me Panel is currently designed for Photoshop, many Retouch4me plugins can still be used directly inside Affinity Photo for fast, natural-looking retouching.
How It Works
Affinity Photo allows compatible Photoshop plugins to be loaded manually. Once installed, Retouch4me tools can be launched inside the app and used as part of your normal editing workflow.
This is a great option for photographers who want to:
- avoid Adobe subscriptions
- keep using Affinity Photo
- speed up portrait retouching
- preserve natural skin texture with AI tools
How to Set Up Retouch4me in Affinity Photo 2
- Open Affinity Photo 2
- Go to Settings
- Select Photoshop Plugins
- Click Add next to Plugin Search Folders
- Add the folder path: (for example: /Library/Application Support/Adobe/Plug-Ins/CC)
- Enable Allow “Unknown” plugins
- Restart Affinity Photo
After restart, your Retouch4me plugins should be available.
Which One Is Yours
You use Photoshop and process batches → set up Actions and automate.
You use Photoshop and want layer-level control → use the Panel.
You don’t use Photoshop, or want culling + retouching in one app → use Arams.
Words based on a real shoot and workflow from Jakub Kaźmierczyk @jakub.kazmierczyk — commercial photographer and educator based in Wrocław, Poland.
USEFUL LINKS
→ Retouch4me Photoshop Panel — free download
→ Arams — free desktop app for batch retouching