

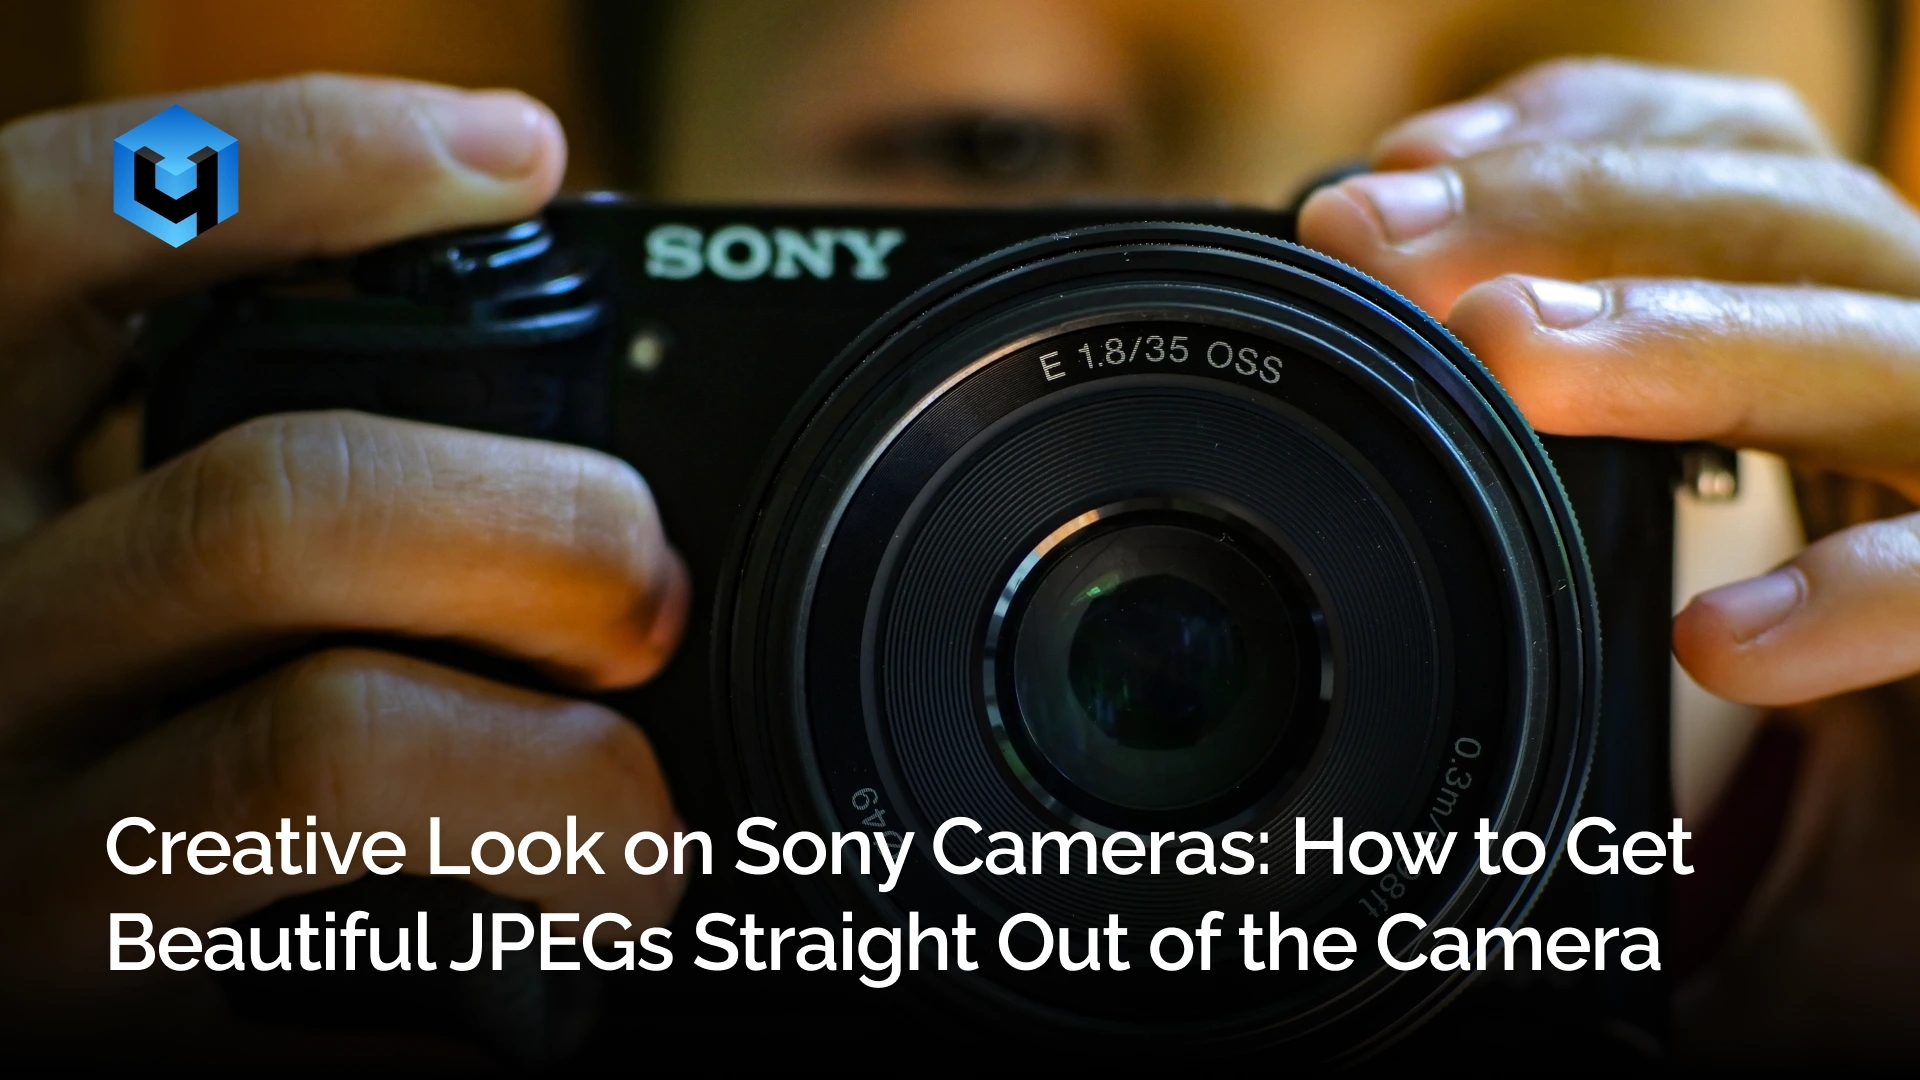
Modern Sony cameras can produce high-quality JPEGs right as you shoot. All you need to do is configure Creative Look, Sony’s built-in image processing system. Once you’ve finished shooting, the only step left is retouching—and our cloud service MyShot can take care of that automatically.
Why Shoot in JPEG?
Shooting in JPEG lets you get photos with finished colours straight from the camera, deliver images to clients faster, and dramatically reduce post-processing time. At the same time, you can still record RAW files as a backup for more challenging shots.
What Is Creative Look?
Creative Look is Sony’s built-in collection of image styles that affect both the live preview on your camera screen and the final JPEG image. These settings do not alter the RAW file.
Available Creative Look Styles
- ST (Standard) — a balanced profile for everyday shooting.
- PT (Portrait) — softer skin tones and a more flattering portrait look.
- NT (Neutral) — a neutral profile designed for further editing.
- VV (Vivid) — bright, saturated colours.
- VV2 (Vivid 2) — a higher-contrast version of Vivid.
- FL (Film) — a softer, film-inspired colour rendering.
- IN (Instant) — a warm, retro-inspired look.
- SH (Soft High-key) — a bright, airy style.
- BW — black-and-white.
- SE — sepia.
What You Can Adjust
Each Creative Look style allows you to fine-tune the following parameters independently:
- Contrast
- Highlights
- Shadows
- Fade
- Saturation
- Sharpness
- Sharpness Range
- Clarity
Dynamic Range Optimizer (DRO)
Dynamic Range Optimizer (DRO) brightens shadow areas and reduces highlights to produce a more balanced JPEG. Like Creative Look, it affects only the preview and the JPEG output—the RAW file remains untouched.
Finding Your Perfect Settings
If you’d like to create your own signature look, the easiest way is to use Sony Imaging Edge Desktop. The software displays your images almost exactly as they appear on your camera’s screen, making it easy to experiment with Creative Look settings. Once you’re happy with the result, you can transfer those settings back to your camera.
In our latest YouTube video, we take a closer look at Creative Look, explain how to configure DRO, and demonstrate the workflow in Sony Imaging Edge Desktop. If you’d like to explore these features in more detail and see the entire process in action, be sure to watch it.