


Based on a video lesson by Olusola Abisagbo (Abis). Written by the Retouch4me team.
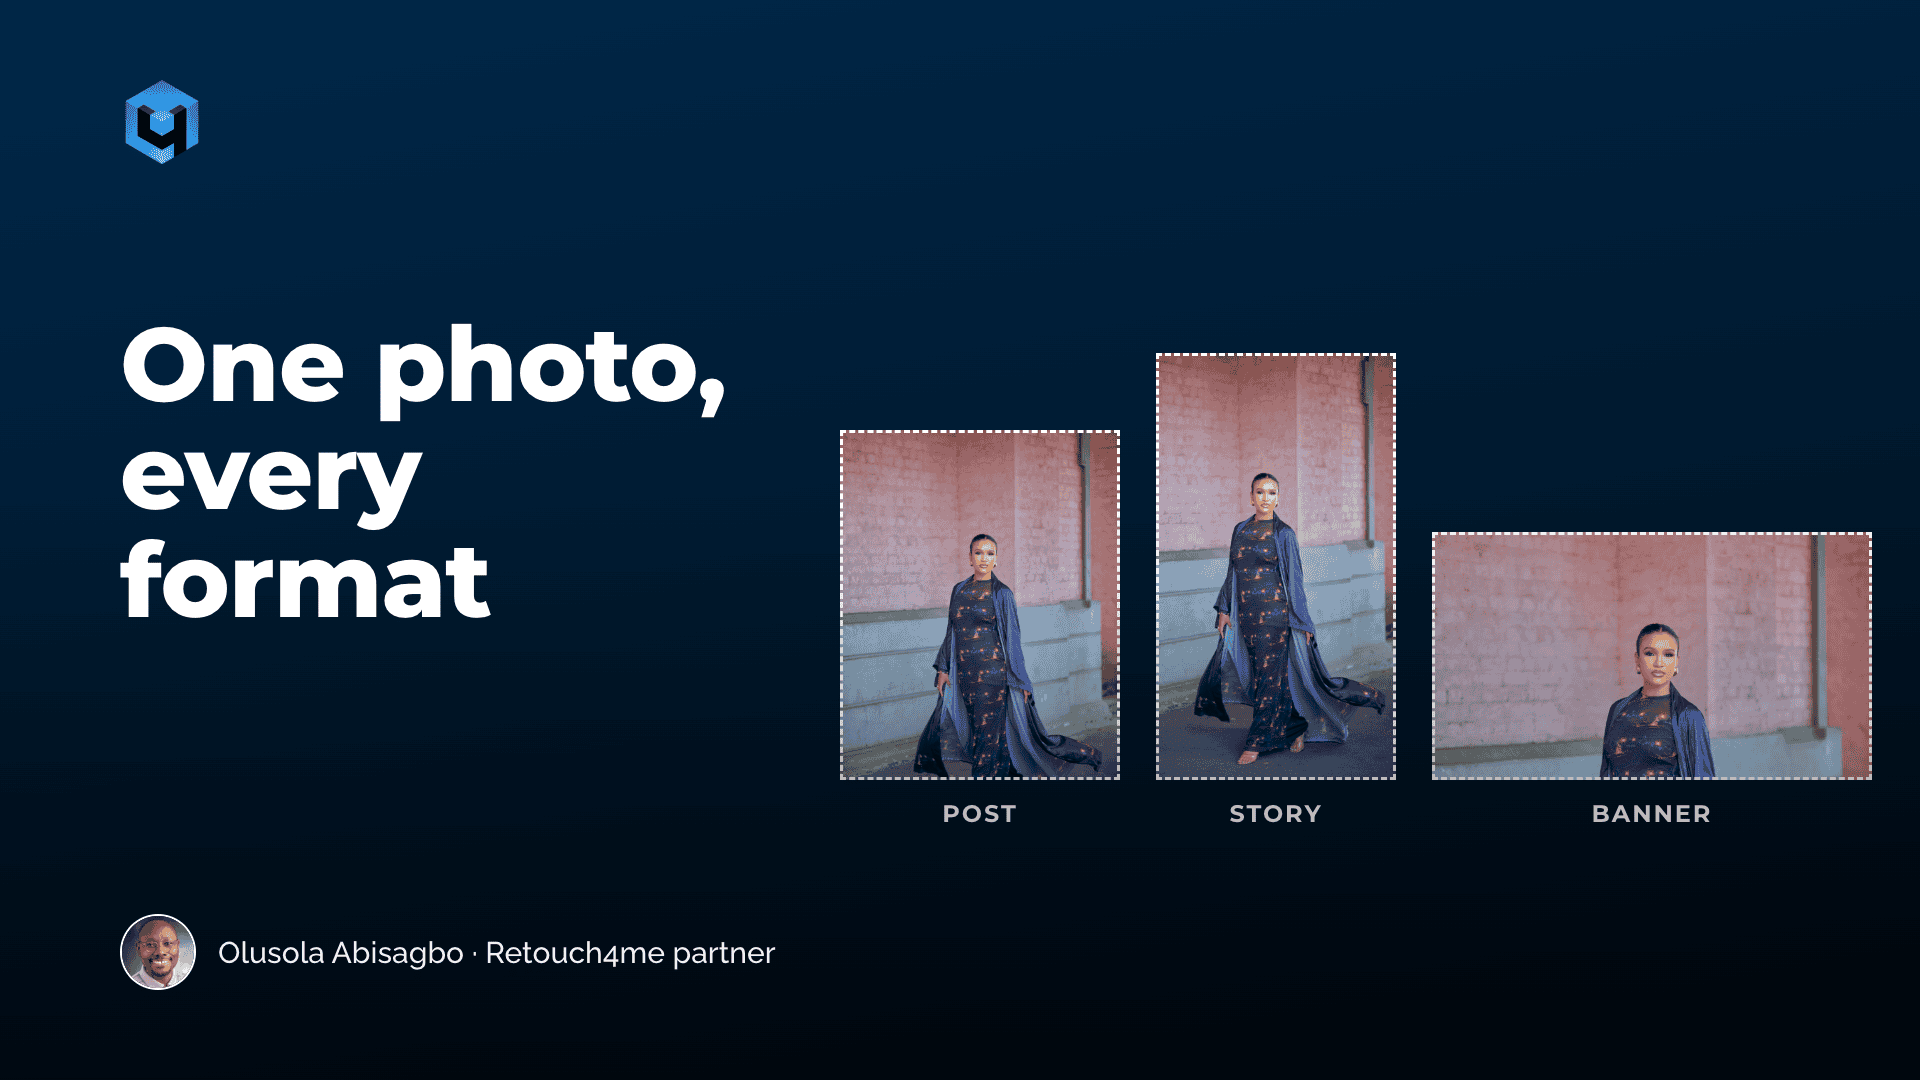
Shot a great horizontal photo, and now the client wants it as an Instagram post, a story and a website banner? Here’s a simple way to get all three from one frame without reshooting or losing the best part of the image.
You’ll learn how to plan for every format on set, how to change the aspect ratio without cutting off too much, and how to crop detail shots that have no face in them. Wedding and fashion photographer Abis shows it in Retouch4me Crop.
How to Crop Photos: One Shot, Three Different Stories
Why a format change can break a good photo
A new format is more than a resize. When the aspect ratio changes, you decide again what stays in the frame and what goes. Do it carelessly, and you can lose the part of the image that made it work.
It gets harder when the photo also needs rotation or a big format change. A regular crop can cut off more of the frame than you want.
Step 1: Leave margin when you shoot
You can’t always add space after the shoot. That’s why Abis leaves some margin on purpose, even on a controlled fashion shoot: he often doesn’t know yet whether the image will end up on Instagram, on a website or in an ad with text.
At weddings the reason is different. A look or a hug can disappear in a second, and he would rather catch it with a little extra space than miss it while perfecting the edges in camera.
Step 2: Change the aspect ratio with Maximum mode
Maximum mode in Retouch4me Crop is made for format changes. It keeps as much of the original frame as possible while the image is reframed.
- Open the photo in Crop.
- Select the new aspect ratio.
- Choose Maximum mode.
- Compare the result with a regular crop.
In Abis’s example, the Maximum version keeps more of the area around the model. That gives the designer more room to work with, so the same photo can work as a social post, a banner or a cover.

Step 3: Crop detail shots with Subject mode
Crop tools are usually shown on faces. Abis also tested detail shots from a recent wedding, a shoe and a ring, where the object is the subject. Subject mode found the main object in each photo. On the first try the crop was too tight, so he used the Extend slider to give the object more room. His take: Subject mode recognized what should get the viewer’s attention, and the framing around it stayed his decision.

Step 4: Straighten the shot with Auto rotation
On the shoe photo he also turned on Auto rotation, and Crop leveled the image. After that he added a bit more space with Extend.
Quick checklist
- Leave margin in camera when the final use isn’t decided yet.
- Use Maximum mode when you change the aspect ratio or rotate the photo.
- For detail and product shots, use Subject mode and add space with Extend.
- Straighten with Auto rotation before you deliver.
FAQ
How do I crop a horizontal photo for Instagram Stories without losing the subject?
Leave margin when you shoot, then reframe to 9:16 with Maximum mode in Retouch4me Crop, which keeps as much of the original frame as possible.
How do I leave room for text on a banner?
Plan for it on set by shooting with extra space. In post, Maximum mode helps keep the usable area around the subject when you change the format.
Can Crop work with photos that have no person in them?
Yes. Subject mode finds the main object, such as a shoe or a ring. Check the result and use Extend if the crop is too tight.
How do I straighten a crooked photo?
Turn on Auto rotation in Retouch4me Crop. It levels the image, and you can add space with Extend afterwards.
Try it on your next shoot
Retouch4me Crop can help you prepare one photo for different formats faster. Download the free demo of Retouch4me Crop and test Maximum mode on a photo you need in two formats. If you decide to buy, your discount is already applied through this link. Watch the full lesson by Abis: https://youtu.be/eJvEeBGt8TE
Related reading
About this article
This article is based on a video lesson by Olusola Abisagbo (Abis), a wedding and fashion photographer, educator and creative director of Photosbyabis Studios (@photosbyabis). Abis is a Retouch4me partner and earns a commission on purchases made through his link. Written by the Retouch4me team.