


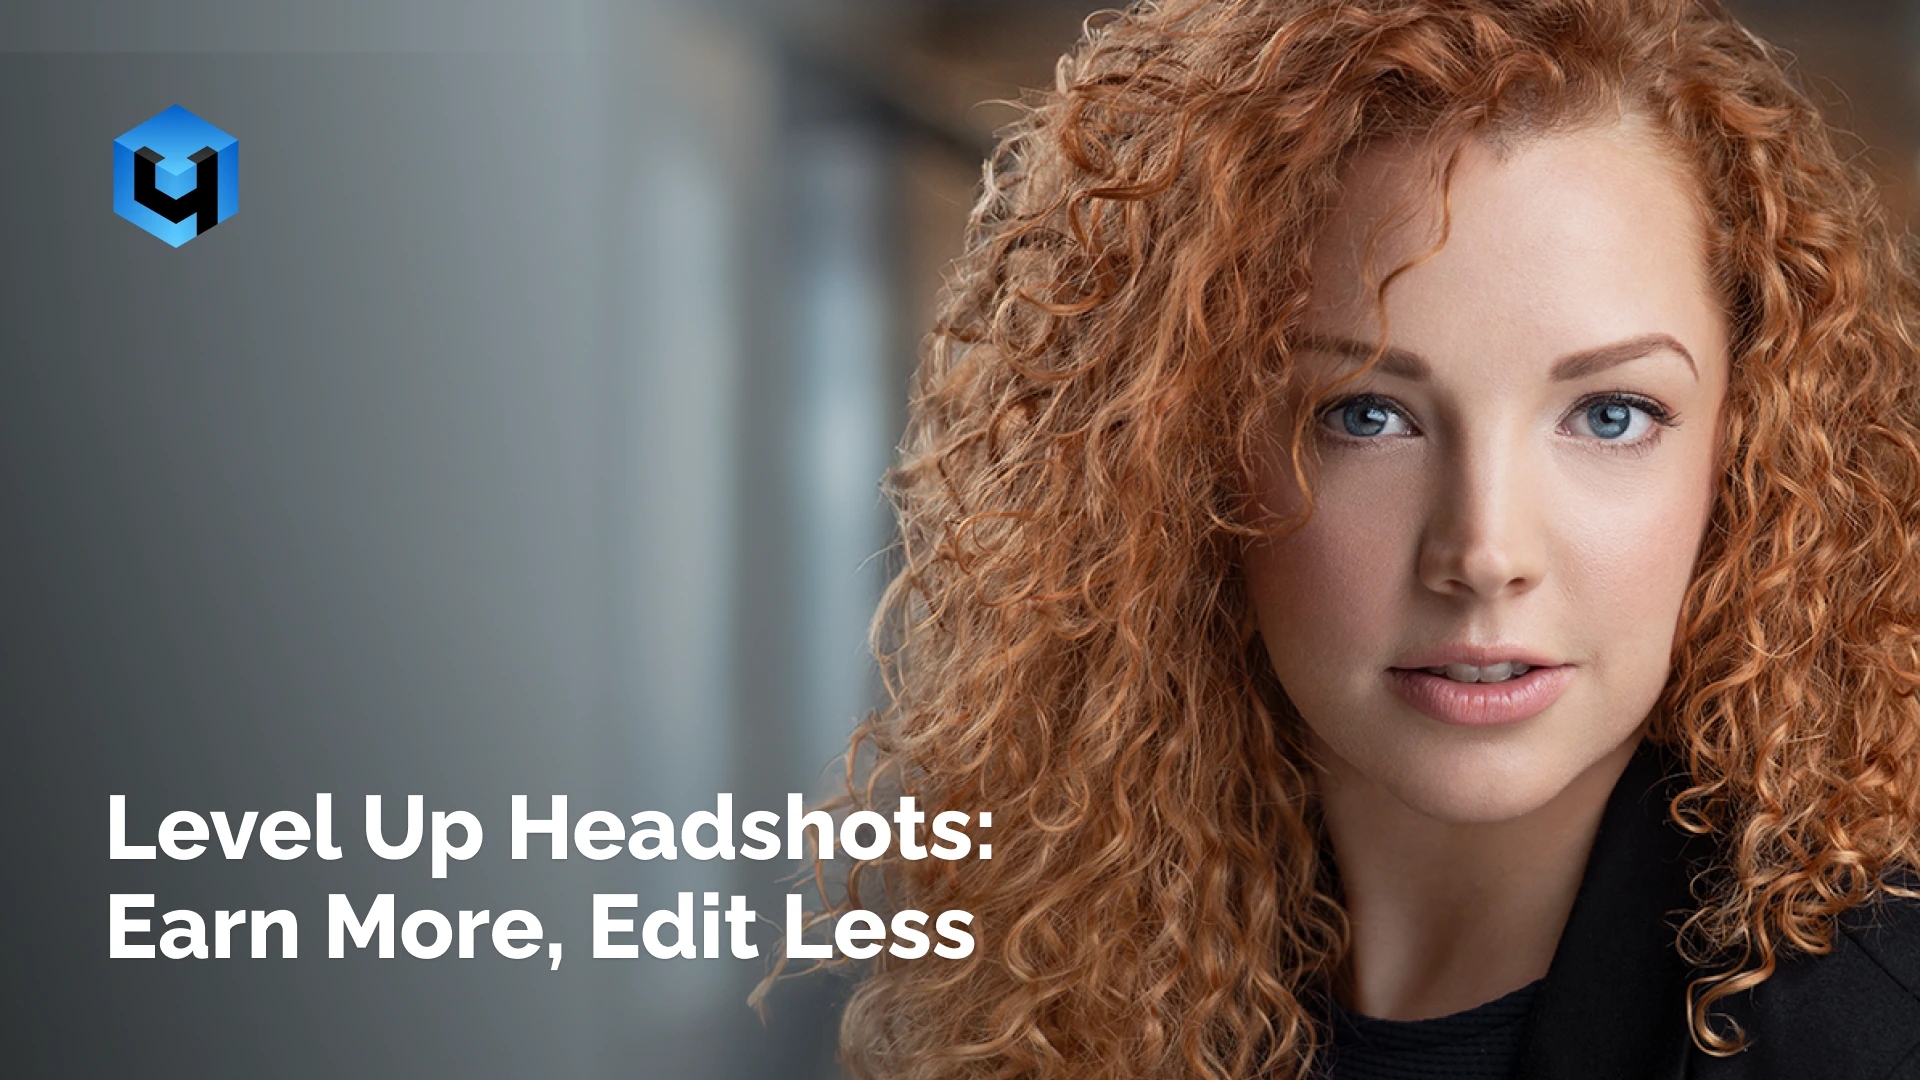
How Rafal Wegiel retouches 50 corporate portraits in the time it used to take to do one — and what his system looks like step by step. Read this article to level up your headshots, earn more and edit less
Rafal Wegiel is an internationally published headshot photographer. For years, he spent 30 to 60 minutes retouching every single image. Then he built a system. Now he does it in 30 seconds.
Here’s the thing about headshot photography today: it’s no longer just a portrait — it’s a branding asset. LinkedIn profiles, company websites, press releases. Clients want natural, professional images that communicate trust. The irony is that achieving that natural look often means spending hours removing every trace of what made the image feel human in the first place.
Most photographers fall into what Rafal calls the over-editing trap: the drive for perfection that turns skin into plastic, eyes into glass, and real people into avatars of themselves. Getting out of that trap requires two things: the right tools in the right order, and a system that works automatically.

The over-editing trap — and why it’s so easy to fall into
When you retouch a headshot at 100% zoom on a large monitor, subtle smoothing looks completely natural. But here’s what Rafal notices every time:
“If you’re working at 80% intensity — drop it to 60%. When you scale the image down, all the effects get amplified. What looked normal at full size looks like plastic on a phone screen.”
— Rafal Wegiel @rafalwegiel
That’s the trap: you’re editing for the zoom level, not for the final viewing size. A LinkedIn avatar is 200×200 pixels. A company website header might display your client’s photo at thumbnail scale. Every effect you apply becomes more visible, not less, when the image shrinks.
The solution isn’t less retouching — it’s smarter retouching. Which starts with getting the image right before you open Photoshop.
The tool that cuts retouching time in half before you start
Rafal made one equipment change that transformed his workflow: switching from strobes to continuous lighting. He resisted for years. Then he noticed something he didn’t expect.
Clients stopped being nervous.
With strobes, every flash is a micro-stressor. Clients blink, tense up, and spend half the session anticipating the next burst. With continuous light, there’s no anticipation — and you get more natural expressions in far fewer frames. Better expressions mean less compositing, less digital manipulation, and a more natural final result.
There’s a workflow benefit too: you see the light in real time. No test shots to check how it falls. No surprises in post.

The principle: a better starting image means less time in Photoshop and a more natural result. Retouching exists to enhance a good photo — not rescue a poor one.
The 5-step retouching order that makes every headshot consistent
The tools matter less than the order you use them in. Rafal runs Retouch4me plugins in a specific sequence — each step builds on the one before. Skip one, and the final result suffers. Follow the order, and consistency becomes automatic.
Heal — Remove distractions
Blemishes, pimples, stray hairs, temporary marks. Important nuance: some clients don’t want birthmarks removed — lower the sensitivity rather than removing everything. Retouching should reveal who someone is, not erase it.

Dodge & Burn — Smooth light transitions
Especially critical with Rembrandt lighting, where the transitions between light and shadow are steep. The plugin handles it in seconds — without flattening the portrait or removing natural depth.

Eye Brilliance — Deepen the connection
A subtle spark in the eyes. Subtle is the operative word — don’t overdo it. Everything in a headshot is built around eye contact. This step deepens that without making the eyes look manipulated.

Skin Tone — Even out color
Reddish cheeks, yellowish zones, uneven patches. Even skin tone is read by the brain as a signal of health — images with it are processed more positively. This step makes the portrait work emotionally.

Portrait Volumes — Restore depth
Dodge & Burn and Skin Tone flatten an image slightly. Portrait Volumes brings back contrast and dimension, making the final result feel alive rather than processed.

Want to see how fast your workflow can be with same tools?
📌Click here to start a Free Trial of Retouch4me and receive 20 free photo credits to test this workflow yourself!
The system that turns 30 minutes into 30 seconds
The five steps above are where you build the quality. But the real breakthrough is what Rafal does once those settings are dialed in for a specific client.
He uses Retouch4me batch retouching.
On a corporate session with 50, 60, or 80 employees — he applies the settings once, and Retouch4me handles everything. The retouching runs automatically, consistently, at the same quality as the image he tuned manually.
“This is especially critical for corporate sessions where you have 40 to 80 people in a day. I used to spend weeks on retouching. Now it takes a few hours.”
— Rafal Wegiel, @rafalwegiel
Want to learn more?
Register and get 2 free lessons from Rafal to learn how to shoot and deliver professional corporate headshots with speed and consistency.
One trend worth watching
Rafal closes his lesson with something he’s seeing in corporate headshot work: digital backgrounds via Generative Fill. After Retouch4me retouching, a second AI step adds an artistic backdrop — somewhere between a studio portrait and fine art. It’s not yet standard in corporate work. But based on what he’s seeing, it will be within a few years.

Want to go deeper?
Explore:
- Expert trainings on newborn, maternity, wedding, and fashion photography
- High-volume editing strategies
- Retouching best practices
Browse all Retouch4me webinars here https://webinars.retouch4.me/