

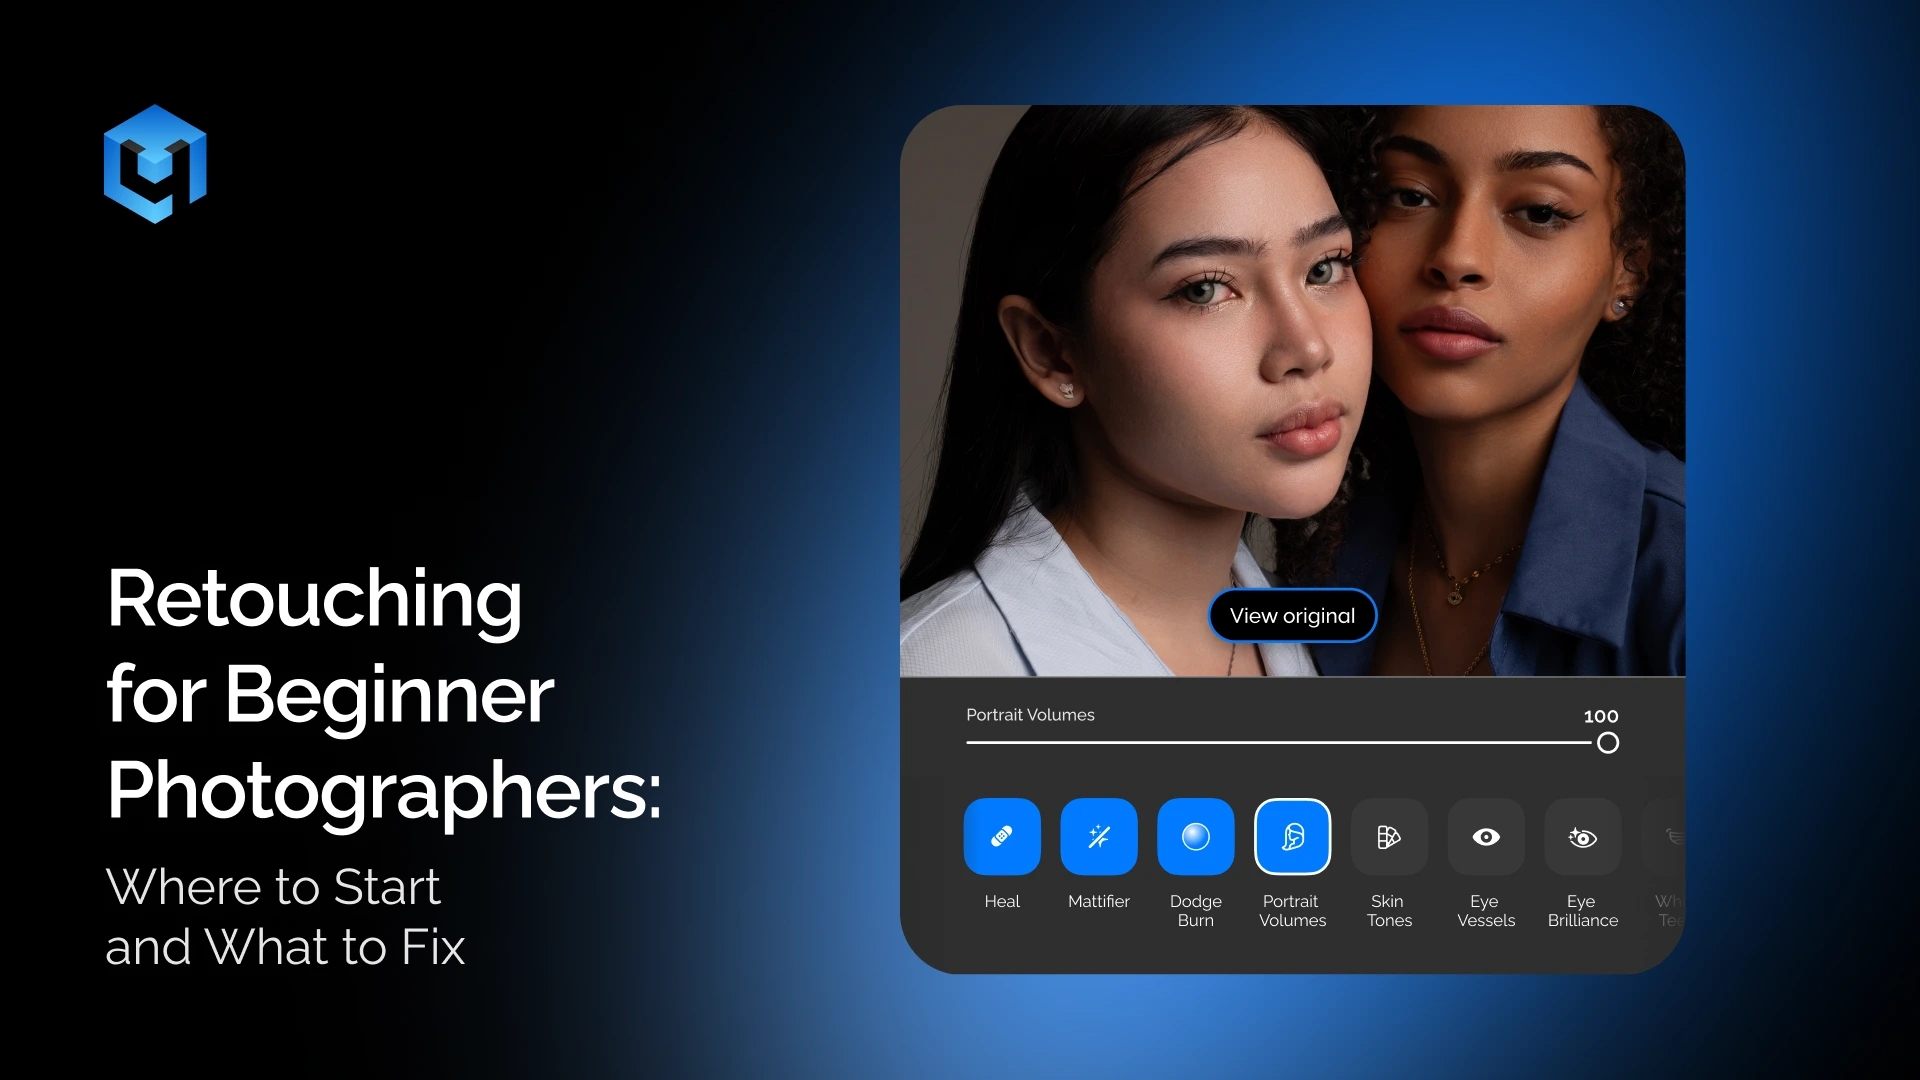
When you’re just starting out as a photographer, retouching can feel like an endless process. You open a photo, zoom in, and suddenly notice dozens of details: a blemish, redness, shadows under the eyes, a wrinkle in the clothes, or a distracting object in the background.
The temptation is to fix everything.
That’s one of the most common mistakes beginner photographers make.
Good retouching starts before you choose a tool. It starts with knowing which changes actually improve the photo.
In this guide, we’ll look at a simple approach to portrait retouching and show how beginner photographers can use online retouching tools from Retouch4me for routine tasks.
What Makes Good Retouching?
Good retouching is usually hard to notice.
The person in the photo should still look like themselves, skin should retain natural texture, and the light and volume should remain believable.
Before making any adjustment, ask yourself a simple question:
Does this detail actually hurt the photo?
If the answer is “no,” you probably don’t need to change it.
For example, a mole can be part of a person’s appearance. Natural skin texture makes a face look real. A small wrinkle in clothing may be completely unnoticeable when viewing the image as a whole.
The goal of retouching is to improve the photograph without removing the characteristics that make the person look like themselves.
Where to Start When Retouching a Portrait
It helps to divide retouching into a few basic tasks.
1. Remove What Actually Distracts
Start by looking at the entire photograph.
What catches your eye first?
It could be:
- a noticeable temporary skin blemish;
- a distracting object in the background;
- a stain or unwanted detail on clothing;
- an overly bright area;
- anything else that pulls attention away from the subject.
Start with those elements.
2. Clean Up the Skin
Skin requires special attention because it’s easy to overdo.
A useful way to think about skin is to divide its characteristics into two groups.
Temporary imperfections: pimples, minor blemishes, redness, and other details that appear temporarily.
Permanent features: moles, natural skin texture, and distinctive facial characteristics.
Temporary imperfections can generally be corrected more freely. Permanent features require more care.
The goal is to keep the skin looking like real skin.
Why You Shouldn’t Just “Smooth the Skin”
Beginners often assume that smoother skin means a better result.
In practice, the opposite can happen.
When too much texture is removed, the face loses depth and starts to look artificial. This becomes especially obvious in close-up portraits.
Instead of asking, “How smooth should the skin be?” ask:
“Which imperfections actually need to be removed?”
This simple shift in thinking can help you avoid the plastic-skin effect.
3. Look at Light and Shadows
Even perfectly retouched skin won’t save a portrait if the lighting looks unbalanced.
Pay attention to:
- deep shadows under the eyes;
- overly bright areas on the face;
- harsh transitions between light and shadow;
- uneven lighting.
The key is to preserve depth.
A face shouldn’t become a flat surface without shadows. Small adjustments to light can often produce a more natural result than heavy skin smoothing.
Dodge & Burn can be useful for this type of correction.
4. Check Skin Color
The next step is color.
Different areas of the face can have noticeably different tones because of the lighting. For example, the cheeks may look redder, the area around the eyes may appear cooler, and the forehead may look more yellow.
You don’t need to make the entire face one uniform color.
Small variations are natural. The goal is to reduce the color differences that become distracting while keeping the skin believable.
5. Don’t Forget the Eyes and Teeth
After working on the skin, take a look at the eyes and smile.
This is another area where it’s easy to go too far.
If you make the eyes too bright, they can start to look artificial. If you whiten teeth too much, the smile can lose its natural appearance.
A subtle correction usually works better than a maximum effect.
6. Check the Background and Clothing
A portrait should always be judged as a whole.
Sometimes the face already looks great, but a small detail around the subject weakens the image:
- a random object;
- a distracting mark in the background;
- a wrinkle in fabric;
- an unwanted detail on clothing.
These details may be small, but they can still pull attention away from the subject.
If an element doesn’t contribute to the composition, consider whether it needs to be corrected.
How to Use Online Retouching When You’re Just Starting Out
Learning Photoshop is useful if you want to work professionally with photo editing. But when you’re just getting started, you don’t necessarily need to master complex masks, layers, and dozens of tools right away.
You can start with online retouching from Retouch4me.
It works directly in your browser: upload a photo, choose a tool for a specific task, and get the processed result.
Retouch4me online retouching includes tools for skin, light, color, eyes, teeth, clothing, and backgrounds.
Try Retouch4me Online Photo Retouching
Which Tool Should You Choose?
Choose the tool based on the problem you want to solve.
Need to remove skin imperfections?
Try Heal.
Need to adjust light and shadows?
Try Dodge & Burn.
Need to even out skin color?
Try Skin Tone.
Want to enhance facial volume?
Try Portrait Volumes.
Do the eyes look tired?
Try Eye Vessels or Eye Brilliance.
Need to refine a smile?
Try White Teeth.
Are wrinkles or folds distracting on clothing?
Try Fabric.
Does the background contain distracting elements?
Try Clean Backdrop.
You don’t need to use every tool on every photo. Start with the biggest problem in the image and see how much of a difference a single adjustment makes.
A Useful Exercise for Beginner Photographers
Take one of your own portraits.
It doesn’t need to be your best photo or a particularly difficult one. Choose an ordinary image from one of your shoots.
Then:
1. Look at the photo as a whole.
Identify the three things that distract you the most.
2. Write them down.
For example:
- skin imperfections;
- strong shadows under the eyes;
- uneven skin tone.
3. Address each problem separately.
Choose the appropriate Retouch4me tool for each task.
4. Compare the result with the original.
Look at the entire image first, then zoom in to inspect specific areas.
5. Ask yourself: Did the photo actually get better?
If the answer is yes, stop.
That matters more than the number of tools you used.
When Does Retouching Become Too Strong?
There’s a simple way to check.
Zoom out to a normal viewing size and take a step back from the screen.
If the first things you notice are perfectly smooth skin, extremely white teeth, or unnaturally bright eyes, the effect is probably too strong.
You can also compare the original and edited versions again after a short break.
A fresh look often reveals things you didn’t notice while editing.
Automation Doesn’t Replace the Photographer
AI can take care of many repetitive editing tasks.
This is especially useful when you need to process a large number of photos or when you’re learning retouching and want to see results faster.
The final decision is still yours.
You decide what needs to be corrected, how much the image should change, and when to stop.
Think of automated retouching as an additional tool in your workflow.
What Beginner Photographers Should Remember
Don’t try to fix every detail in a photograph.
First, identify what actually distracts you. Then decide how little correction is enough.
A simple retouching order looks like this:
Distracting details → skin → light and shadows → color → eyes and teeth → clothing and background → final check.
And always look at the photograph as a whole.
If the person still looks natural, the image feels cleaner, and attention stays on the subject, you’re moving in the right direction.
If you want to try this approach on your own photos, start with Retouch4me online retouching directly in your browser.