

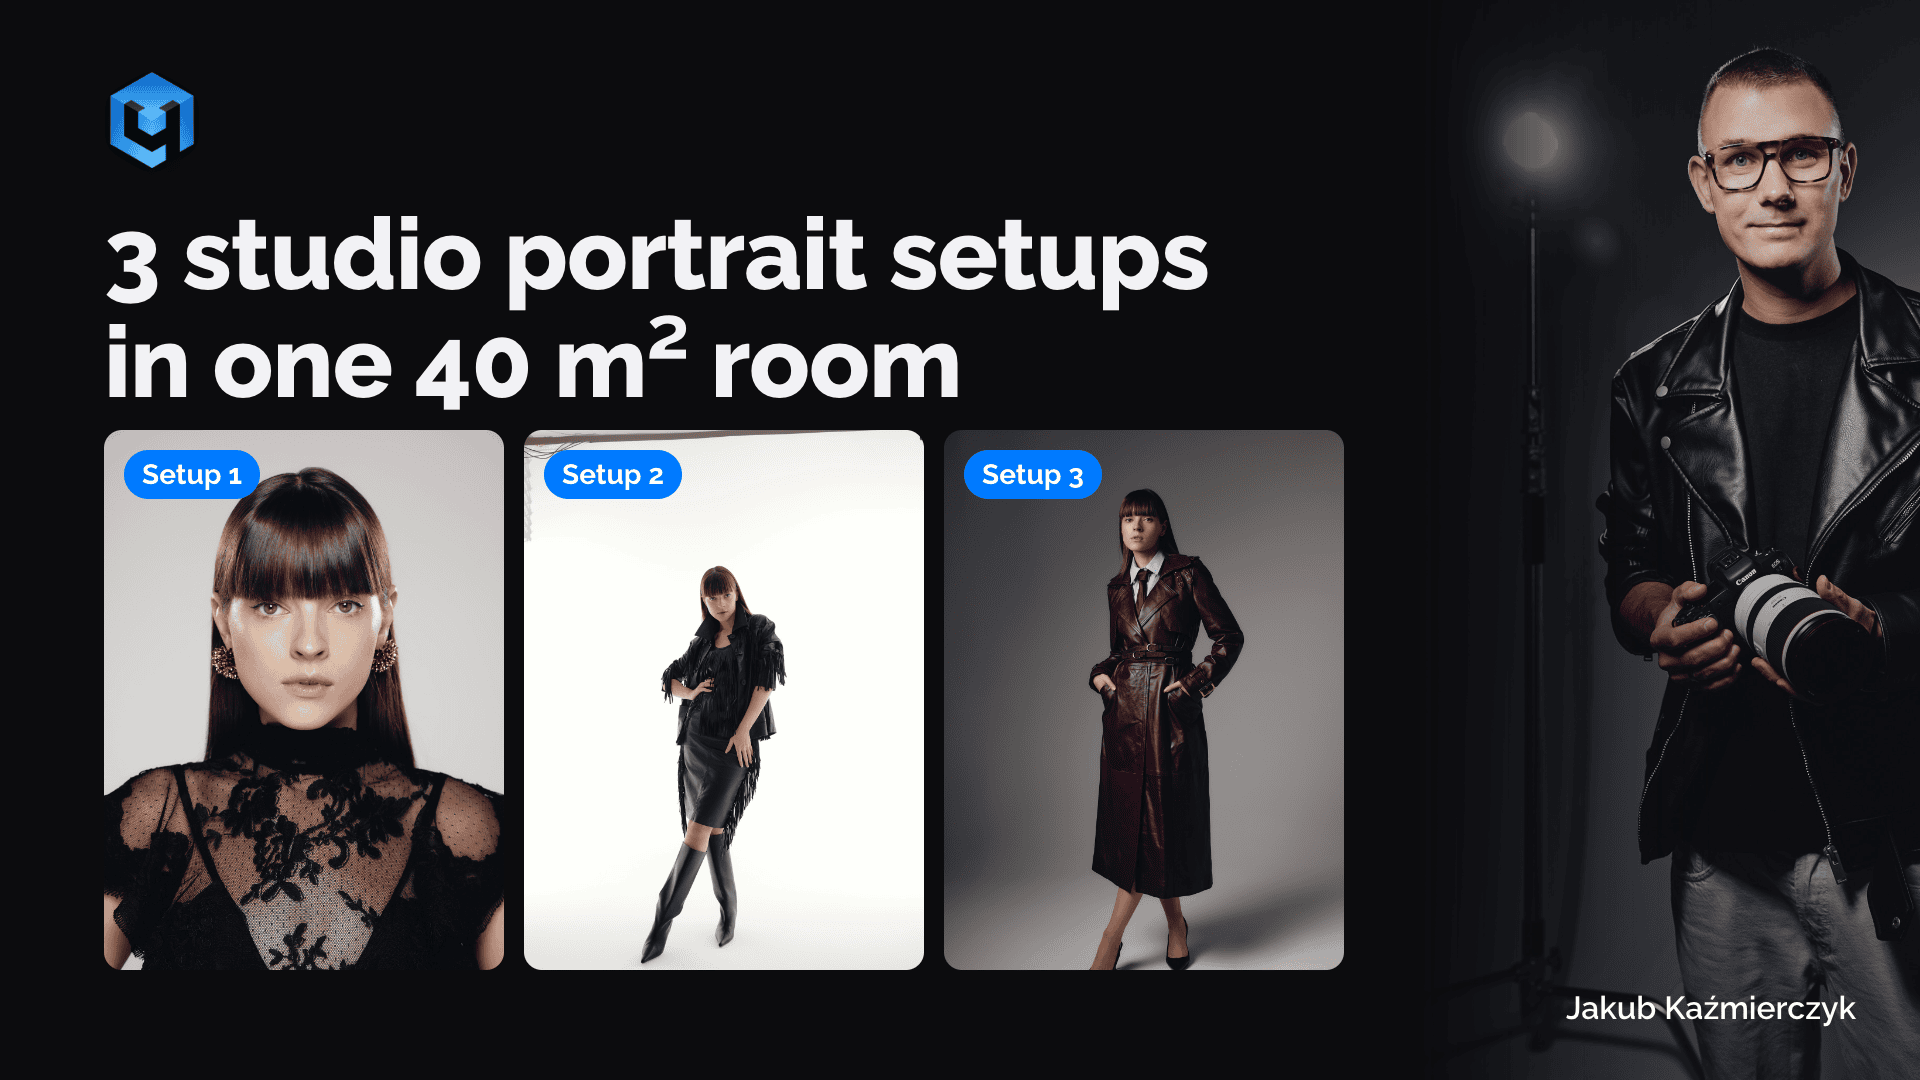
Based on a video lesson by Jakub Kaźmierczyk. Written by the Retouch4me team.
Think you need a big studio for great portraits? Commercial photographer Jakub Kaźmierczyk shoots in a room of about 40 square meters, and says the same photos would work in the 15 m² living room of his apartment.
In this article you’ll get:
- three lighting setups you can copy, from four lights down to just one;
- a 10-second test that tells you if room light is ruining your photos;
- the batch workflow Jakub uses to retouch a whole session while he makes a coffee.
First, take a black frame
Before you switch on a single flash, take one test shot with your working settings (Jakub uses ISO 100, 1/200 s, f/5.6). It should be completely black. If it’s gray, room light or video lights are leaking into your photos. Fix that first, then turn the flashes on one at a time and look at what each one adds.

Setup 1: the classic four-light portrait
This is the setup for tight head-and-shoulders portraits. A white beauty dish is the main light, a silver reflector under the chin opens the shadows, two gridded lights behind the model draw a thin rim on each side, and one more light on the background adds a soft vignette.
Jakub’s tip: aim the rim lights carefully. A gridded light that misses the model shows up right away as a dark side of the face. And fix the hair on set: a few seconds now saves time on every frame later.

Setup 2: no light on the model at all
The surprising one. Two flashes point only at the white background wall, nothing points at the model, and the white wall opposite bounces the light back as a soft fill. It works best with bright or shiny outfits; a black T-shirt simply swallows the light.
How to check the background lights aren’t hitting the model: look at the shoes. A hard shadow under them means a flash is spilling onto the person.

Retouch4me Arams can help you retouch a whole studio session in one batch. Try the free demo
Setup 3: one softbox, used the smart way
Jakub’s favorite: a single large softbox with a grid. The trick is where you aim it. Instead of pointing the center at the model, he uses the edge of the light and lets it brush past her. The background stays dark and you get a beautiful gradient behind the model. Turn the softbox straight at her and the gradient is gone. If you only have one light, start here.

Retouching 55 portraits in one batch
Retouching a portrait like this by hand takes Jakub 10–15 minutes. With 55 keepers, that’s a full day. So he does it in one pass in Arams:
- He rates the photos with stars while culling, and Arams keeps the ratings, so the project is sorted the moment the photos are added.
- He picks the retouching tools once: Heal for blemishes, Dodge & Burn to even out the skin, Portrait Volumes for soft contouring, Eye Vessels and Eye Brilliance, Stray Hairs and Clean Backdrop.
- He checks the result on one photo, copies the settings to all 55 and exports.
The export is TIFF with layers, so every effect arrives in Photoshop as a separate layer. When Stray Hairs took a few lashes along with the hair, Jakub brought them back with the eraser in seconds.

FAQ
- Do I need four lights? No. Setup 2 uses two, setup 3 uses one.
- Which setup should I try first? Setup 3: one softbox and one decision, where to aim it.
- Can I do this at home? Jakub says yes: his living room is about 15 m².
Retouch4me Arams can help you retouch your next session in one batch, with every effect on its own layer. Try the free demo
Related reading: Car Photography Tips From a Real Shoot · How to Shoot an E-commerce Lookbook in a 40 m² Studio · How to Batch-Retouch a Whole Shoot in Arams · Mask Anything in Car Photography
About this article
This article is based on a video lesson that Jakub Kaźmierczyk, a commercial photographer from Poland, recorded for Retouch4me. The text was written by the Retouch4me team. Watch the full lesson with the exact flash settings: