

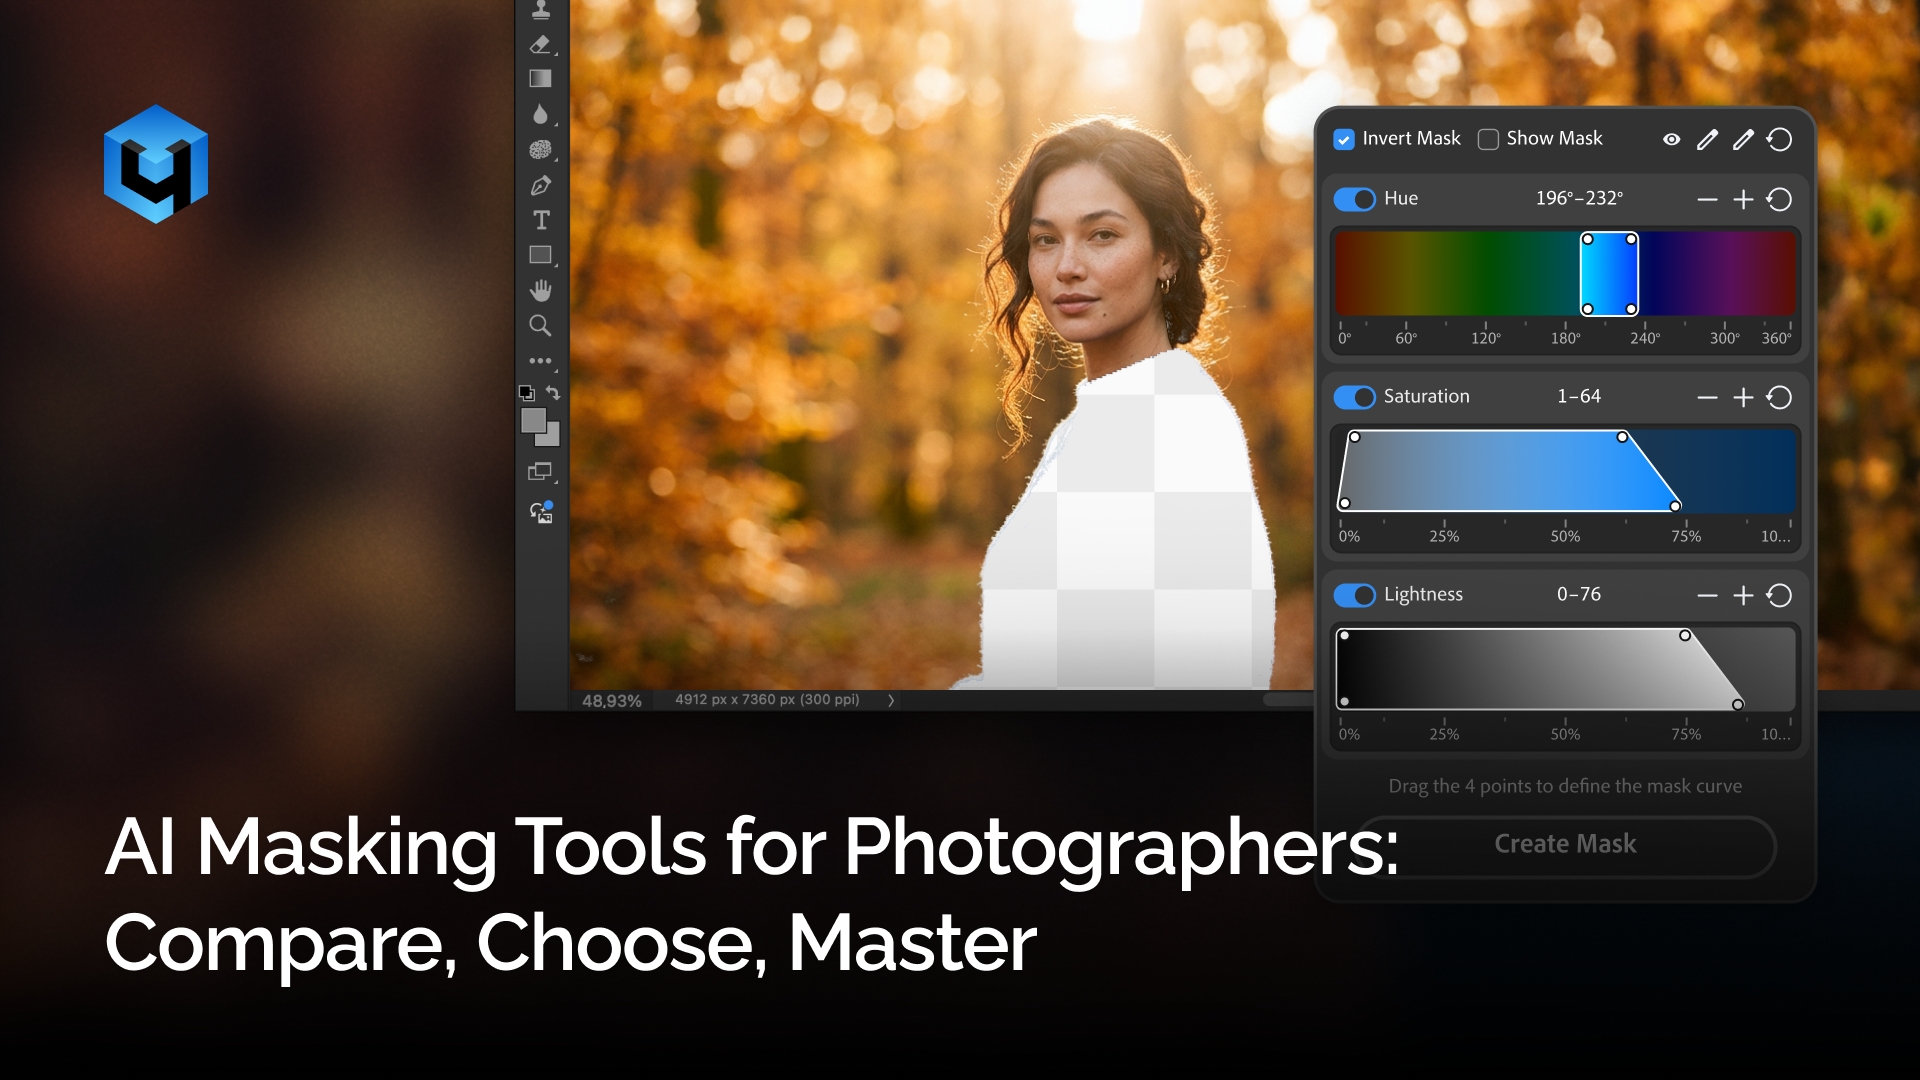
Artificial intelligence (AI) masking has changed how photographers and retouchers approach selections, but not every tool does the same job. Photoshop, Lightroom, AKVIS SmartMask, DxO PhotoLab, and Retouch4me Skin Mask each solve a different problem, and choosing the wrong one for a task costs more time than it saves.
This guide covers the full AI masking landscape as it stands today. It explains how each tool works, maps the right tool to the right task, and walks through a practical portrait retouching workflow that combines subject isolation with skin-specific mask generation. A comparison table gives a clear side-by-side view of speed, accuracy, control, and pricing across all active tools.
By the end, the decision of which AI masking tool to reach for and when to skip AI and go manual should be straightforward.
Table of Contents
Comparison Table: AI Masking Tools Side by Side
Step-by-Step Workflow: Portrait Retouching with AI Masking
Non-Destructive Best Practices for AI Masking
Where AI Masking Still Falls Short
What Is AI Masking?
AI masking is a photo editing technique. It uses machine learning to automatically generate precise selections around subjects, objects, or specific image areas. Instead of drawing a selection by hand,the algorithm uses artificial intelligence to automatically analyze the image and decide what to isolate in seconds. Traditional masking is slow and skill-dependent. Cutting around a subject with the Pen Tool or Quick Selection brush demands careful edge work. Hair, fur, and fine detail are especially difficult. One sloppy pass can mean minutes of cleanup.
AI changes the starting point. The model reads the full image, detecting edges, color contrast, depth cues, and scene context. It identifies what is likely a subject and what is background. Then it builds the mask automatically.
How the AI Actually Works
Under the hood, most AI masking tools use a convolutional neural network (CNN). The model learns to recognize common visual patterns such as faces, products, hair, and hands. Then, it separates them from their backgrounds through repeated exposure to image structures.
The output is always a standard grayscale mask:
- White = fully selected
- Black = fully masked out
- Gray = partial transparency (edges, semi-transparent areas)
This is pattern recognition applied to image processing. The algorithm does not understand the photo, it reads its visual structure.
How AI Masking Differs From a Traditional Layer Mask
The end result is the same, a layer mask attached to a pixel layer. White reveals, black conceals. The difference is how the mask is created.
Manual masks are drawn. AI masks are computed.
Both are non-destructive. The mask stays separate from the original pixel data. It can be refined, repainted, or discarded without touching the source layer. This is why AI masking fits naturally into a non-destructive workflow, the AI handles the rough work, and the retoucher refines what the algorithm missed. This is what separates masking AI from earlier selection tools — it does not need instructions. It reads the image and decides.
The AI Masking Landscape

The AI masking market covers several distinct use cases. No single tool does everything equally well. The right choice depends on whether the goal is subject cutouts, local tone adjustments, or skin-specific retouching for portrait work.
Adobe Photoshop — Select Subject and Object Selection
AI masking in Photoshop operates through two main entry points. The auto Select Subject analyzes the full frame. Point it at a frame with a clear subject and it will automatically build a selection around the most prominent element. It works reliably on clean studio shots with clear subject-background separation. Object Selection is Photoshop’s AI-powered object selection tool that gives more control: you can drag a rectangle or lasso around a specific element, and the AI refines the selection to its edges automatically.
Both tools feed into the Select and Mask workspace, where edge refinement happens. The Smart Radius and Refine Edge Brush handle complex transitions, such as hair against a white background or a model’s arm overlapping a busy scene. The output can be converted into a standard layer mask, making the workflow non-destructive.
This is the primary masking environment for retouchers already working in Photoshop.
Adobe Lightroom — AI Masks Panel
Lightroom’s AI Masks are designed for localized tonal and color adjustments rather than pixel-accurate selections for compositing. Select a mask type, and Lightroom applies exposure, color, or tonal changes only to that area.
Available mask types include Subject, Sky, Background, and Objects. The People mask goes further, breaking a person down into face skin, body skin, hair, clothing, eyes, teeth, and mouth. Each of them is adjustable independently. Each adjustment applies only to the selected area, leaving the rest of the image untouched. Multiple masks can be combined, intersected, or subtracted.
The structured mask categories make it easy to target specific areas without building selections from scratch. This is the right tool when the workflow stays inside Lightroom and the task is local tone correction, targeted adjustments to skies and backgrounds. It is not the right tool for exporting a pixel-accurate selection into Photoshop for compositing.
AKVIS SmartMask AI — General-Purpose Masking Plugin
AKVIS SmartMask AI is a standalone masking tool and Photoshop plugin. It handles a wide range of isolation tasks such as subjects, products, objects with complex or blurred edges, and green screen removal via Chroma Key mode. The AI-powered Select Subject filter will automatically identify the main subject automatically. It is designed to isolate subjects from backgrounds across a wide range of image types. The Magic Brush refines selections in areas where color separation between subject and background is minimal.
SmartMask is not specialized for any single photography genre. It works across portraits, product shots, and photo collages. The Refine Edges mode handles hair and fur reasonably well, though complex hair against busy backgrounds still needs manual correction.
Available as a standalone application or as a plugin compatible with Photoshop, Photoshop Elements, and Corel PaintShop Pro.
DxO PhotoLab 9 — AI Masks for RAW Workflow
DxO PhotoLab 9 introduced AI masking as a core feature of its RAW editing environment. DxO generates masks using the original image data, which helps preserve edge accuracy on high-resolution files.
Masks are created in three ways: clicking directly on image areas, drawing a bounding box around a subject, or selecting from predefined semantic categories such as skies, people, animals, vehicles, and other common subjects. These semantic masks can be combined, subtracted, and intersected. They also work contextually: an “edit face” adjustment copied from one portrait can be pasted onto another, and DxO automatically detects and adjusts the face in the new image regardless of pose or subject.
Feathering controls were added, which address one of the persistent weaknesses of AI masking in general. Hard mask edges create visible transitions under strong adjustments. AI masks in DxO can now be softened to blend more naturally with surrounding areas.
DxO PhotoLab is not a dedicated masking tool. It is a full RAW editor with masking built in. It fits photographers whose primary workflow already lives in DxO and who want accurate local adjustments without switching to Photoshop. It is less relevant for retouchers who need to export a pixel-accurate selection into a layered Photoshop document.
Some web-based tools use natural language prompts to generate masks from text descriptions. The professional tools covered here work differently. They read the image directly, without text input, which makes their output more predictable and precise.
Retouch4me Mask Anything — Prompt-Based Object Masking

Retouch4me Mask Anything takes a different approach to object selection. Instead of clicking around an object or drawing a rough selection, you describe what you want to isolate with a short text prompt, such as “jacket,” “background,” or “product label.” The plugin then finds the matching object and generates a precise mask around it.
Mask Anything is built on Meta’s SAM 3 segmentation model and is available as a Photoshop plugin and a standalone application. In Photoshop, the result can be saved as a layer mask or alpha channel, while the standalone version can export PNG or TIFF files. If several similar objects appear in the frame, the required instance can be selected before the final mask is created.
For more demanding selections, High Accuracy and edge-refinement options help with smaller or more intricate objects. Text prompts can also be recorded inside Photoshop Actions, making the same type of selection repeatable across a larger shoot without manually selecting the object in every image.
Unlike Retouch4me Skin Mask, Mask Anything is not limited to skin. It is designed for general object masking, while Skin Mask remains the more specialized option when the goal is isolating skin for portrait retouching.
Retouch4me Skin Mask — Dedicated Skin Masking for Portrait Retouching
Skin Mask from Retouch4me solves a specific problem: generating an accurate skin selection before frequency separation, dodge and burn, or skin tone work. It does not attempt general subject isolation. It detects skin only—face, body, or all open skin areas simultaneously and outputs the result as a layer mask.
For portrait retouchers, this eliminates one of the most tedious steps in the workflow. Hand-painting a precise skin mask around hairlines, ears, and clothing boundaries takes significant time. The plugin does this with just a single click, without manual selection work. For retouchers processing large portrait volumes, this saves considerable time and effort across every session. Recent updates added an optional edge refinement pass that produces cleaner mask boundaries.
It works as a Photoshop plugin, as a standalone application, inside Apex or Arams, on Windows and Mac.
Topaz Mask AI — Legacy Tool, Now Discontinued
Topaz Mask AI was a widely used standalone masking tool, particularly popular for clean subject-background separation. It is no longer available for purchase and receives no further development. The product is listed as a legacy application by Topaz Labs and may stop functioning with future OS or driver updates.
Photographers who search for it by name should be aware of this status. Some of its background removal functionality now exists within Topaz’s current photo enhancement software. It’s subscription-based and focused primarily on noise reduction, sharpening, and upscaling, not dedicated masking.
Comparison Table: AI Masking Tools Side by Side
Choosing the right AI masking tool depends on one question: what problem needs solving? Each tool in this landscape was built for a different workflow context. The table below maps the key differences across speed, accuracy, control, destructive behavior, and cost.
| Tool | Speed | Accuracy | Manual Control | Non-Destructive | Best for | Price |
|---|---|---|---|---|---|---|
| Photoshop Select Subject | Fast | High (clean shots), moderate (complex BG) | High — Select and Mask workspace | Yes — layer mask | Subject cutouts, compositing, detailed mask work | $19.99/mo (CC Photography Plan) $22.99/mo (Individual plan) |
| Lightroom AI Mask | Very fast | High for subject/sky/people | Moderate — local adjustments only, no pixel export | Yes | Local tone and color correction inside Lightroom | $11.99/mo (CC Photography Plan) |
| AKVIS SmartMask AI | Moderate | Good on clear edges, moderate on hair/fur | Moderate-High — Magic Brush refinement | Yes — outputs to layer mask | General object isolation, background removal, collage work | From $69 (home license, one-time) |
| DxO PhotoLab 9 AI Mask | Fast | High for localized RAW adjustments | High — U Point tools + feathering controls | Yes — non-destructive RAW editor | Local adjustments inside DxO RAW workflow | $239.99 (perpetual license) |
| Retouch4me Mask Anything | Fast | High for clearly defined objects; depends on subject complexity | High — text prompt, object selection, edge refinement | Yes — layer mask or alpha channel | Object-specific masking, repeated selections, batch workflows | One-time purchase, perpetual license |
| Retouch4me Skin Mask | Moderate — processing time depends on GPU | High for skin specifically | Output is layer mask, manually refinable | Yes — layer mask output | Portrait retouching prep: frequency separation, D&B, skin tone work — in Photoshop or standalone | $145 (perpetual license) |
| Topaz Mask AI | — | — | — | — | Discontinued — legacy product, no longer sold | — |
A few things are worth noting when reading this table. Speed ratings assume reasonably modern hardware. Retouch4me Skin Mask performs best on systems with an OpenCL-compatible GPU and sufficient VRAM. Processing times may increase significantly on less capable hardware. DxO PhotoLab is a full RAW editor, not a standalone masking plugin, so its $239.99 price covers a complete editing environment, not masking alone.
The Creative Cloud Photography Plan at $11.99/month (annual prepaid) covers both Photoshop and Lightroom.
Important: Topaz Mask AI appears frequently in search results but is no longer an active product. Users who encounter it should be aware that it has received no updates and cannot be purchased. Some masking-related functionality exists in newer Topaz products, but no direct replacement for Topaz Mask AI currently exists.
When to Use Which Tool
AI masking tools are not interchangeable, each is built for a specific task. Photoshop handles subject cutouts for compositing, Lightroom covers local tonal adjustments, AKVIS SmartMask works across varied object types, DxO PhotoLab fits RAW-based local corrections, and Retouch4me Skin Mask handles skin selection for portrait retouching. The decision points below map each scenario to the right tool.
The goal is to cut out a subject for compositing or background replacement.
Use Photoshop Select Subject or Object Selection. The resulting selection can be output as a layer mask and used directly in a layered PSD workflow. Refine the result in the Select and Mask workspace using Smart Radius and the Refine Edge Brush. This is the standard pipeline for compositing work.
The goal is local tone or color adjustment, brightening skin, darkening the sky, adjusting exposure on a background.
Use Lightroom AI Masks. Subject, Sky, People, and Background masks apply targeted adjustments directly in the Lightroom develop module without exporting or switching applications. This is the fastest path for photographers who finish their work inside Lightroom. It is also useful for preparing images for social media, where quick, targeted adjustments are more valuable than pixel-accurate selections.
The goal is isolating objects, removing backgrounds, or building photo composites with varied subject types.
Use AKVIS SmartMask AI. It handles a wider range of subject types than tools designed for specialized portrait-retouching workflows. Also, Chroma Key mode simplifies green screen removal. It fits designers and photographers who work across multiple subject types rather than specializing in portraiture.
The goal is accurate local adjustment inside a DxO RAW editing workflow.
Use DxO PhotoLab 9 AI Masks. The AI masking tools integrate naturally with DxO’s RAW workflow, and recent updates provide more precise control over mask transitions through feathering and semantic subject detection. It only makes sense for photographers already working inside DxO.
The goal is masking a specific object without drawing the selection manually.
Use Retouch4me Mask Anything. Instead of outlining the object with a brush or selection tool, type a short description of what you want to isolate, such as “jacket,” “background,” or “product label.” The plugin finds the matching object and builds the mask automatically.
This becomes particularly useful when the same type of object needs to be selected across multiple images. A text prompt can be recorded in a Photoshop Action and applied across a larger shoot, reducing the need to repeat the same manual selection on every file. High Accuracy and edge-refinement options are available when the subject is small or the boundaries are more complex.
The goal is preparing a skin mask before frequency separation, dodge and burn, or skin tone correction.
Use Retouch4me Skin Mask. It does one thing: detect skin and output a clean layer mask ready for the next retouching step. For portrait retouchers who run this step on every image, automating it removes a significant manual task. It does not attempt subject isolation or background removal, it reads skin only. It runs as a Photoshop plugin, as a standalone application, within Apex or through Arams. This allows multiple Retouch4me tools to be combined into a single workflow.
The table below summarizes this as a quick reference:
| Task | Best Tool |
|---|---|
| Subject cutout / compositing | Photoshop Select Subject |
| Local adjustments in Lightroom | Lightroom AI Masks |
| Object isolation / varied subjects | AKVIS SmartMask AI |
| Local adjustments in DxO RAW workflow | DxO PhotoLab 9 |
| Object-specific masking from a text prompt | Retouch4me Mask Anything |
| Skin mask for portrait retouching | Retouch4me Skin Mask |
One practical note: these tools are not mutually exclusive. A workflow may combine Lightroom AI Masks for local tonal work, Photoshop Select Subject for broad subject isolation, Retouch4me Mask Anything for object-specific selections, and Retouch4me Skin Mask for skin-focused retouching. Each tool handles a different kind of mask, so the most efficient workflow often combines several of them rather than relying on one tool for everything.
Portrait retouching prep starts with an accurate skin mask.
Step-by-Step Workflow: Portrait Retouching with AI Masking
A portrait retouching workflow typically requires two separate AI masks serving two separate purposes: a subject mask to isolate the person from the background, and a skin mask to constrain retouching corrections to skin only. The sequence below walks through both steps in Photoshop, using Select Subject for subject isolation and Retouch4me Skin Mask for skin selection, before retouching begins.
These are two separate tasks. Subject isolation separates the person from the background. Skin masking isolates skin within that subject. Both have their place and neither replaces the other.
The starting point: a corrected portrait in Photoshop. RAW processing and color correction are already done. The image has balanced exposure, neutral white balance, and clean tonal range. Retouching has not started yet.
Step 1 — Duplicate the Background Layer
Before anything else, duplicate the background layer. All further work happens on the duplicate. The original pixel data stays untouched at the bottom of the layer stack. This is the foundation of a non-destructive workflow.
Step 2 — Generate a Subject Selection with Photoshop Select Subject
Go to Select > Subject. It will take a time for Photoshop to analyze the frame and generate a selection around the main subject. On a clean studio portrait with clear subject-background separation, this usually takes a few seconds.
Check the selection edge quality around the hairline and shoulders. If refinement is needed, open Select and Mask (Select > Select and Mask). Use the Refine Edge Brush along the hairline. This is where automatic selections most often need manual correction. Once satisfied, output the result as a layer mask on the duplicate layer.
This mask is useful for two things: constraining later adjustments to the subject only, and separating the subject if a background swap is needed.
Step 3 — Run Retouch4me Skin Mask
With the corrected portrait layer active, run Skin Mask. In Photoshop, this is accessed via the filter menu or the Retouch4me panel. In standalone or Apex, open the image and select Skin Mask from the tools list.
Before processing, choose the detection scope:
- Face — masks face skin only
- Body — masks body skin only
- All skin — detects all open skin areas simultaneously
For a full portrait retouch session, all skin is typically the most useful starting point. The plugin processes the image and identifies skin areas automatically, providing a mask that can be refined further if needed. The resulting mask highlights detected skin regions while excluding non-skin elements such as hair, clothing, and background areas.
Recent versions include an optional edge refinement stage that improves mask boundaries where skin meets non-skin areas.
Step 4 — Use the Skin Mask for Retouching Preparation
The skin mask is now the controlling element for the retouching stage. Work with masks with this structure and every correction stays contained, reversible, and independent from the others. Apply it to the relevant adjustment or working layers:
- Frequency separation: apply the skin mask to the frequency separation group or its working layers, so that frequency-based corrections apply to skin only — not clothing, hair, or background.
- Dodge and burn: add the skin mask to the D&B layer. Lightening and darkening strokes stay within the skin boundary automatically.
- Skin tone corrections: curves or Selective Color adjustment layers masked to skin only allow tone shifts without affecting other image areas.
Each of these masks works independently. They can be enabled or disabled at any stage without affecting the underlying pixel data. If the mask needs adjustment later, it can be repainted or replaced without redoing the retouching work itself.
Step 5 — Refine Where Needed
AI masks are a starting point. After running both tools, inspect the masks at 100-200% zoom around the most critical areas: hairline, ears, neckline, and any jewelry or clothing that borders skin. Paint corrections directly onto the mask with a soft black or white brush where the algorithm missed or over-selected.
The time saved by automation makes this refinement stage fast. The goal is to start from a strong base rather than from scratch.
This workflow keeps every stage non-destructive. The original background layer remains untouched throughout the workflow. Masks can be adjusted, discarded, or rebuilt at any point without restarting.
Non-Destructive Best Practices for AI Masking
Non-destructive masking with AI tools means every mask remains editable, replaceable, and independent from the original pixel data. The practices below focus specifically on what changes when AI-generated masks enter the workflow — file organization, layer stack structure, and how to avoid the most common revision problems.
Label AI-Generated Masks Clearly
AI-generated masks often look similar in the Layers panel, especially after several rounds of editing. A subject mask, a skin mask, and a background mask may all appear as grayscale thumbnails, making them difficult to distinguish at a glance.
Use descriptive layer names such as:
- Subject Mask
- Skin Mask
- Background Mask
- Sky Adjustment Mask
Clear labeling makes it easier to revisit a file weeks or months later and understand how each mask is being used.
Preserve the Original AI Mask
The first version of an AI-generated mask is valuable even if it is not perfect. Before making substantial edits, keep a copy of the original mask or duplicate the masked layer.
This provides a reference point if later refinements introduce unwanted artifacts or if a client requests changes that require revisiting the original selection.
Duplicate Before Major Refinement
When extensive mask cleanup is required, duplicate the masked layer before painting corrections.
Working on a duplicate preserves the original AI-generated result and allows side-by-side comparison between versions. This approach is particularly useful when refining complex edges such as hair, jewelry, fabric, or partially obscured facial features.
Avoid Flattening Until Final Delivery
Layer masks remain fully editable only while the document retains its layer structure. Flattening permanently commits mask visibility to the image pixels and removes the ability to adjust the selection later.
For long-term flexibility, keep the layered PSD file even after exporting the final image. If revisions are requested, the masks and adjustments remain available for further editing.
Verify Smart Object Compatibility
Not all AI masking tools interact with Smart Objects in exactly the same way. Some workflows operate seamlessly, while others may require a standard pixel layer during processing.
Compatibility issues are most likely to appear when using AI masking tools on Smart Object layers. Before building a large project around Smart Objects, test the intended masking tool on a sample file. If compatibility issues arise, duplicate the layer and use the duplicate for masking while preserving the original Smart Object as a protected source layer.
Keep AI Masks Editable
AI-generated masks should be treated as starting points rather than final selections. The greatest advantage of a non-destructive workflow is the ability to refine, replace, or disable masks without affecting the underlying image.
Maintaining editable masks throughout the project ensures that adjustments remain flexible and that future revisions can be completed without rebuilding the workflow from scratch.
Where AI Masking Still Falls Short
AI masking has improved significantly over the past few years, but it fails predictably in the same categories of image. Understanding where the algorithm breaks down is as important as knowing when to use it. For mid/advanced retouchers, these edge cases are not rare. They appear regularly in portrait, fashion, and commercial work.
The fundamental problem is that AI masking tools are optimized for the most common scenarios: a clearly defined subject against a clean background. The moment the subject shares tonal values, transparency, or fine micro-detail with its surroundings, the algorithm loses confidence and the mask degrades.
Fine Hair Against Complex Backgrounds
This is the most common failure point. On a white studio backdrop, most AI tools handle hair reasonably well. Against a textured background, such as brick, foliage, and a patterned interior, the algorithm cannot reliably distinguish fine details like individual strands from background texture. The result is either over-selection that includes background texture, or under-selection that clips the hair edge and produces a hard, artificial boundary.
Channel-based masking and manual refinement often remain more reliable for critical hair extractions in complex scenes.
Transparent and Semi-Transparent Fabrics
Sheer fabrics, such as chiffon, tulle, lace, and bridal veils, are among the hardest subjects for AI masking to handle correctly. The algorithm reads transparency as a gradient between subject and background, which it often interprets as a soft edge rather than a semi-transparent surface. The mask either cuts the fabric out entirely or blends it incorrectly with whatever background lies behind it.
The correct approach for transparent fabric requires a luminosity-based or channel-based selection that reads the actual transparency value of the fabric rather than trying to detect it as an object with clear boundaries. This remains one of the areas where manual techniques often outperform AI-generated masks.
Small Jewelry, Accessories, and Fine Detail
Rings, earrings, chains, and thin straps create problems for two reasons. First, they are small. Often a few pixels wide at typical working resolutions. Second, they frequently share tonal values with skin immediately adjacent to them. The algorithm tends to either absorb them into the skin selection or drop them from the subject selection entirely, depending on which tool is running.
Common failure scenarios include:
- Thin gold chains that disappear into neck skin in the mask
- Earrings partially selected, partially dropped
- Ring edges that bleed into adjacent finger skin
- Watch straps included in the skin mask where metal meets wrist
In each case, the only reliable fix is manual brush work directly on the mask at 100% zoom. AI tools can get close, but these details require human judgment to resolve correctly.
High-Frequency Texture at Mask Boundaries
Even when the overall subject is selected correctly, many AI masks tend to smooth the mask edge in areas of high texture, such as stubble, textured skin, and rough fabric edges. This smoothing creates a slightly artificial boundary that becomes visible when strong local adjustments are applied through your mask. The edge reads as too clean relative to the image content.
The refinement pass in the Select and Mask workspace helps here, but it does not fully solve the problem. Retouchers working on beauty or high-end commercial images often repaint the mask boundary manually in the most critical areas regardless of how strong the initial AI selection was.
AI masking eliminates the majority of manual selection work on a typical image. In many of these situations, starting with a manual technique is often more efficient than spending time repairing a problematic AI-generated mask. In these cases, a channel-based selection will produce a more accurate result than any AI tool currently available.
Key Takeaways
- AI masking and manual masking are not opponents. AI handles the majority of selection work on a typical image. Channel-based manual techniques remain the more reliable choice for fine hair against complex backgrounds, transparent fabrics, and small jewelry. The practical workflow uses both.
- Subject selection and skin selection are different tasks. Photoshop Select Subject isolates a person from a background. Retouch4me Skin Mask isolates skin within that person. These serve different stages of the retouching process and neither replaces the other.
- Lightroom AI Masks and Photoshop masks serve different purposes. Lightroom masks apply local adjustments non-destructively within the Lightroom workflow. Photoshop masks produce pixel-accurate selections for compositing and detailed retouching. Choosing between them is a workflow question, not a quality question.
- Topaz Mask AI is no longer available. It is a discontinued legacy product. Photographers searching for it should be aware that it cannot be purchased and receives no updates.
- Non-destructive habits matter more with AI masks than with manual ones. AI masks are generated quickly and look similar in the layers panel. Clear labeling, preserved originals, and an organized layer stack protect the file when revisions are needed.
- AI masking fails predictably. The failure cases, such as complex hair, sheer fabrics, and fine jewelry, appear regularly in portrait and fashion work. Knowing them in advance means reaching for the right technique immediately rather than trying to repair a broken AI mask.
- General object masking and skin masking are also different tasks. Retouch4me Mask Anything uses text prompts to locate and mask described objects, while Skin Mask is purpose-built to detect skin. Mask Anything fits object-specific and repeatable selection work; Skin Mask fits portrait retouching preparation.
Skin Mask automates the most tedious step in portrait retouching.
Frequently Asked Questions
Q: Are there free AI masking tools available?
A: There are few genuinely free AI masking tools that offer professional-quality results. Most photographers instead use AI masking features included with software they already subscribe to, such as Photoshop and Lightroom. Outside of Adobe, genuine free AI masking tools with professional-grade output are rare.
Q: What is the difference between an AI mask and a luminosity mask?
A: They solve different problems. A luminosity mask is a selection built from the tonal values of the image itself. It selects pixels based on how bright or dark they are. It has no concept of what an object is; it only reads light and dark. This makes it precise for tonal work, such as recovering highlight detail, blending exposures, targeting specific tonal ranges, but it cannot distinguish between a bright face and a bright background at the same luminosity level.
An AI mask understands content. It recognizes that a face is a face, that skin is skin, that a subject is separate from its background. The selection is based on semantic understanding rather than tonal data. For portrait retouching, luminosity masks and AI masks are not competing approaches, they serve different stages. AI masks handle subject and skin isolation. Luminosity masks handle tonal targeting within those selections.
Q: Do I need a dedicated skin masking plugin if I already have Photoshop Select Subject?
A: Select Subject identifies the whole person as a subject. It does not distinguish between skin, hair, clothing, and accessories within that subject. The resulting mask includes everything, which is correct for compositing, but not useful as a preparation layer for frequency separation or dodge and burn, where the goal is to constrain corrections to skin only. A common question is select and mask vs AI selection, but the two are not alternatives. AI generates the initial selection; Select and Mask is where that selection gets refined. They work in sequence, not in competition.
The Retouch4me Skin Mask Plugin Photoshop reads skin specifically. The difference in output is significant:
- Select Subject mask: entire person selected, including clothing, hair, jewelry
- Skin Mask output: skin areas only, with boundaries designed to separate skin from hair, clothing, and accessories
For retouchers who run frequency separation or D&B on every portrait, the skin-specific mask is the correct tool. Select Subject is the right tool for everything that comes before or after the retouching stage.
Q: Can AI masking replace channel-based manual masking?
A: AI masking handles the majority of everyday selection tasks faster and with sufficient accuracy for most commercial work. The remaining cases, such as fine hair against complex backgrounds, transparent fabrics, small jewelry, still favor channel-based manual techniques. The practical approach is to use AI masking as the default and reach for manual channel work only when the image falls into one of those known failure categories. Using manual masking as the default workflow in 2025 means spending significant time on tasks that AI handles adequately.
Q: Does AI masking work on batch processing?
A: It depends on the tool. Lightroom AI Masks can be copied and pasted across images, and semantic masks like “face skin” reapply contextually to the new image rather than copying the exact pixel selection. DxO PhotoLab 9 works similarly: paste a local adjustment with your AI mask, and the tool re-detects the relevant subject in the new image.
Retouch4me Skin Mask supports batch processing through two routes. Arams, Retouch4me’s free workflow application, runs batch processing using the locally installed plugin and exports results as layered files suitable for further editing. Apex, Retouch4me’s all-in-one retouching environment, includes Skin Mask and processes batches via cloud, with results available as layered files in Photoshop, Lightroom, and Affinity Photo. Apex is subscription-based, with plans that include a fixed number of monthly retouches.
Photoshop does not provide dedicated batch AI masking tools in the same way Lightroom or DxO do, although Actions, Batch Processing, and scripting can automate parts of the workflow.
Q: What is the difference between Retouch4me Mask Anything and Skin Mask?
A: They are designed for different masking tasks. Mask Anything lets you describe an object with a text prompt and generates a mask around the matching subject, making it useful for clothing, products, backgrounds, accessories, and other specific objects. Skin Mask is specialized for portrait retouching and detects skin areas specifically. Use Mask Anything when the target can vary from image to image; use Skin Mask when the target is consistently skin.