Use pre-export with plugins unavailable in preview
What you will do
Section titled “What you will do”Use Face Make on a portrait containing one person, create an Export preview, inspect the photograph at a useful face scale, and continue to a full-size JPEG export.
Pre-export is useful when an enabled plugin cannot create the ordinary layer preview shown by Retouch preview. It processes the selected plugin combination before the final export, so you can judge the result first instead of discovering it only in the saved file.
Arams also uses this stage for Lab, Frequency Separation, and Color Match. Their controls and visual effects differ, so the Face Make choices below are an example of the pre-export workflow, not settings to copy to those plugins.
Before you start
Section titled “Before you start”- Install and activate Face Make on this computer.
- Open a project and select one photograph containing exactly one clearly visible person.
- Use Local mode. This example does not describe cloud processing.
Make a copy of an important original before experimenting. Face-shaping and makeup choices are subjective: inspect facial proportions, skin texture, hair edges, and recognizable features rather than treating any preset as correct for every subject.
Prepare Face Make
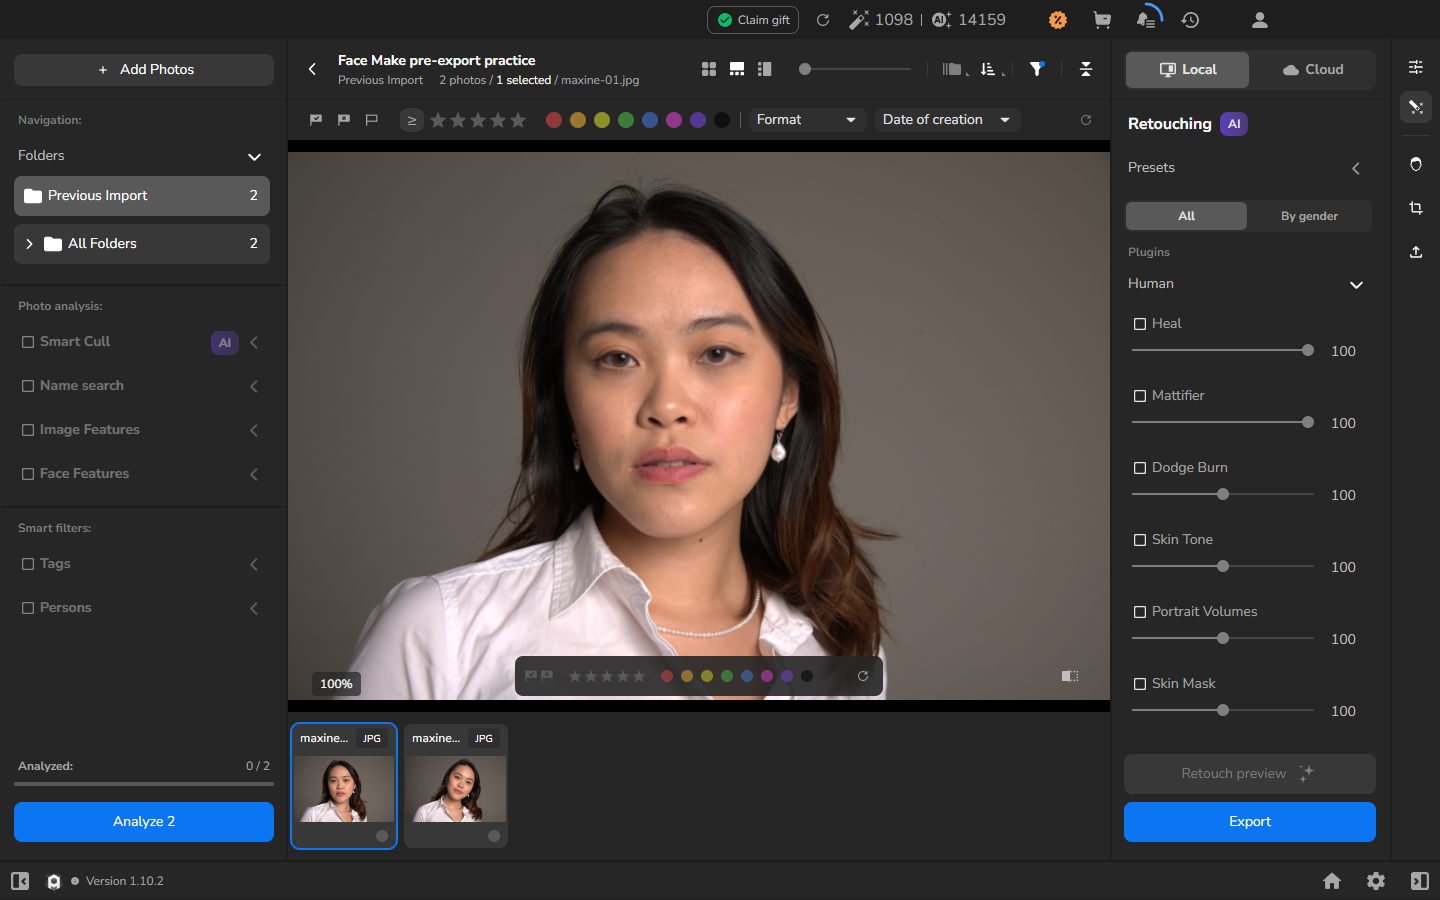
Section titled “Prepare Face Make”- Open the Retouching panel and select Local.
- Select All, then enable Face Make.
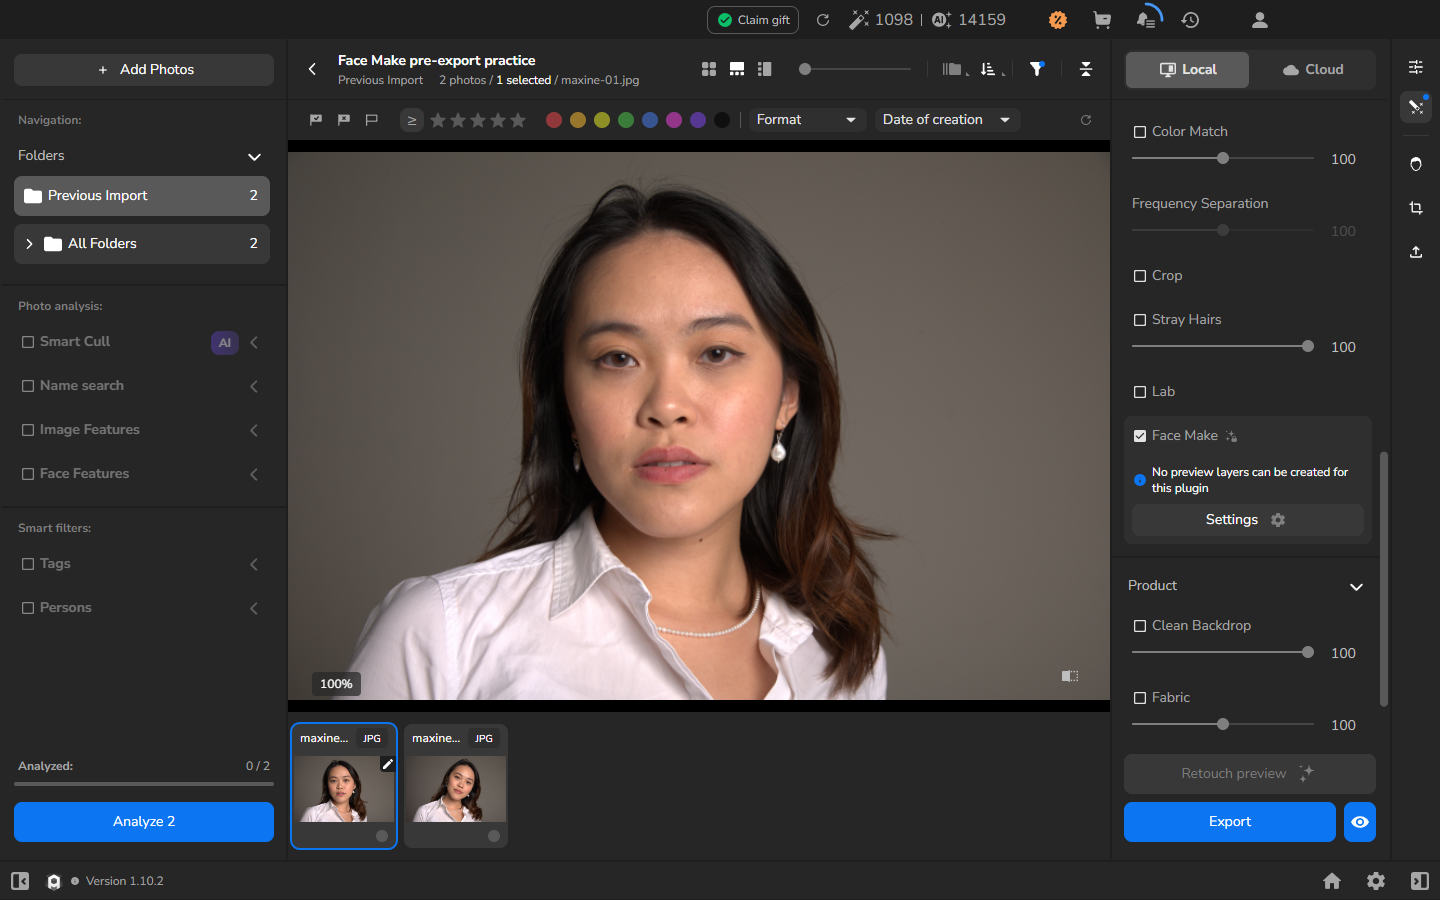
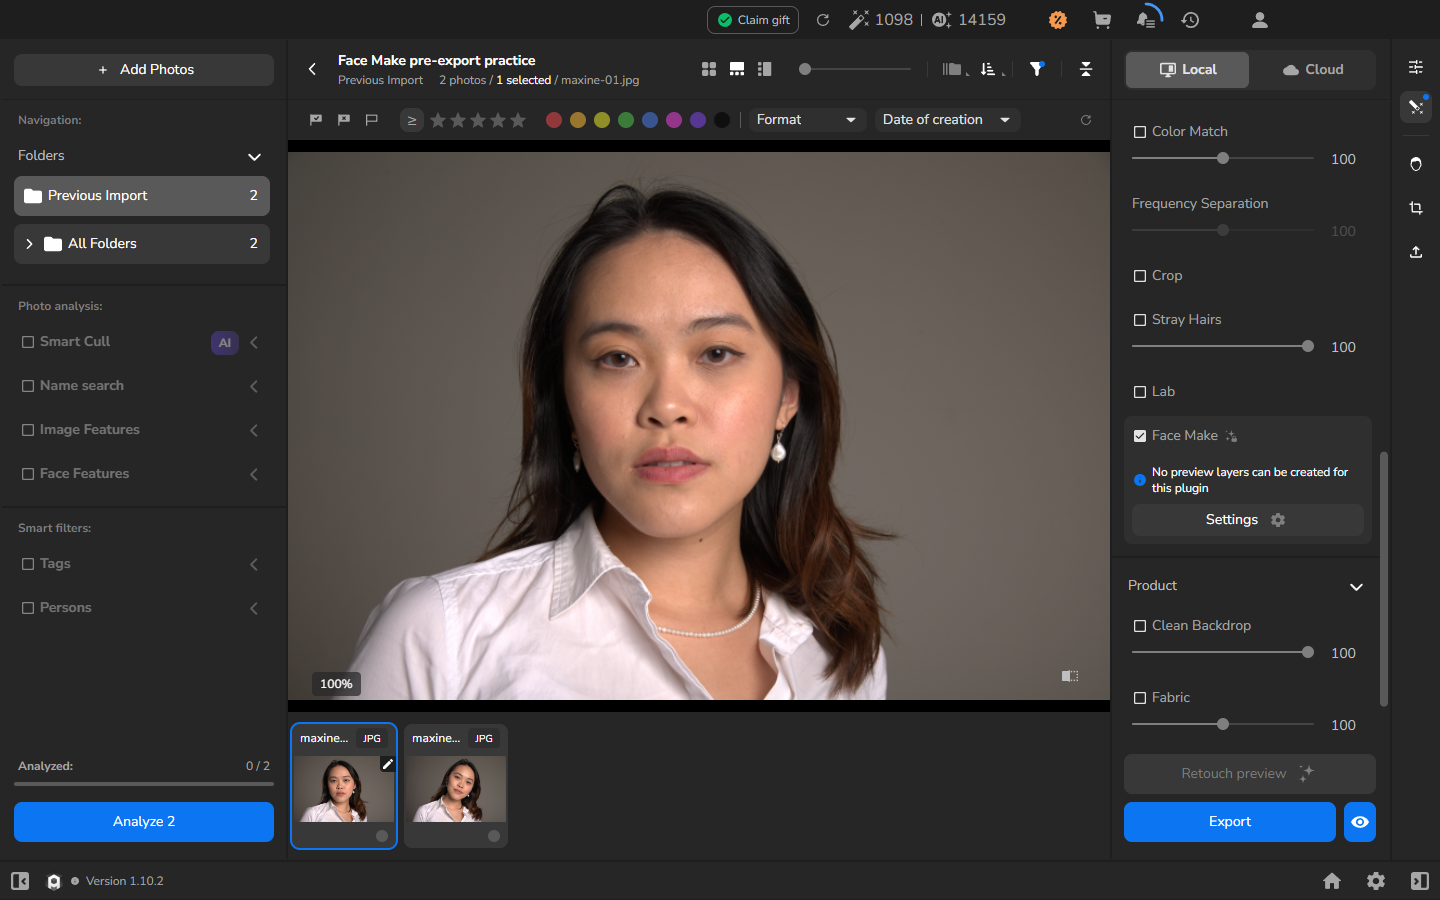
- Expand the Face Make section. Arams displays No preview layers can be created for this plugin and provides a Settings button with a gear icon.
- Click Settings to open the Face Make window. This is the plugin’s own settings window, not the global Arams Settings screen.
The Face Make window identifies the detected face and groups choices under Lifting, Makeup, Displace, Texture, and Reshape. Enable only a category that serves the portrait, expand it, and begin with a restrained adjustment. For example, you can enable Lifting, reduce Lifting from its initial strength, and leave the more specific face-shaping controls at zero until you need them.
Watch the face in the plugin window, especially the eyes, mouth, jawline, skin texture, and hairline. Click Apply once the result still looks natural and the subject remains recognizable. Apply closes the plugin window; create the export preview next to judge the applied result in Arams.
If you want a closer look at where complex plugin controls are opened, see Choose retouching tools and settings.
Create and inspect the pre-export result
Section titled “Create and inspect the pre-export result”- Open the selected photograph and inspect the original at a useful face scale. Note the face shape, skin texture, and edges you want to preserve.
- Return to the Face Make section and confirm that it remains enabled.
- Click the eye button beside Export. Its tooltip reads Preview of all selected plugins before export.
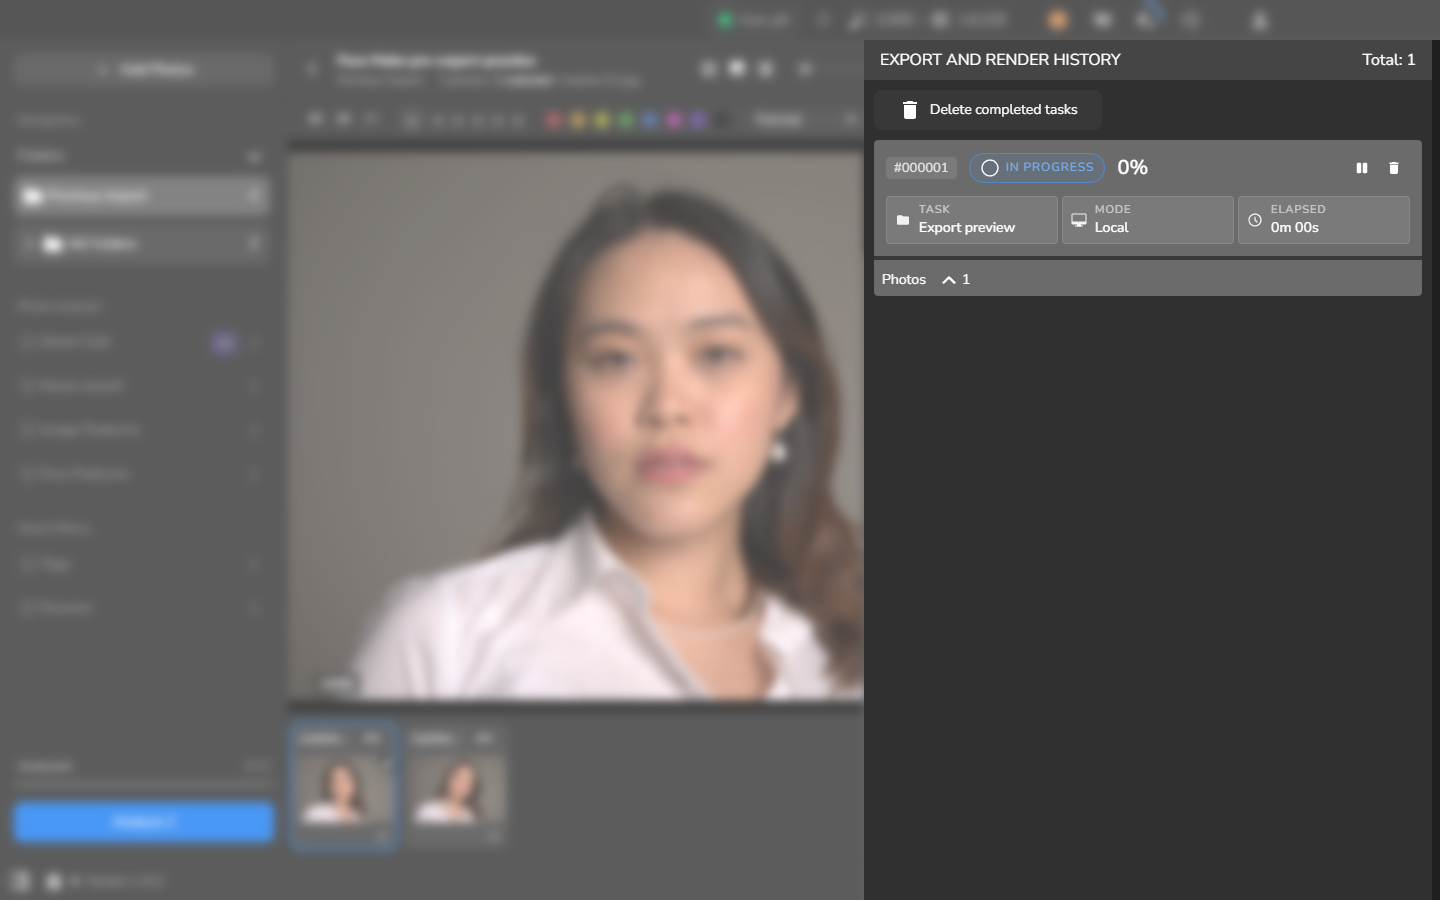
- Open EXPORT AND RENDER HISTORY and find the Export preview task in Local mode.
- Wait until the task reaches COMPLETED and 100%. You can keep working in Arams while it runs, but do not judge the result from the progress percentage alone.
- Close the history and inspect the photograph again at the same scale. The green Retouch Preview Ready message confirms that a pre-export result is available.
- Compare it with the original. Look especially for changes to facial proportions, eyes, mouth, skin texture, hair, and the outline against the background. If the result is too strong or does not suit the subject, reopen the plugin’s Settings, reduce or disable the adjustment, click Apply, and create a new export preview before exporting.
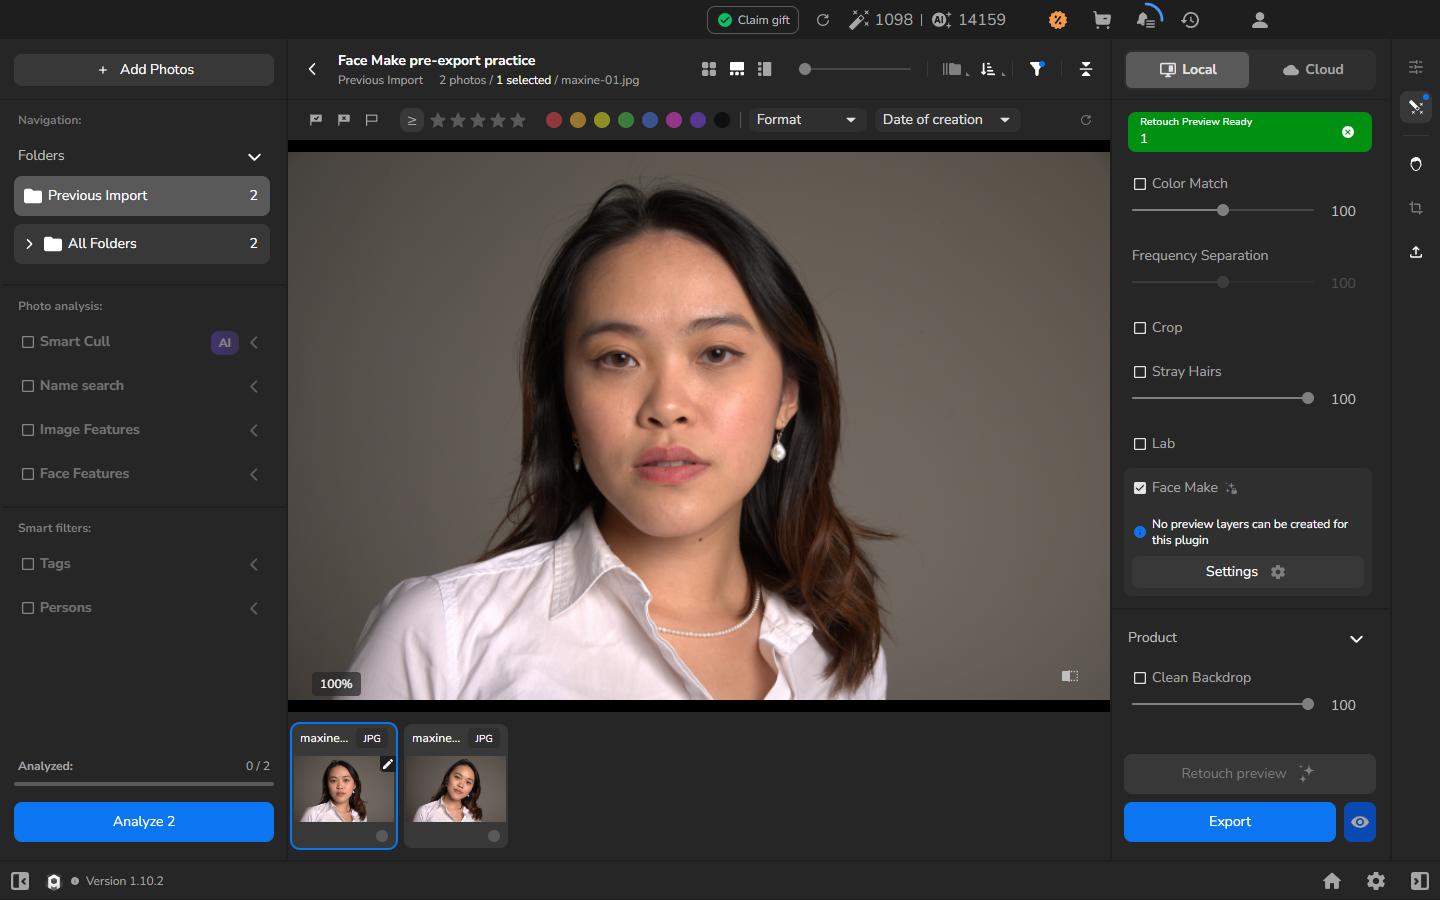
Face Make is the example here. Other plugins that use pre-export can have different settings and visual trade-offs; choose their controls on their own terms.
Export the finished photograph
Section titled “Export the finished photograph”- Open Export settings.
- Choose Hard drive — To computer and export the selected photograph.
- Choose the destination and naming rule. A new subfolder is a useful way to keep the result separate from the original.
- Turn Resize to fit off if you want to preserve the original pixel dimensions.
- Select JPEG, review the choices, and click Export.
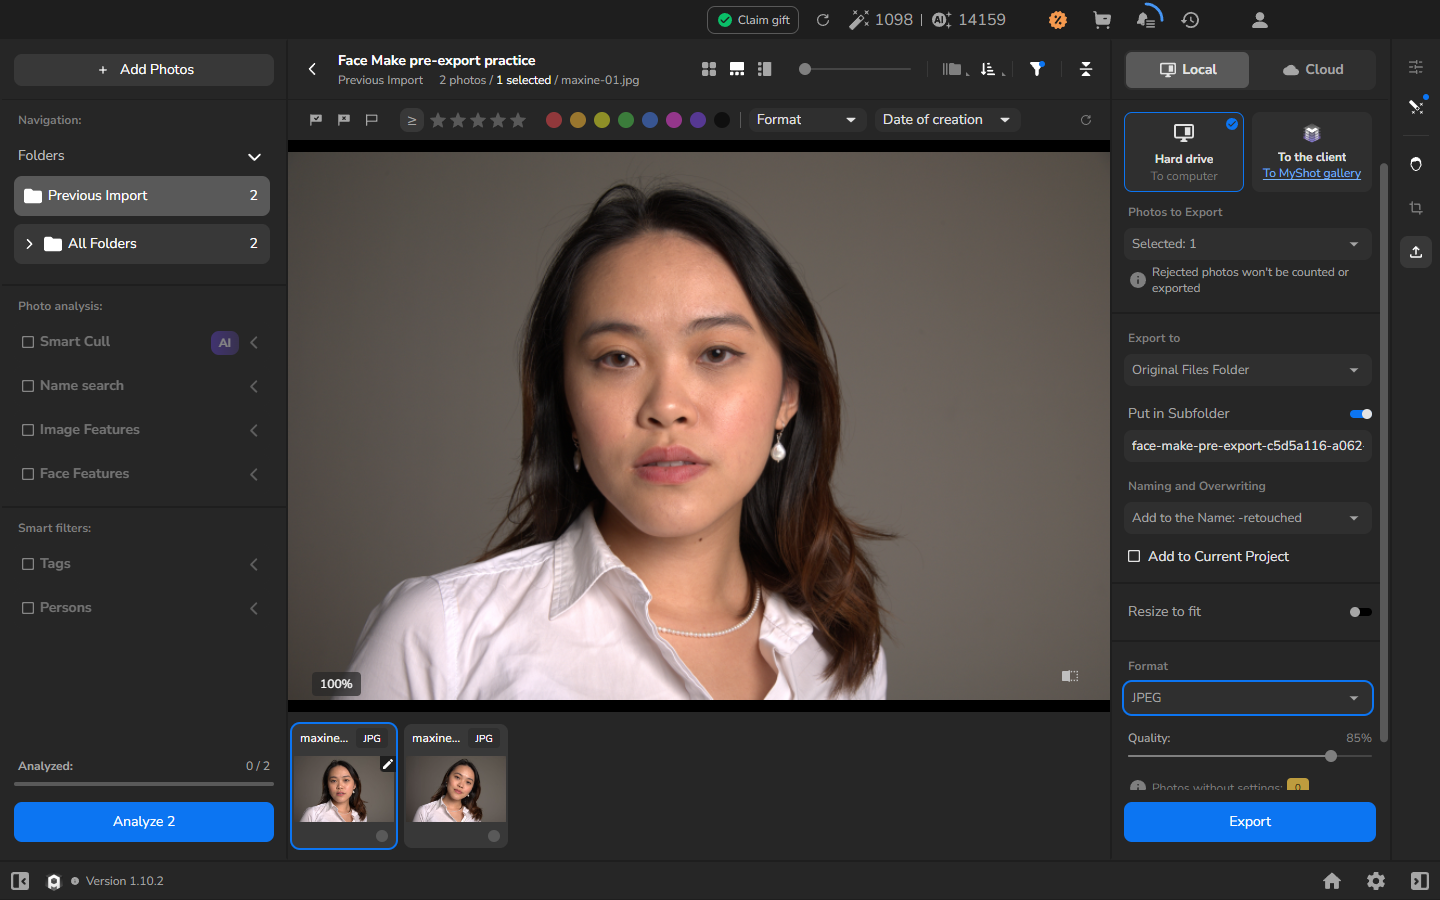
- Open EXPORT AND RENDER HISTORY. Wait for both the Export preview task and the final Export task to show COMPLETED and 100%.
- Open the saved JPEG outside Arams. Check the whole frame and the face at useful magnification, and confirm that the dimensions match your export choice.
For more destination, naming, and file-checking options, see Export photographs and verify saved files.
If it does not work
Section titled “If it does not work”- Face Make cannot be selected: check that the plugin is installed and activated, then return to Local mode.
- Settings does not open: keep the photograph open, enable Face Make, expand its section, and click the plugin’s Settings button.
- The eye button is unavailable: select a photograph and confirm that Face Make is enabled. The button is the pre-export control beside Export, not Retouch preview.
- The result is not ready: open the history and wait for the Export preview task to reach COMPLETED and 100%.
- The final JPEG is missing: recheck the destination, subfolder, selected-photo count, and filename rule in Export settings, then inspect the final Export task separately from Export preview.