Review AI analysis of photographs and faces
What you will do
Section titled “What you will do”Use Arams photo and face analysis to narrow a cull to photographs that may have focus, motion, exposure, pose, or expression problems. Filters such as Motion Blur, Out of Focus, and Closed Eyes can speed up the first review, but the photograph—not the filter label—should decide what you keep.
Before you start
Section titled “Before you start”- Photo and face analysis runs on the server and consumes analysis credits. It is separate from free automatic AI tagging.
- Use photographs that you are authorized to send for server analysis. If Arams shows its server-analysis notice, read it and choose I Agree only when sending the selected photographs is appropriate.
- Keep the source photographs at full resolution so you can inspect fine details such as focus and eye position.
- Keep the originals unchanged. You do not need to retouch or export photographs for this review.
- Before importing the photographs, turn on Automatic photo analysis and Automatic face search in Settings > General.
Run photo and face analysis
Section titled “Run photo and face analysis”- Create a project and import the full-resolution photographs.
- Select the photographs that you want to analyze.
- If the analysis control reads Analyze, choose it. If automatic analysis has already started, let it finish instead of starting another operation.
- Wait until the analyzed counter reaches the number of selected photographs and the button reads Analysis completed. Do not start Retouch preview; it is a different operation.
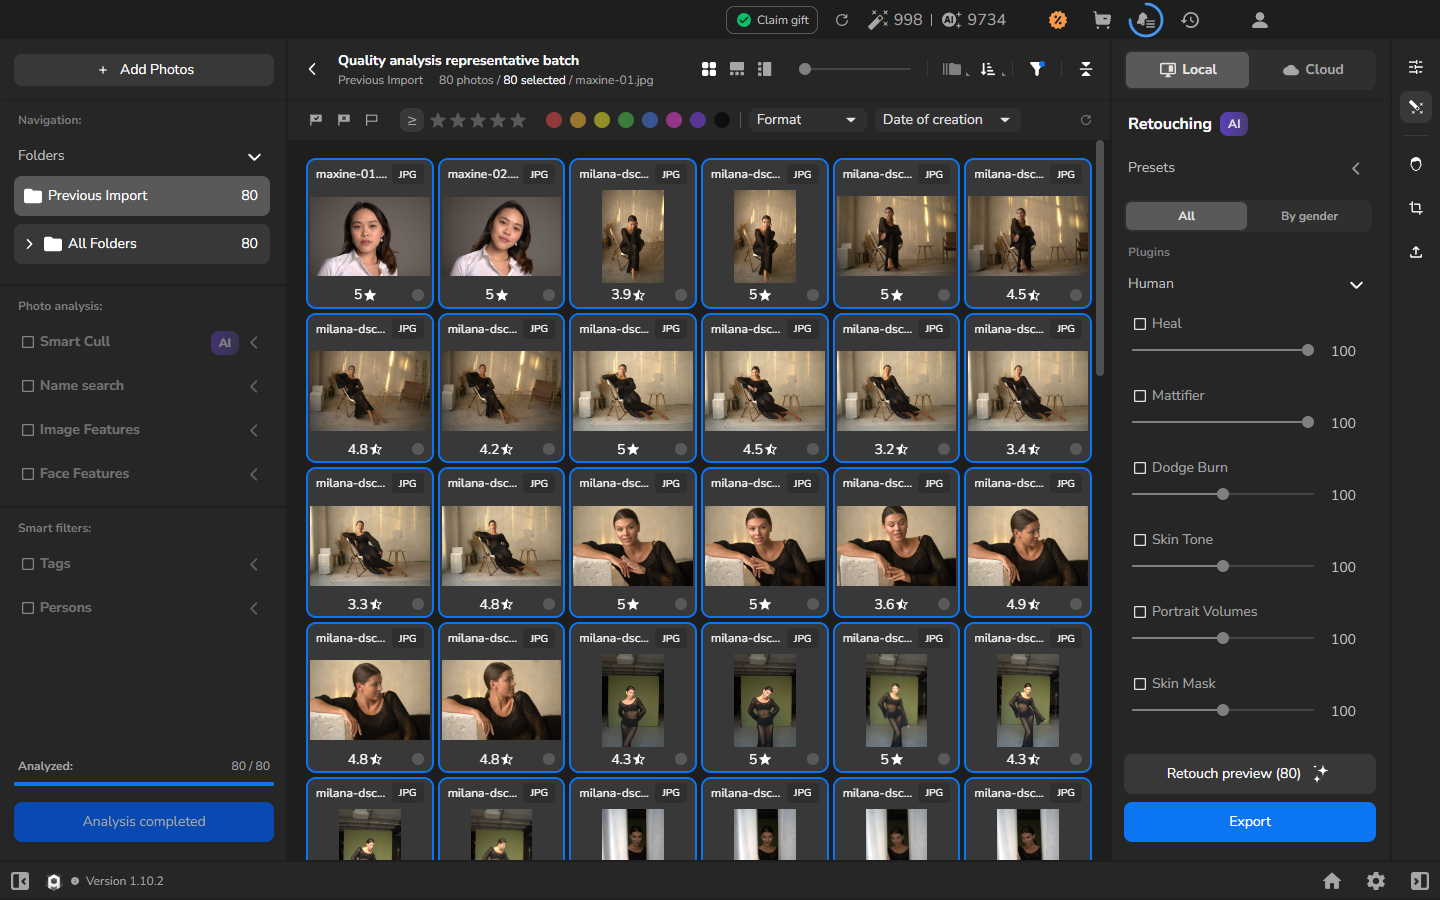
Analysis completed means that the server operation has finished. You still need to review the matches before making culling decisions.
Inspect image- and face-quality filters
Section titled “Inspect image- and face-quality filters”- Expand Image Features in the left panel. The available rows are Overexposed, Underexposed, NSFW, Plain Background, Textured Background, Bad Pose, Motion Blur, Kissing, Outdoor, and Aesthetics.
- Expand Face Features. The available rows are Occluded, Cropped, Bad Light, Out of Focus, Bad Mouth, Bad Eyes, Eye Contact, Smiling, Profile, Turned Away, Looking Down, and Closed Eyes.
- Use the eye controls on a row to show or exclude matching photographs. The photo count and gallery update to reflect the filter.
- Reset the row before trying another filter, unless you want to combine criteria.
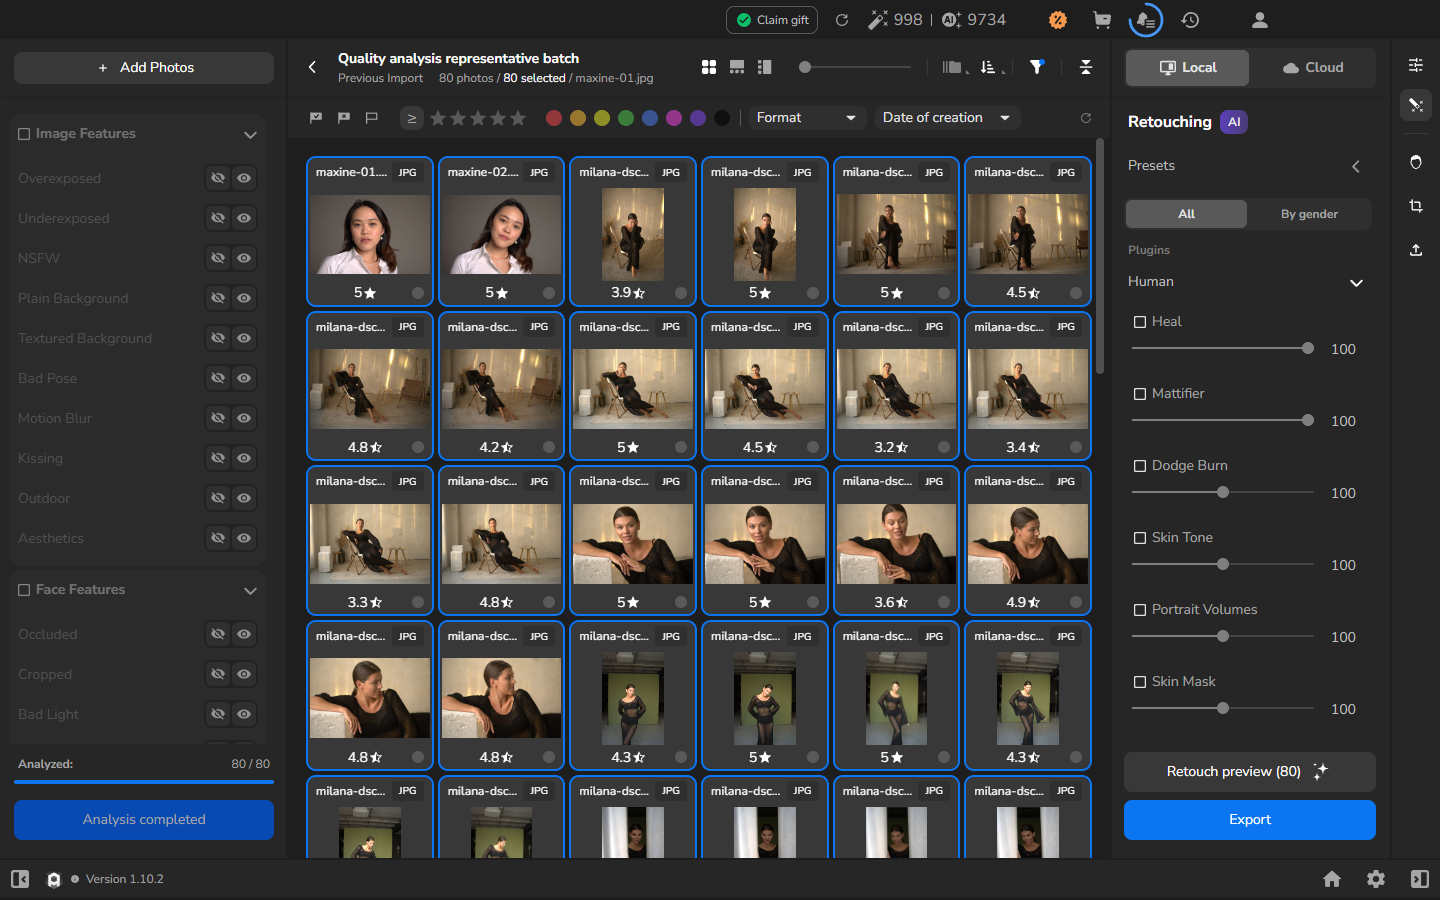
The number beneath a thumbnail is a gallery score, not the confidence of the active filter. Arams does not show a confidence value for Closed Eyes here.
Find closed-eye candidates
Section titled “Find closed-eye candidates”- Under Face Features, use the show control on the Closed Eyes row.
- Treat the filtered grid as a review queue, not a reject list.
- Open each candidate at a useful size before judging an eyelid or eye direction.
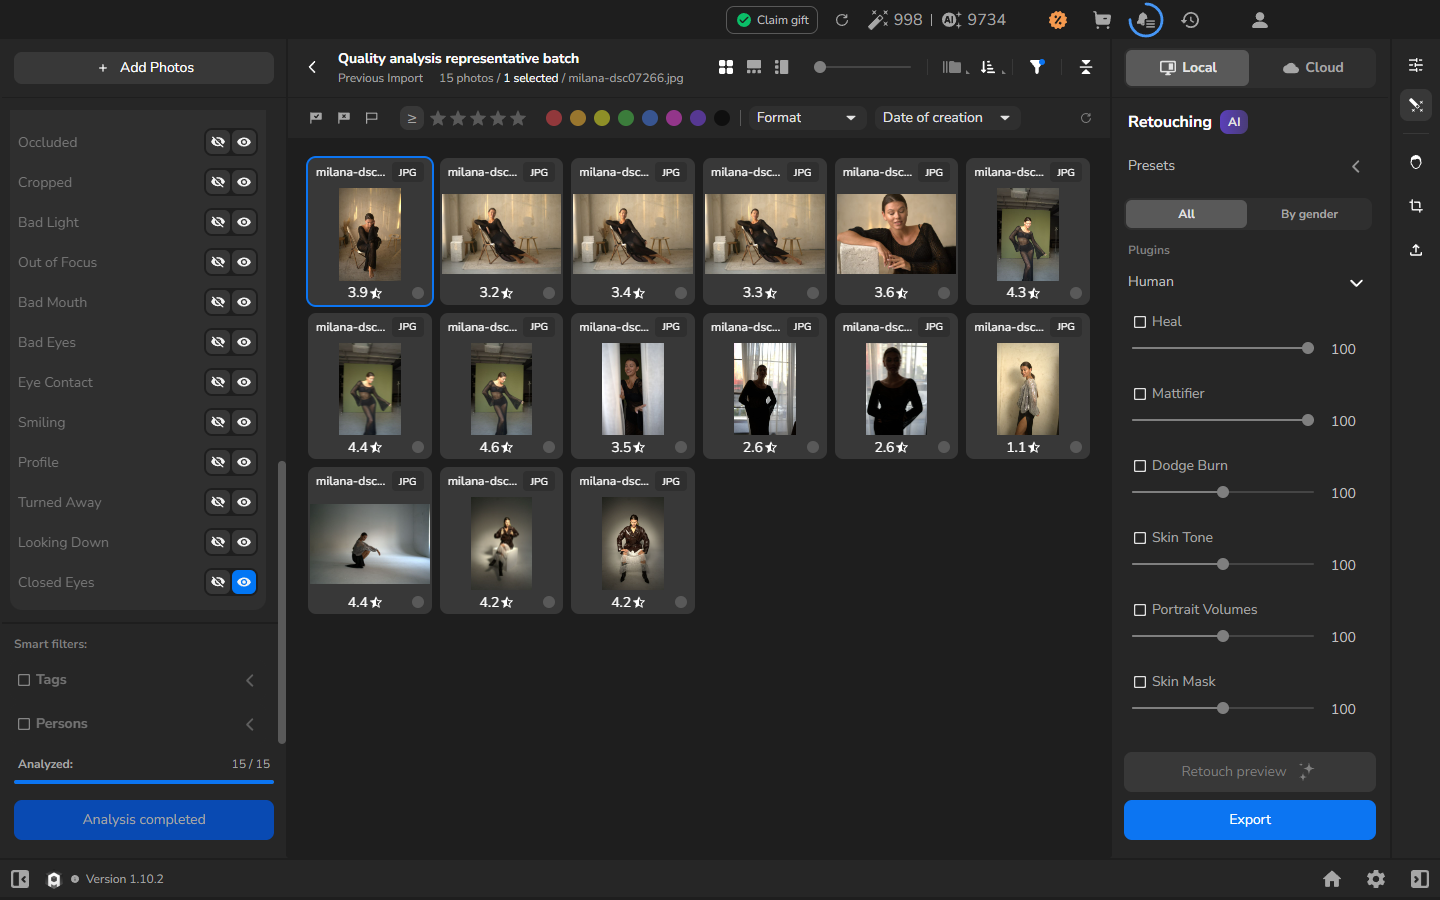
A Closed Eyes match may show closed or partly closed eyes, a lowered gaze, an obscured face, or an incorrect result. Treat the match as a prompt to inspect the photograph, not a reason to reject it.
Inspect a face at full resolution
Section titled “Inspect a face at full resolution”- Open one candidate in the large viewer.
- Wait for Loading… to disappear. With the photograph viewer focused, press Z to toggle zoom, then use the mouse wheel over the face to choose a useful scale. Z is the default shortcut; if you have customized your keys, check keyboard shortcuts.
- Judge what the pixels show: closed, partly closed, obscured, looking down, or open. Use this view to make your selection.
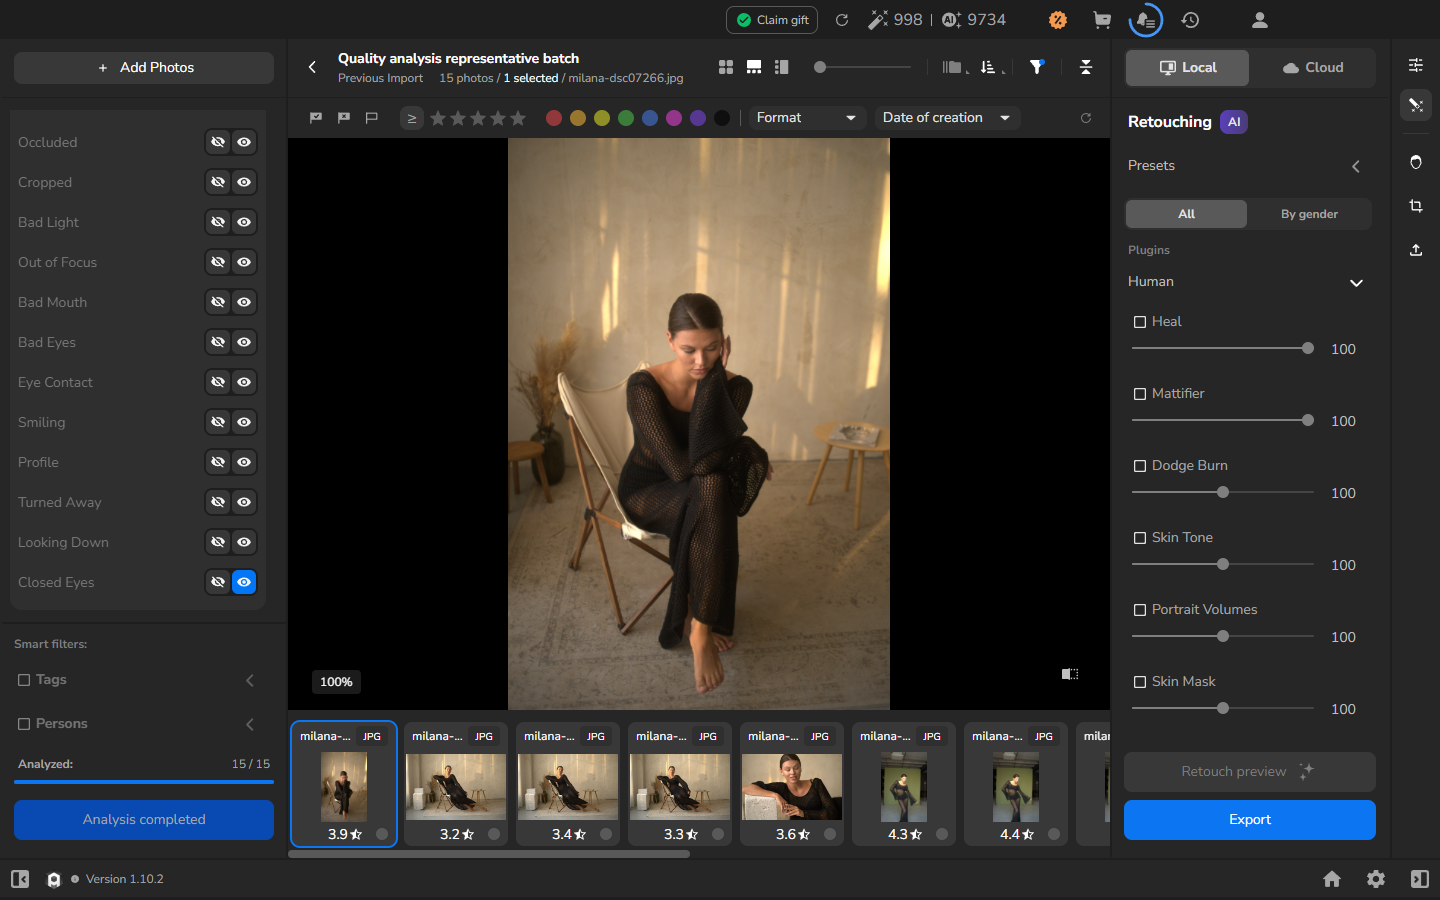
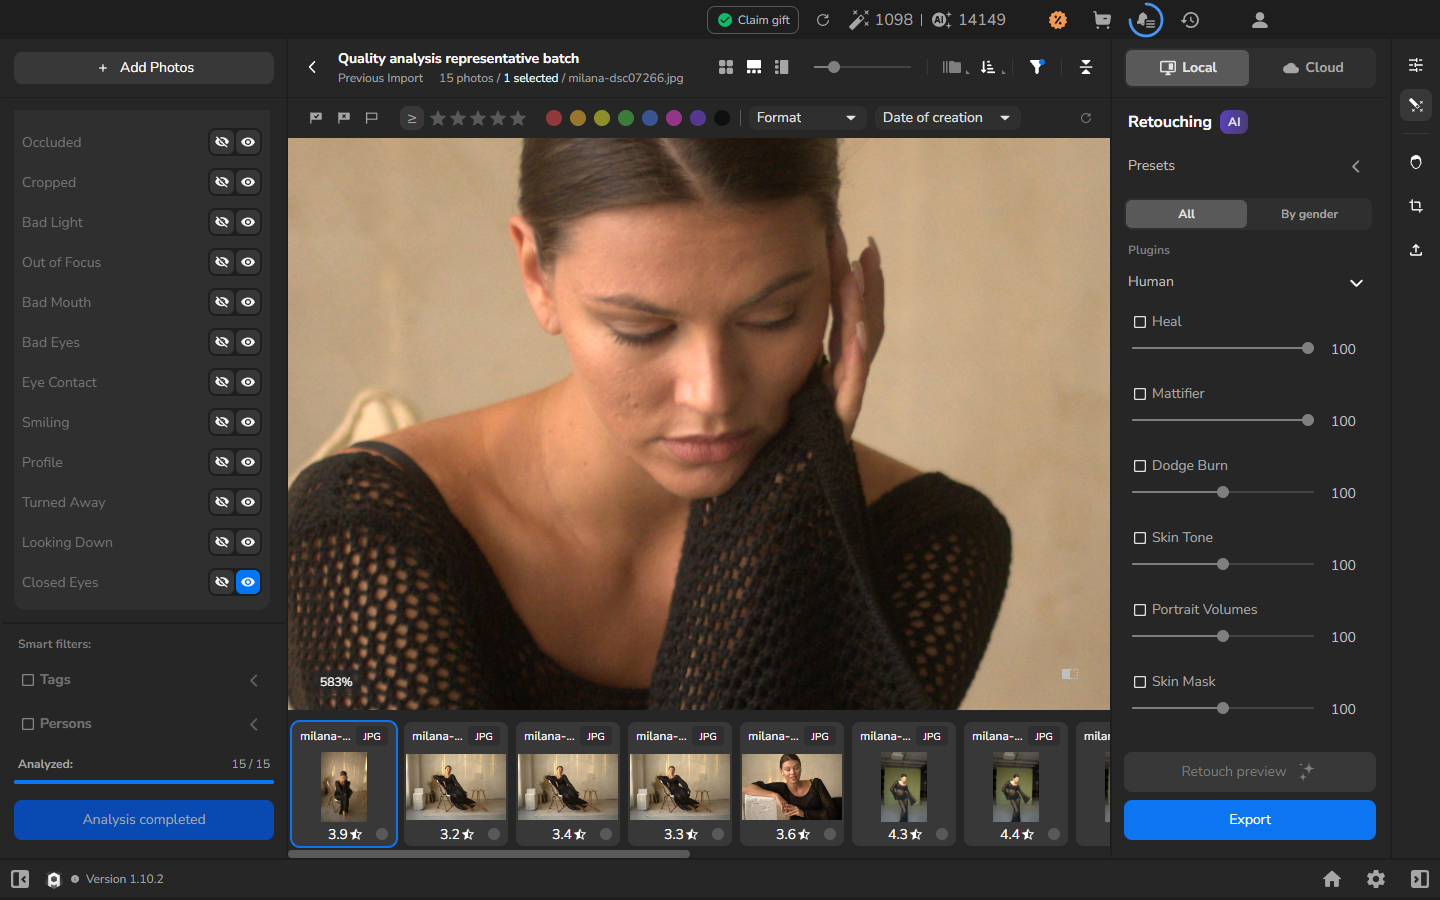
Zoom until the eyes are clear, but also check the whole photograph for expression, focus, and motion.
Check faces in the right panel
Section titled “Check faces in the right panel”You can also inspect a face without zooming the whole photograph:
- Select the photograph and click the face-outline icon in the far-right toolbar to open Details and Faces.
- Expand Faces if necessary. Beside its heading, choose the split-rectangle icon to switch to the larger face view.
- Inspect the eyes in the enlarged face preview. The analysis icons point to possible issues, such as closed eyes.
This is especially useful when reviewing Closed Eyes results: keep the overall composition visible while checking the face in the right panel. The face preview is not a guaranteed 1:1 view of the original pixels. For precise image inspection, use the main viewer and zoom. See Inspect detected faces for the illustrated panel controls.
Compare a nearby open-eye photograph
Section titled “Compare a nearby open-eye photograph”- Return to the gallery and reset Closed Eyes so the full batch is visible again.
- Open a nearby frame from the same burst.
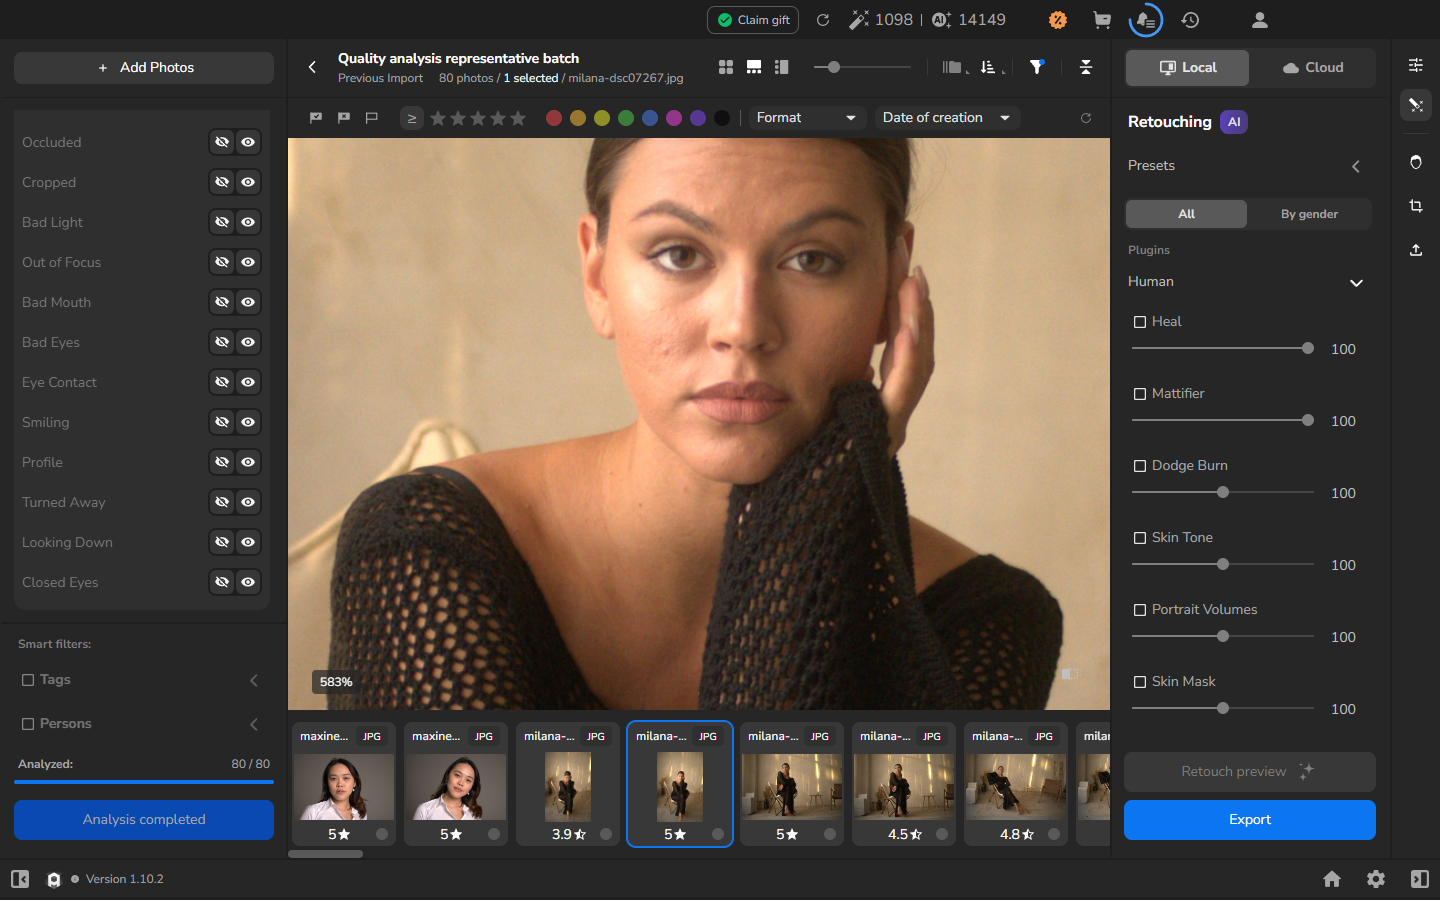
- Compare the eyes, expression, focus, motion, and obstruction around the face.
- Choose the stronger photograph after checking the full image.
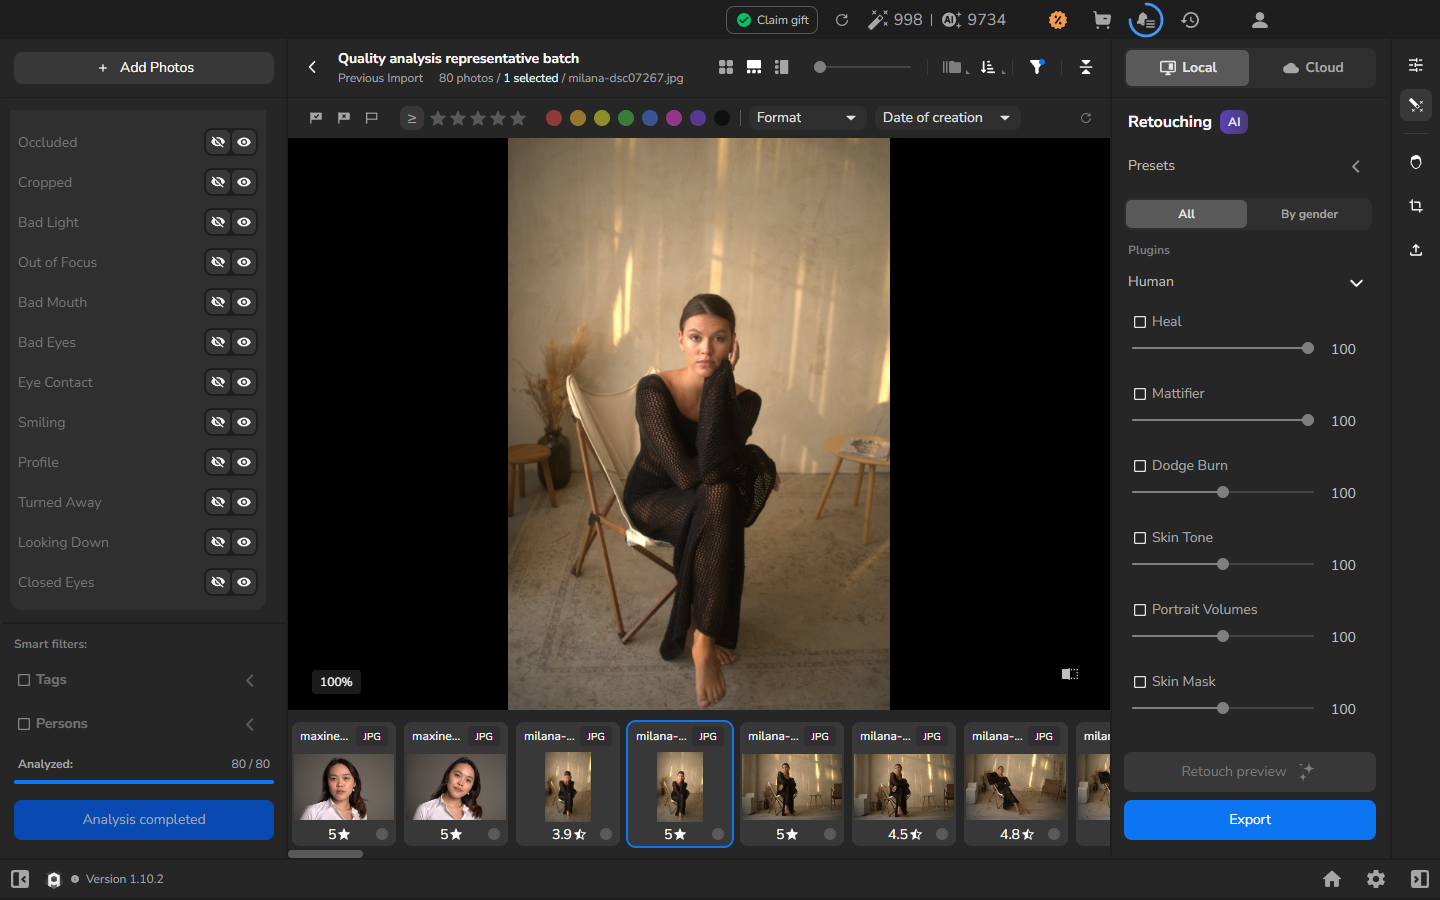
Nearby frames often make expressions and fleeting blinks easier to compare.
Review borderline or incorrect results
Section titled “Review borderline or incorrect results”- Inspect any remaining candidates in the large viewer.
- Leave partly closed eyes, side glances, lowered eyes, occlusions, and hard-to-read faces in a borderline group until you can compare them visually.
- Keep a photograph that works for your selection even when its analysis label is wrong.
- Reset the analysis filter before continuing the cull so photographs outside the filtered results are visible again.
- Continue with ratings and selection.
Check the result
Section titled “Check the result”You now have a visually reviewed shortlist rather than a selection based only on AI labels. Reset any analysis filters before continuing if you want the full shoot visible.
If it does not work
Section titled “If it does not work”- Analyze is unavailable: check whether the control already says Analysis completed and whether the counter covers your selection. Otherwise, confirm that photographs are selected.
- Analysis does not complete: do not start a second analysis while the current operation still appears active. If Arams shows an error, leave the originals unchanged and try the analysis again later.
- The analysis filters are missing: confirm that Automatic photo analysis and Automatic face search were enabled before import and that analysis completed. Reset ordinary filters and reopen Image Features and Face Features.
- Closed Eyes returns no photographs: no photograph in the current selection matched that filter. Review other useful indicators or continue the cull without it.
- A candidate has open eyes: treat it as an incorrect result and make the culling decision from the photograph.
- The face is too small to judge: open the large viewer and inspect the source at a useful scale. Follow Inspect detected faces when you need the face panel.
- The account cannot run analysis: photo and face analysis requires available analysis credits. You can continue culling without the AI quality filters.