Review groups of similar photographs
What you will do
Section titled “What you will do”Group similar photographs to make a large shoot easier to scan. You can expand any group to compare and select its members, then collapse it or turn grouping off when you want to see every photograph separately.
Before you start
Section titled “Before you start”Create a project and import your photographs. Wait for their thumbnails to appear, then choose the four-square gallery button in the top toolbar.
Enable grouping and choose the similarity level
Section titled “Enable grouping and choose the similarity level”- Find the grouping control in the top toolbar: the stacked-rectangle icon with a small dropdown arrow, immediately before the sort control.
- Open its dropdown. If Similar is disabled, close the dropdown and click the main grouping icon to enable grouping, then reopen the dropdown.
- Click Similar.
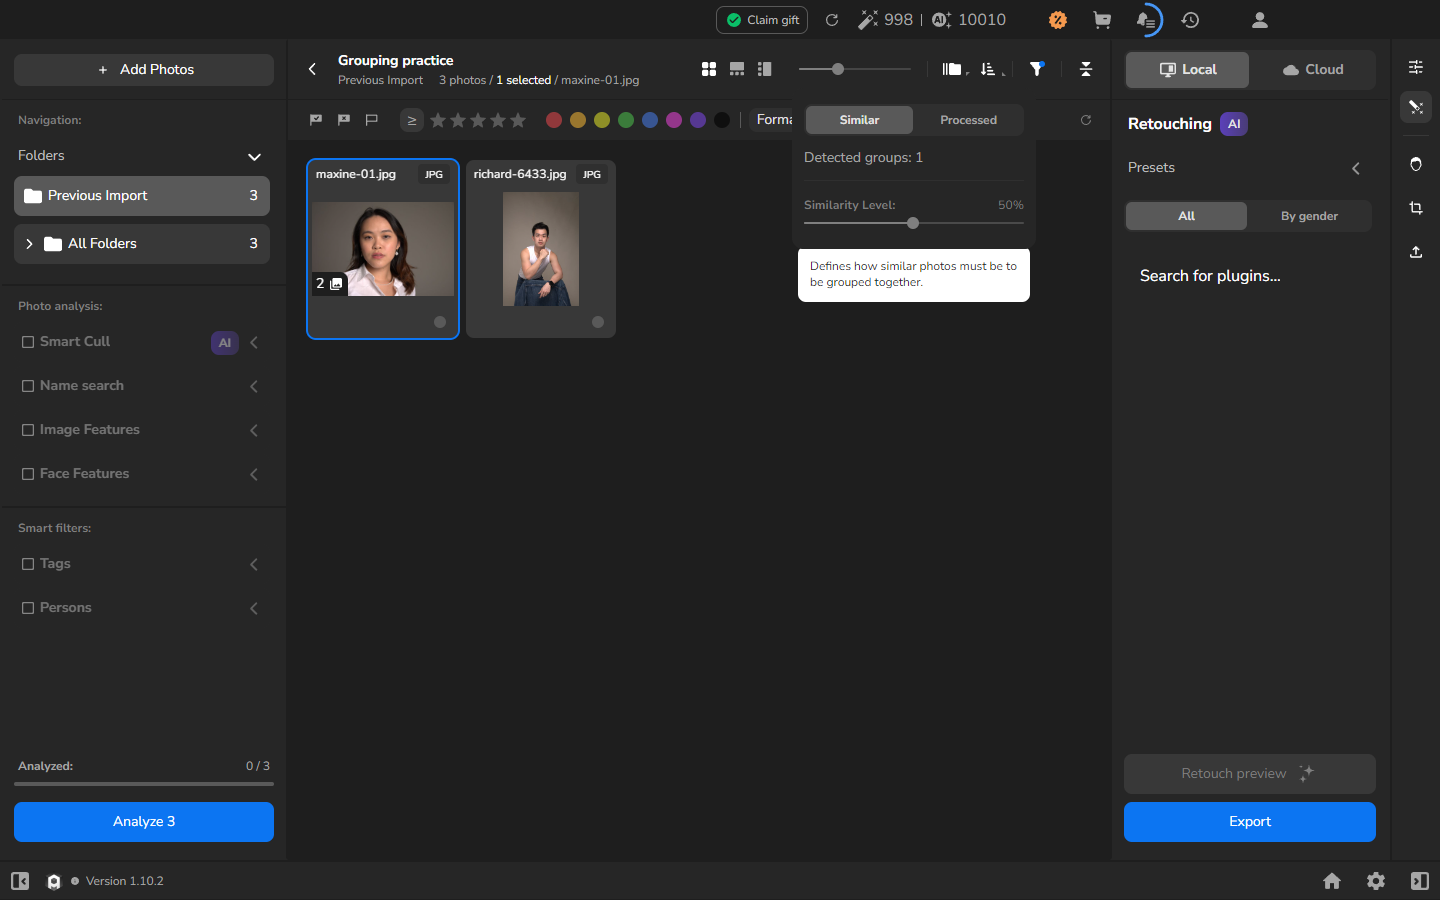
- Adjust Similarity Level: while watching Detected groups. Raise the level to require a closer match, or lower it if photographs that belong together remain separate.
- Review the gallery. Each collapsed group appears as one cover card with a numbered badge at the lower-left of its thumbnail. Photographs outside a group remain as separate cards.
Choose the similarity level by checking the photographs inside the groups. Lower values can gather more photographs, so make sure each group still matches the way you want to review the shoot.
Expand the group and review its members
Section titled “Expand the group and review its members”- Click the grouping dropdown arrow again to close the menu.
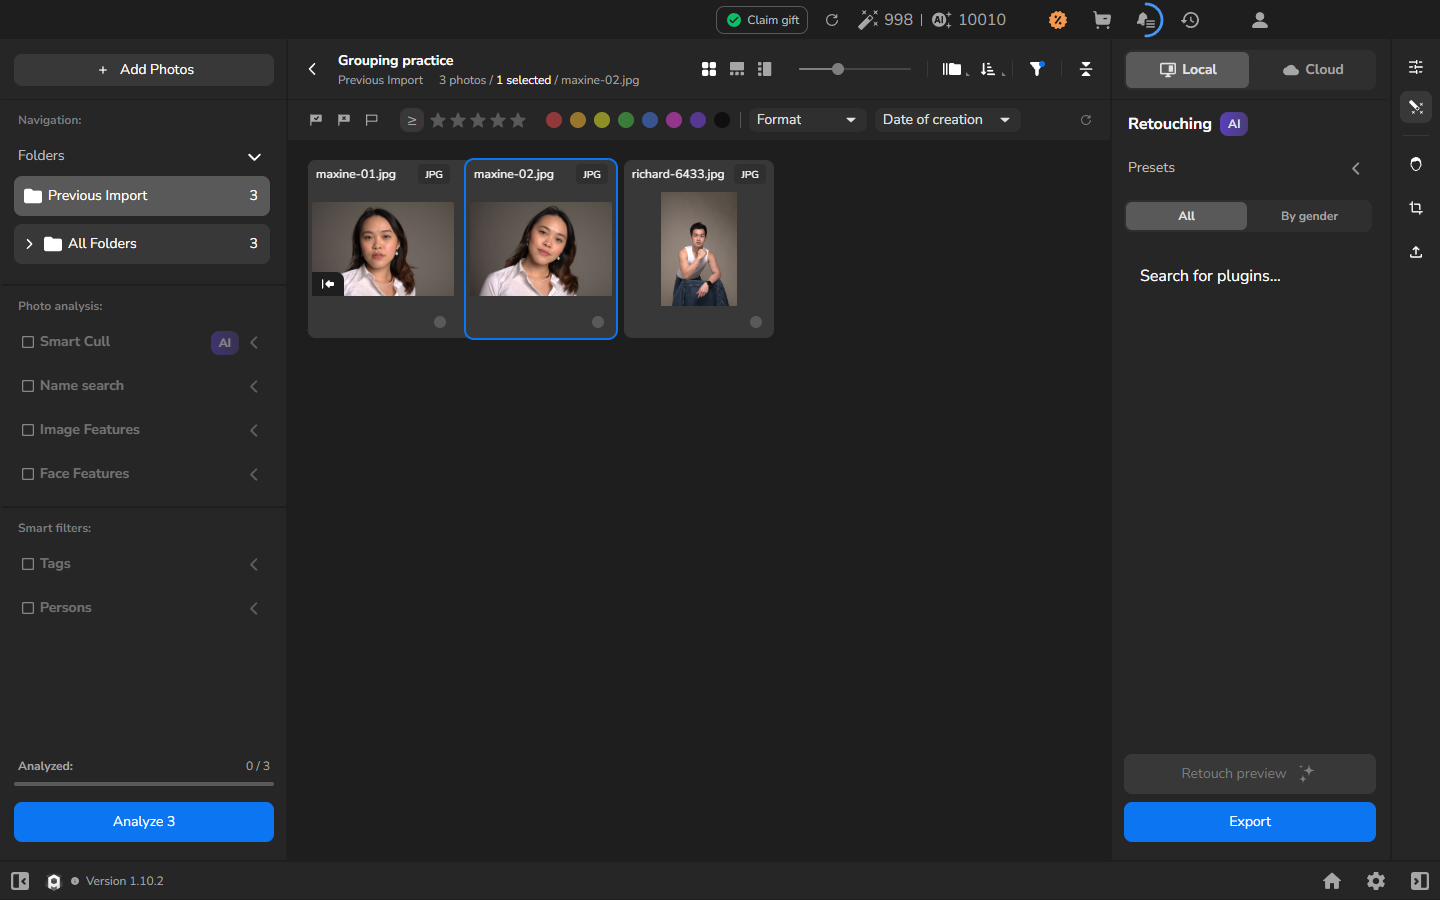
- Click the numbered badge with the small group icon on a cover thumbnail. The group’s members appear as separate cards, while photographs outside the group remain visible.
- Click a member to select it. Its card gains a blue outline, and its filename appears beside the photo counter.
The cover represents the collapsed group; it is not a recommendation of the best photograph. Expand the group and compare its members before making your selection.
Collapse the group or return to separate photographs
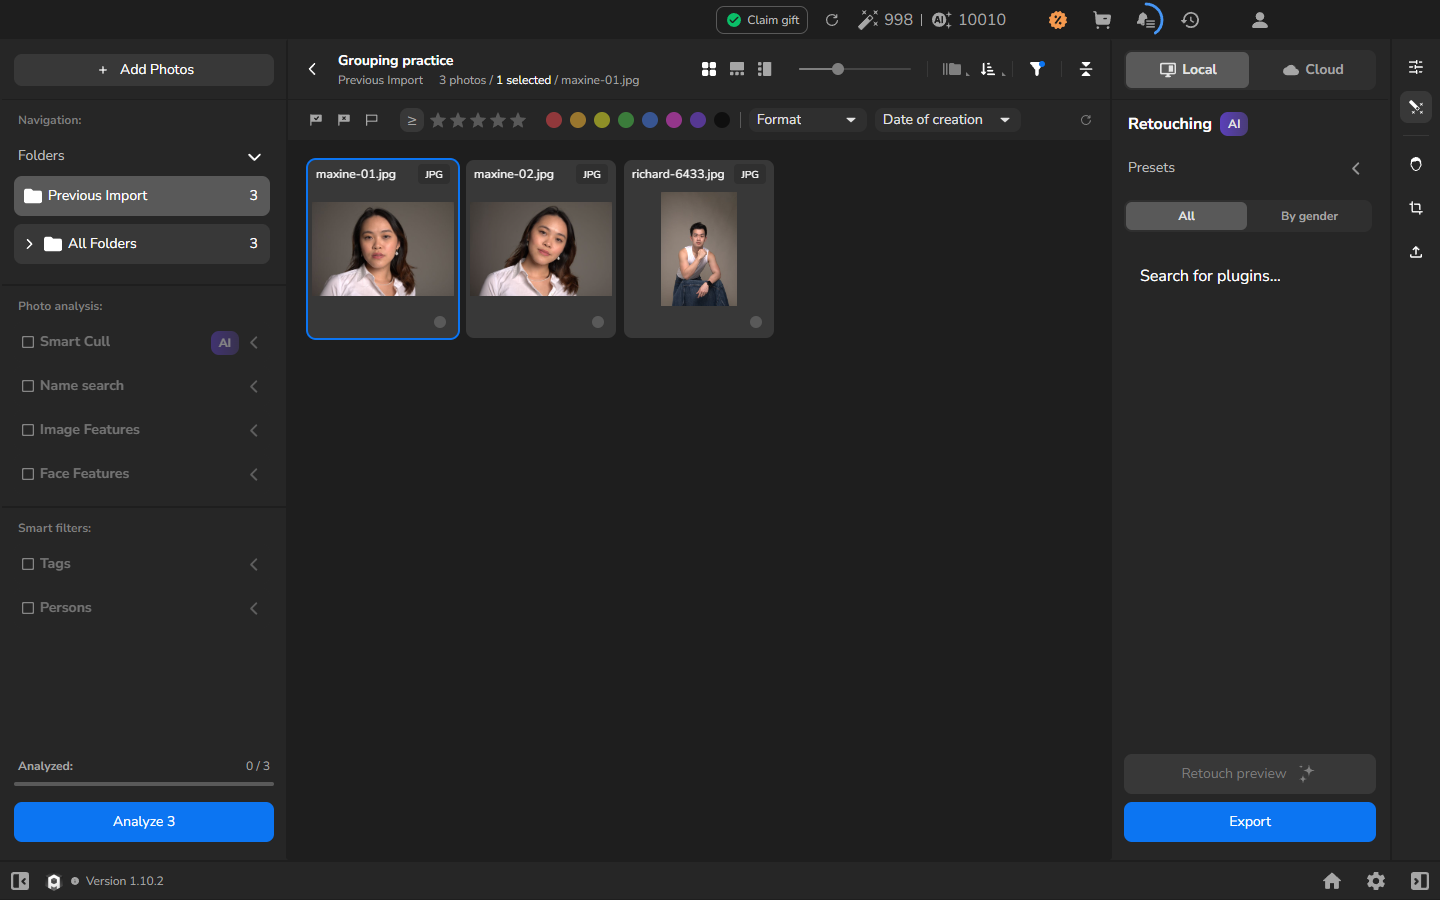
Section titled “Collapse the group or return to separate photographs”- Click the group icon at the lower-left of the original cover thumbnail to collapse the group. Its members return to one cover card.
- To show the photographs separately again, click the main grouping icon in the top toolbar to turn grouping off.
- The group badges disappear and every photograph appears as a separate card. If you open the grouping dropdown, Similar is disabled while grouping is off.
Expand and collapse groups in each layout
Section titled “Expand and collapse groups in each layout”The three view buttons in the top toolbar show the same project in a gallery, a horizontal detailed view, or a vertical detailed view. The detailed views keep a large active photograph on screen and place the project filmstrip below it or beside it.
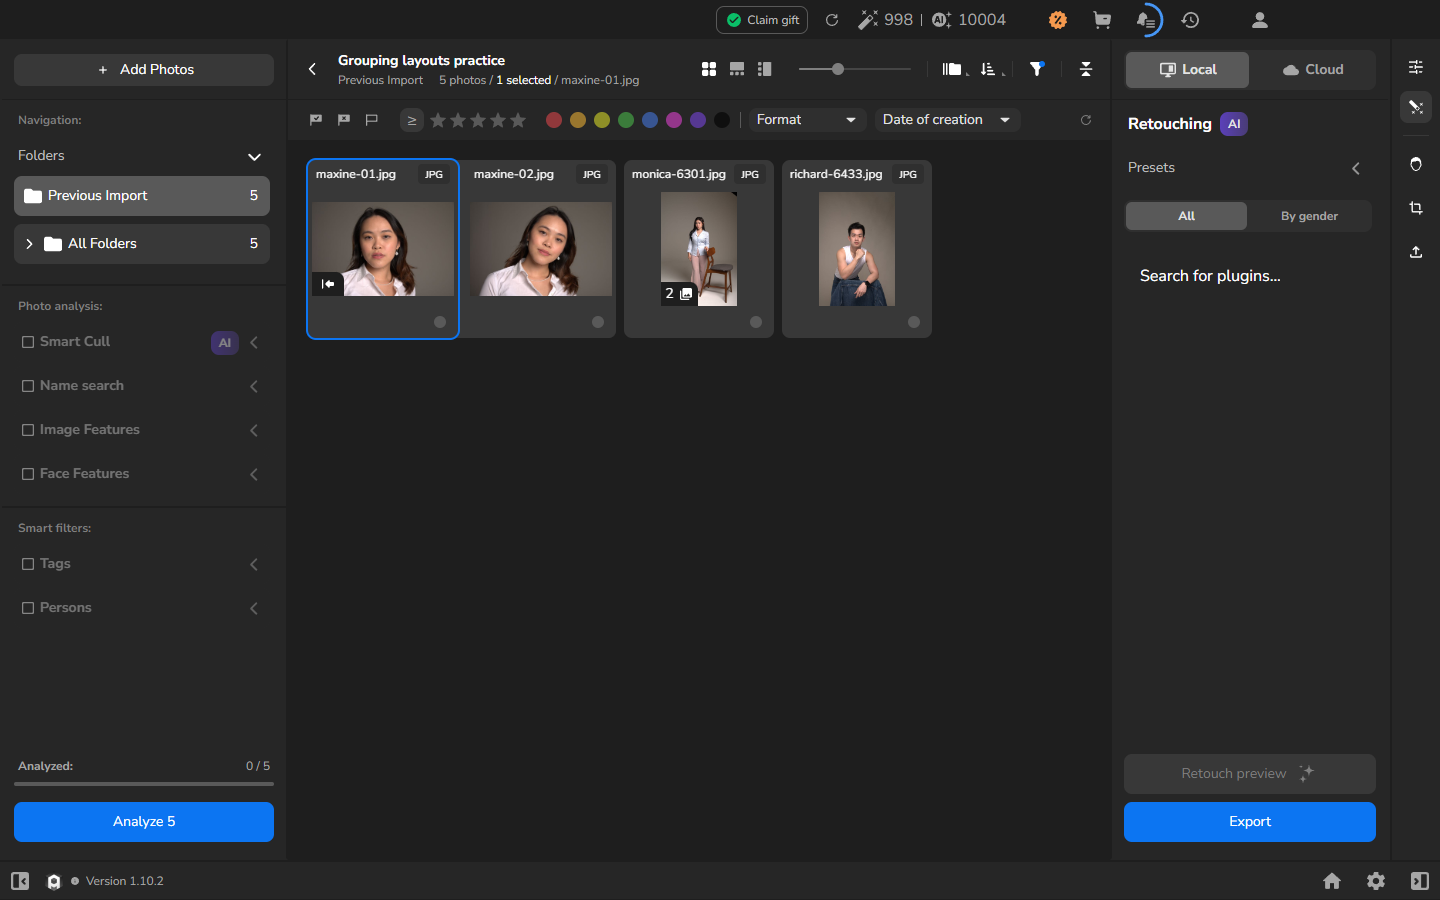
- Choose the four-square gallery button.
- Click the numbered badge on a group cover. Its members appear as separate cards; other groups remain collapsed.
- Click the group control on the original cover again to collapse its members into the cover card.
- Choose the middle view button to open the horizontal detailed view.
- Select a group cover in the lower project filmstrip, then click its numbered badge. A second filmstrip opens immediately above the project filmstrip and shows the members of that group.
- Click a member in the second filmstrip. It becomes the large photograph, receives the blue selection outline, and its filename appears beside the counter.
- Click the group control in the second filmstrip to collapse it. The second filmstrip closes; the project filmstrip and large photograph remain.
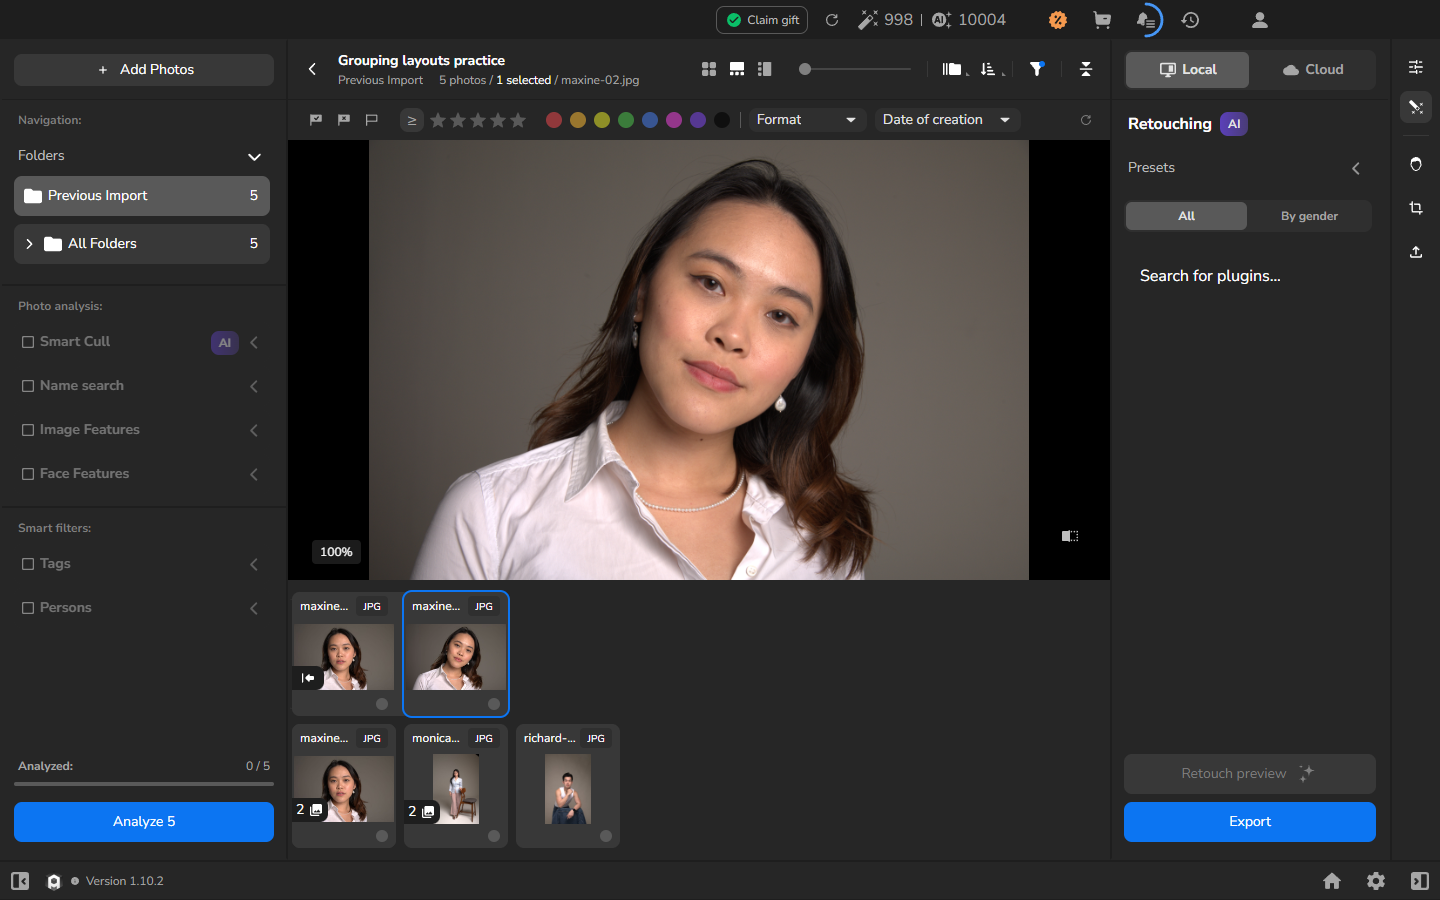
Switch the active group in the second filmstrip
Section titled “Switch the active group in the second filmstrip”- In the horizontal detailed view, expand one group as described above.
- Click the cover of the other group in the lower project filmstrip.
- The second filmstrip changes to the members of the newly active group. The large photograph and filename change to the active member of that group.
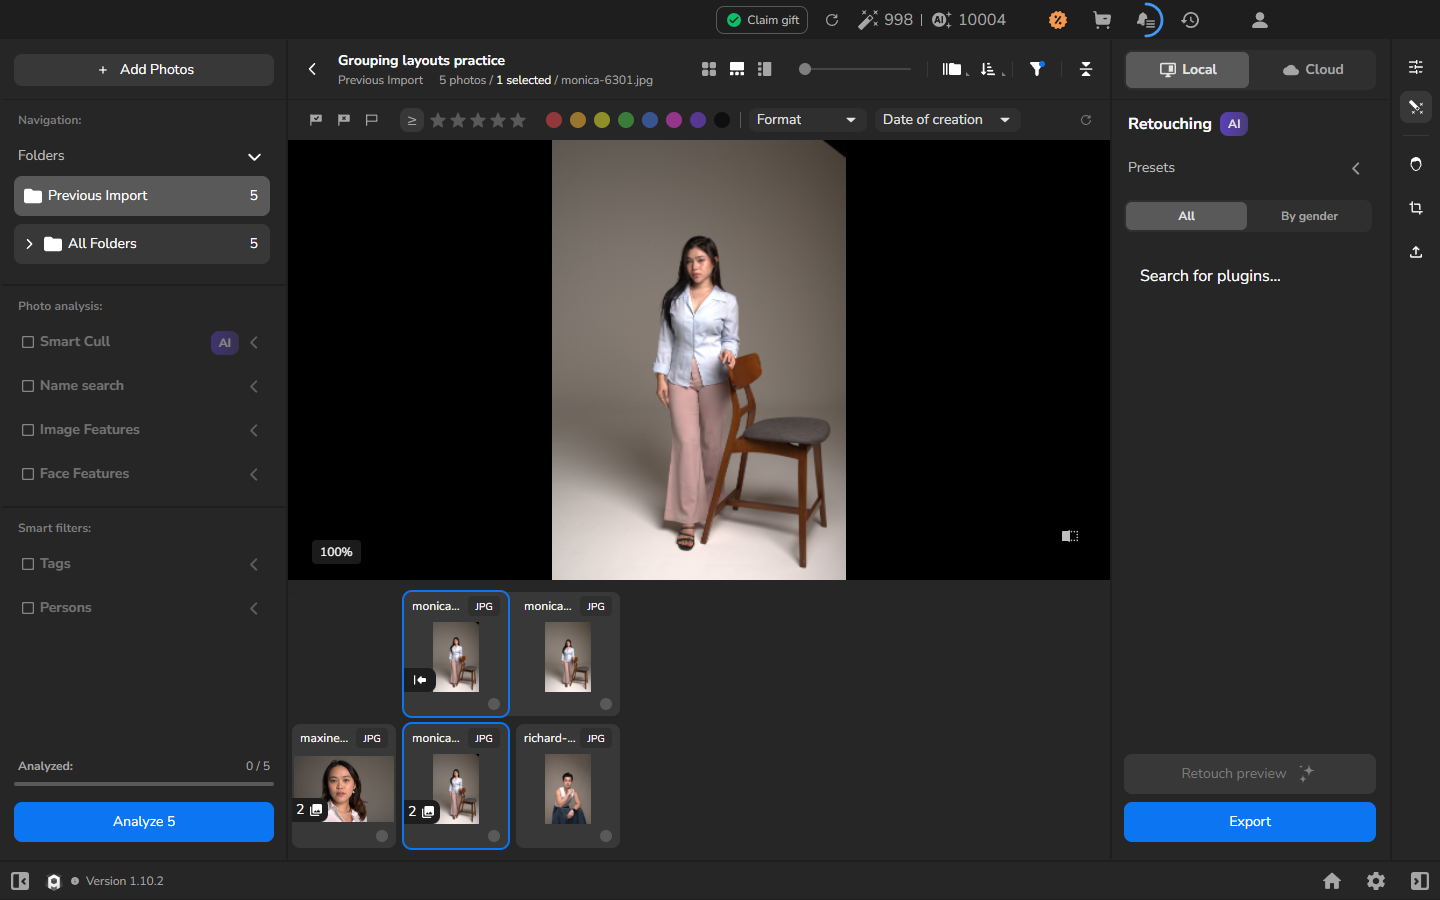
The blue outlines in the two filmstrips identify different things: the lower project filmstrip marks the active group cover, while the upper second filmstrip marks the active member. Opening a group does not select all of its members.
Use the second filmstrip in the vertical detailed view
Section titled “Use the second filmstrip in the vertical detailed view”- Choose the right view button to open the vertical detailed view.
- Select a group cover in the project filmstrip on the left, then click its numbered badge.
- The group members appear in the second filmstrip at the top of the left rail. The group covers and other photographs remain available in the project filmstrip.
- Click a group member to make it the large active photograph.
- Click the group control in the second filmstrip to collapse the group. The second filmstrip closes without removing photographs from the project.
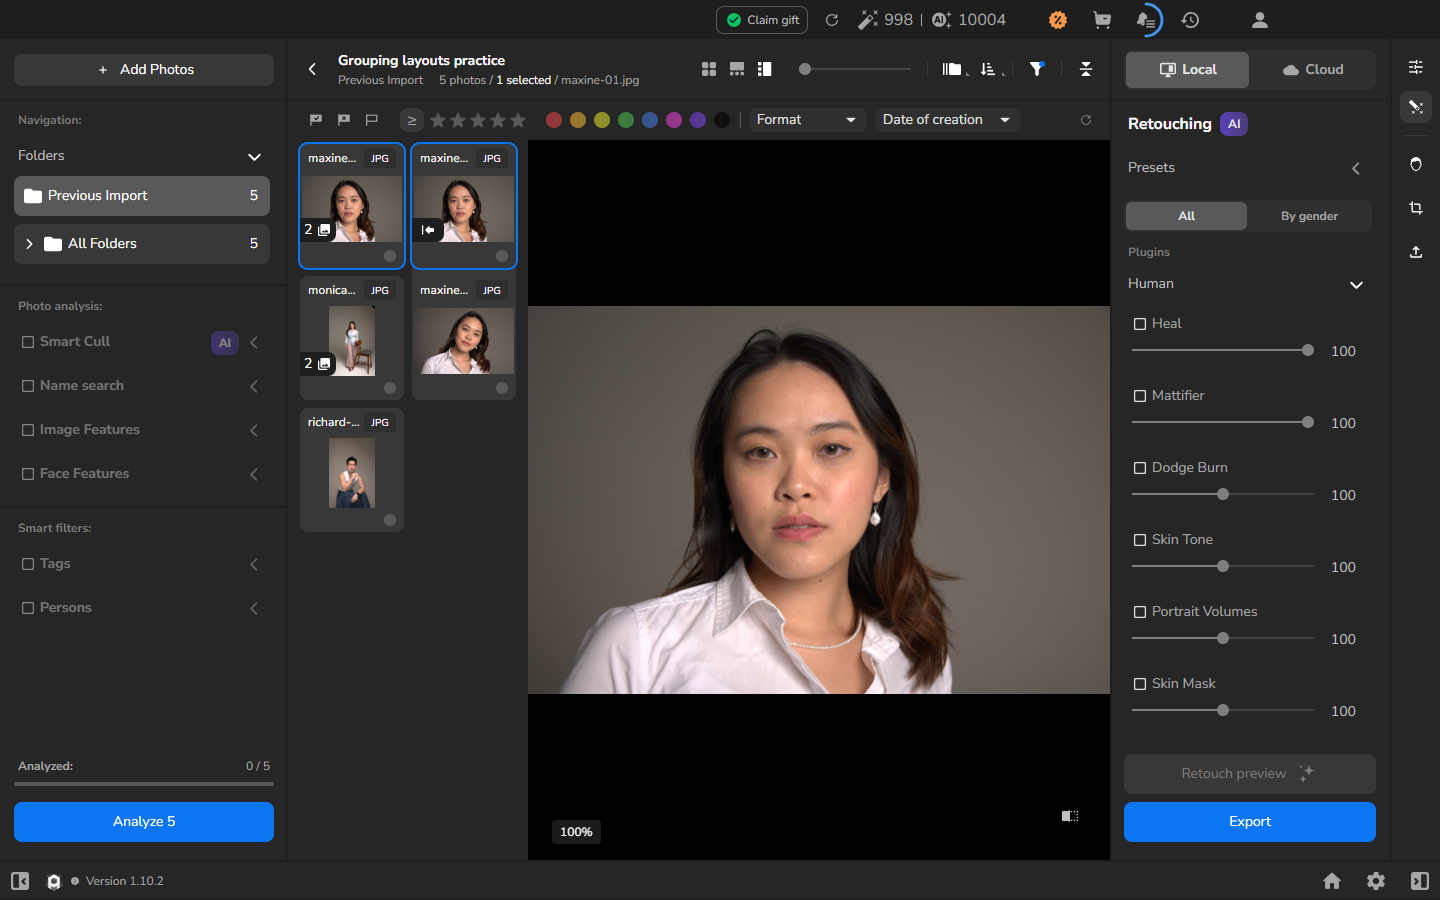
If it does not work
Section titled “If it does not work”- Similar is disabled: close the menu, enable grouping with the main grouping icon, then reopen the menu.
- Detected groups remains 0: check that the thumbnails have loaded, then lower Similarity Level: gradually. The photographs in your shoot may not be similar enough to form a useful group.
- Only one photograph is visible: look for a numbered group badge on its thumbnail. Click it to expand the group, or turn grouping off to return to separate cards.
- You are unsure which member is selected: check the blue outline and the filename beside the photo counter before continuing.