Retouch a consistent photo series
What you will do
Section titled “What you will do”Give a series a consistent starting point by reusing retouching settings across similar photographs. Save a setup as a preset when you expect to use it again, or copy the current settings when you only need them on selected photographs. After applying the shared settings, adjust individual photographs as needed, inspect each result, and export full-size JPEG copies without replacing your originals.
The screenshots use Heal at Sensitivity 75 as an example. Choose tools and values for your own photographs: consistent settings do not guarantee identical corrections when faces, poses, or lighting differ.
Before you start
Section titled “Before you start”- Sign in and make sure the retouching tools you want to use are installed and activated for Local processing.
- Create a project and import the photographs from your series.
- Keep the original files unchanged. Export finished photographs to a new subfolder so that you can compare or restore the originals later.
For a detailed explanation of the controls used here, see Choose retouching tools and settings, Use retouching presets, and Understand and verify local processing.
Prepare the series and apply one preset
Section titled “Prepare the series and apply one preset”- Select a representative photograph, open the retouching controls, and choose Local.
- In All, enable the tools you want to use. Turn off tools that do not belong in this setup.
- Adjust each setting while watching the photograph. For example, enable Heal and choose a Sensitivity that removes the distractions you want without flattening natural skin texture.
- Under Presets, choose Create preset, enter a name that identifies the series or look, and accept the name.
- Select another similar photograph and choose the new preset from Presets.
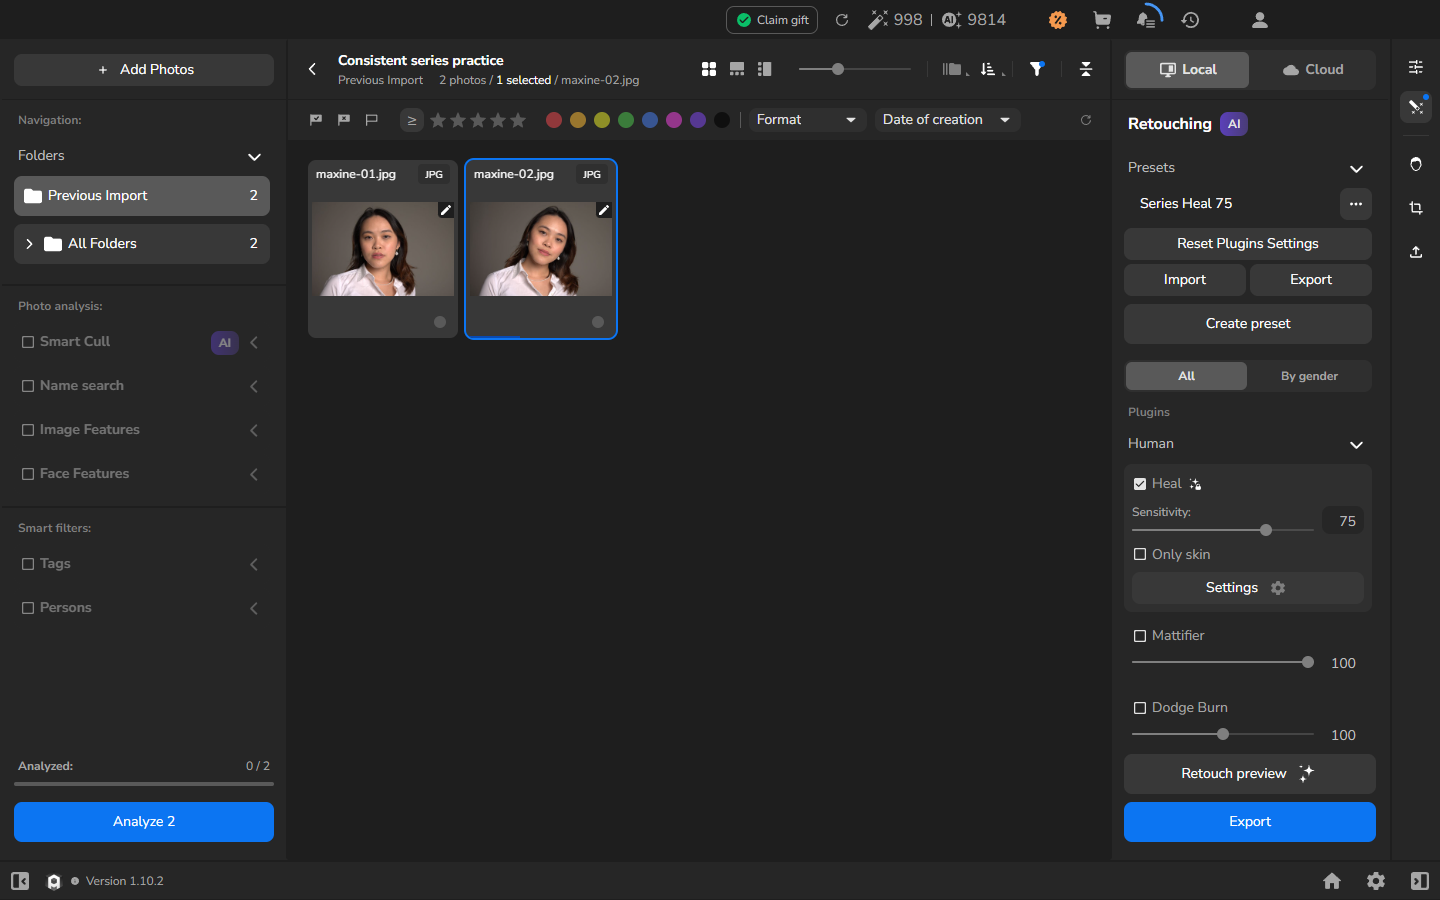
The preset applies the saved setup, but the visible result can vary from photograph to photograph. Use it as a consistent starting point, then inspect each image before processing the whole series.
Copy current image settings to selected photographs
Section titled “Copy current image settings to selected photographs”This procedure copies the settings currently attached to a source photograph. It does not create or apply a named preset.
- Select the photograph whose settings you want to reuse.
- Choose Local and finish configuring its retouching and color settings.
- Right-click the photograph and choose Copy image settings.
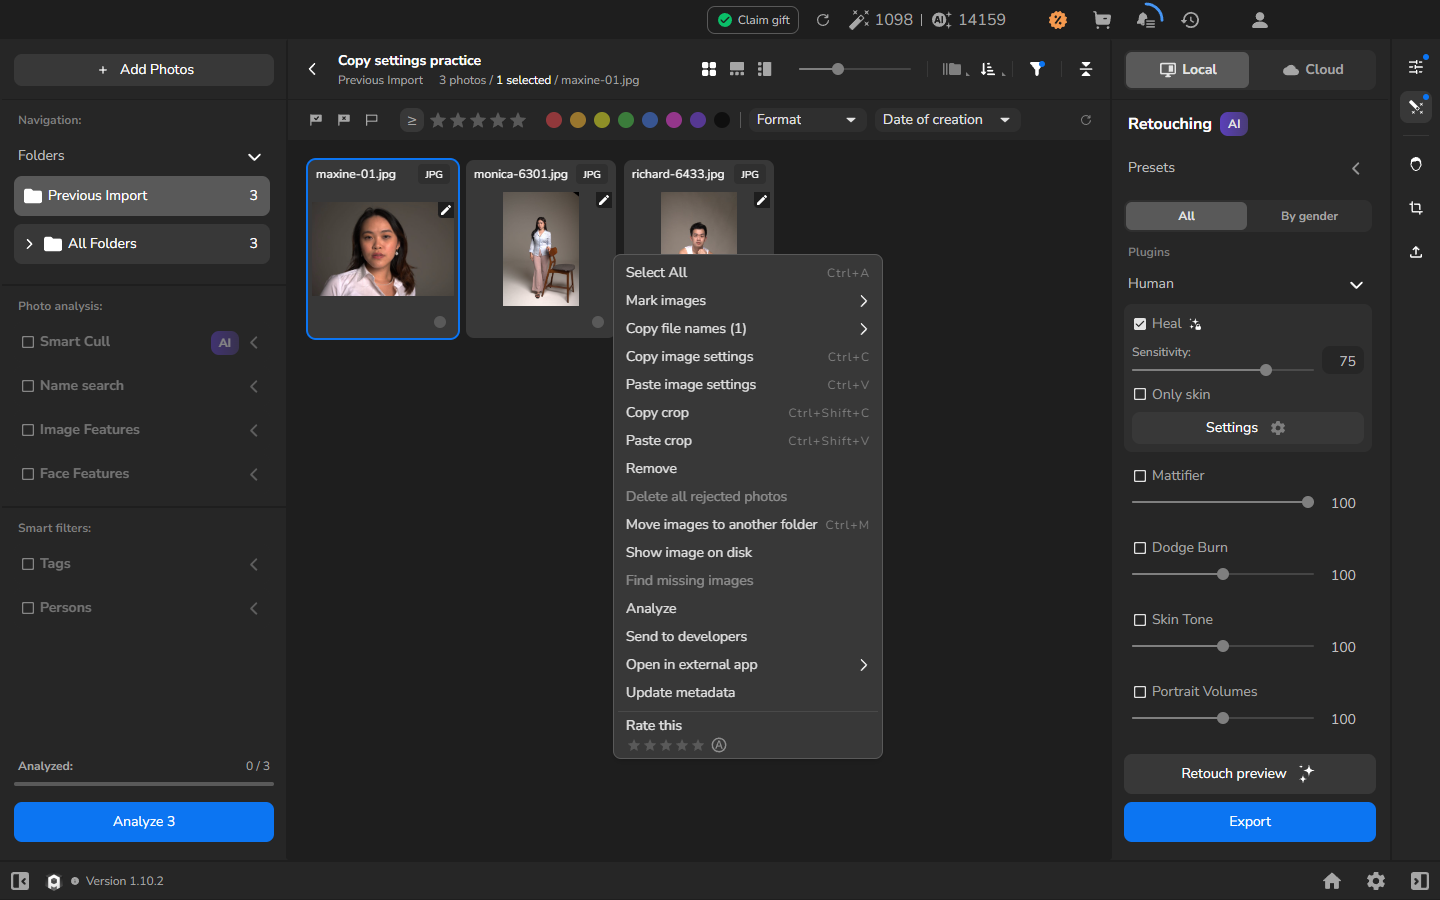
Crop has separate Copy crop and Paste crop commands. Use those commands when you also want to transfer a crop.
- Select the photographs that need the same starting settings.
- Right-click the selection and choose Paste image settings.
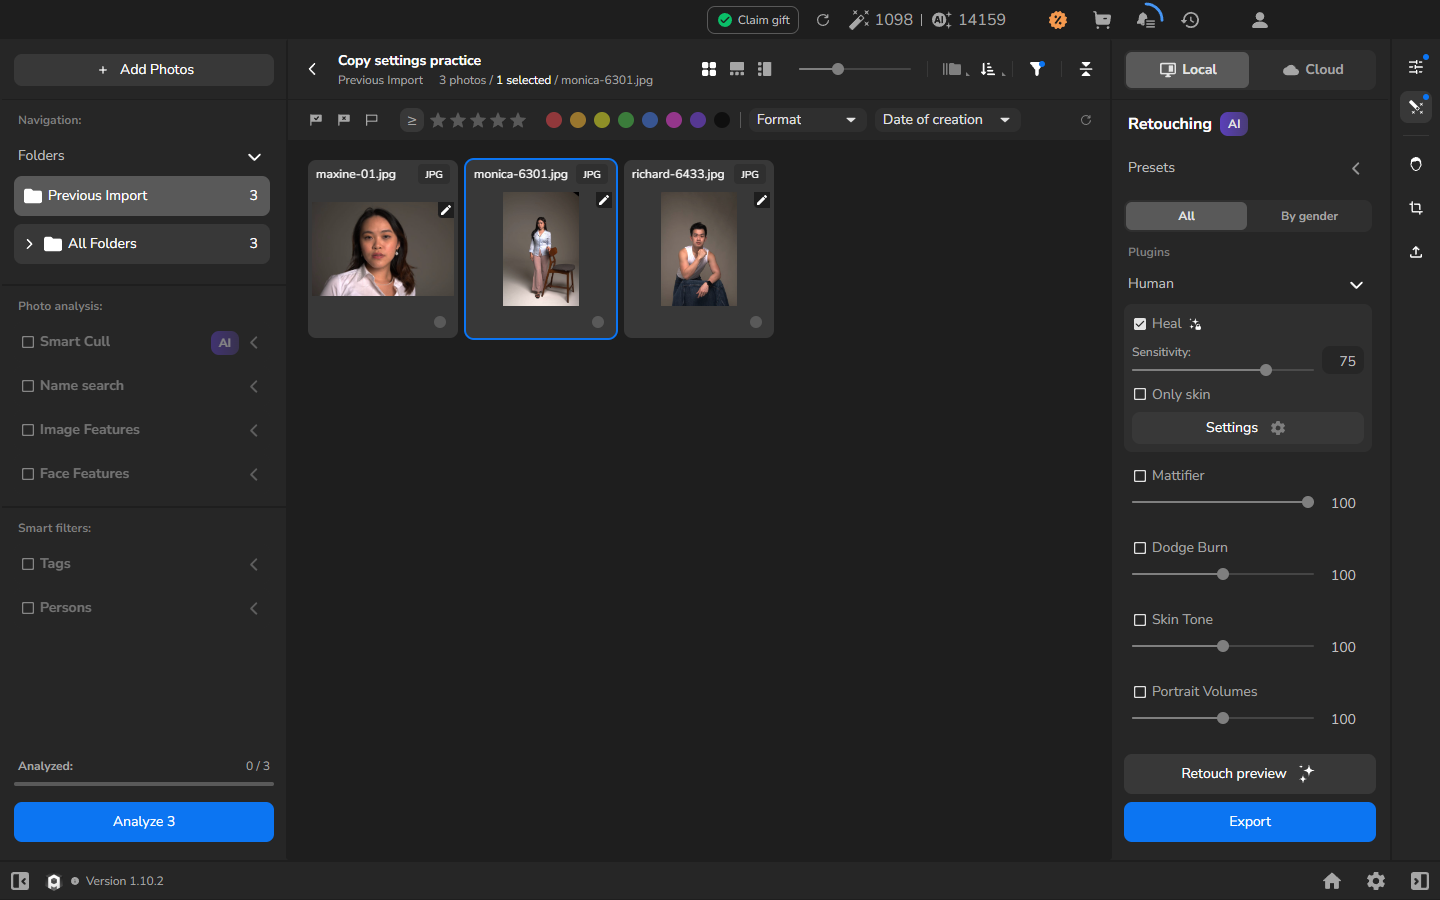
The copied values replace the corresponding settings on every selected photograph. Review the selection before pasting so that you do not overwrite adjustments you meant to keep.
Adjust one photograph without changing the others
Section titled “Adjust one photograph without changing the others”- Select one photograph by itself and adjust its settings. For example, reduce Sensitivity if the shared setting removes too much texture.
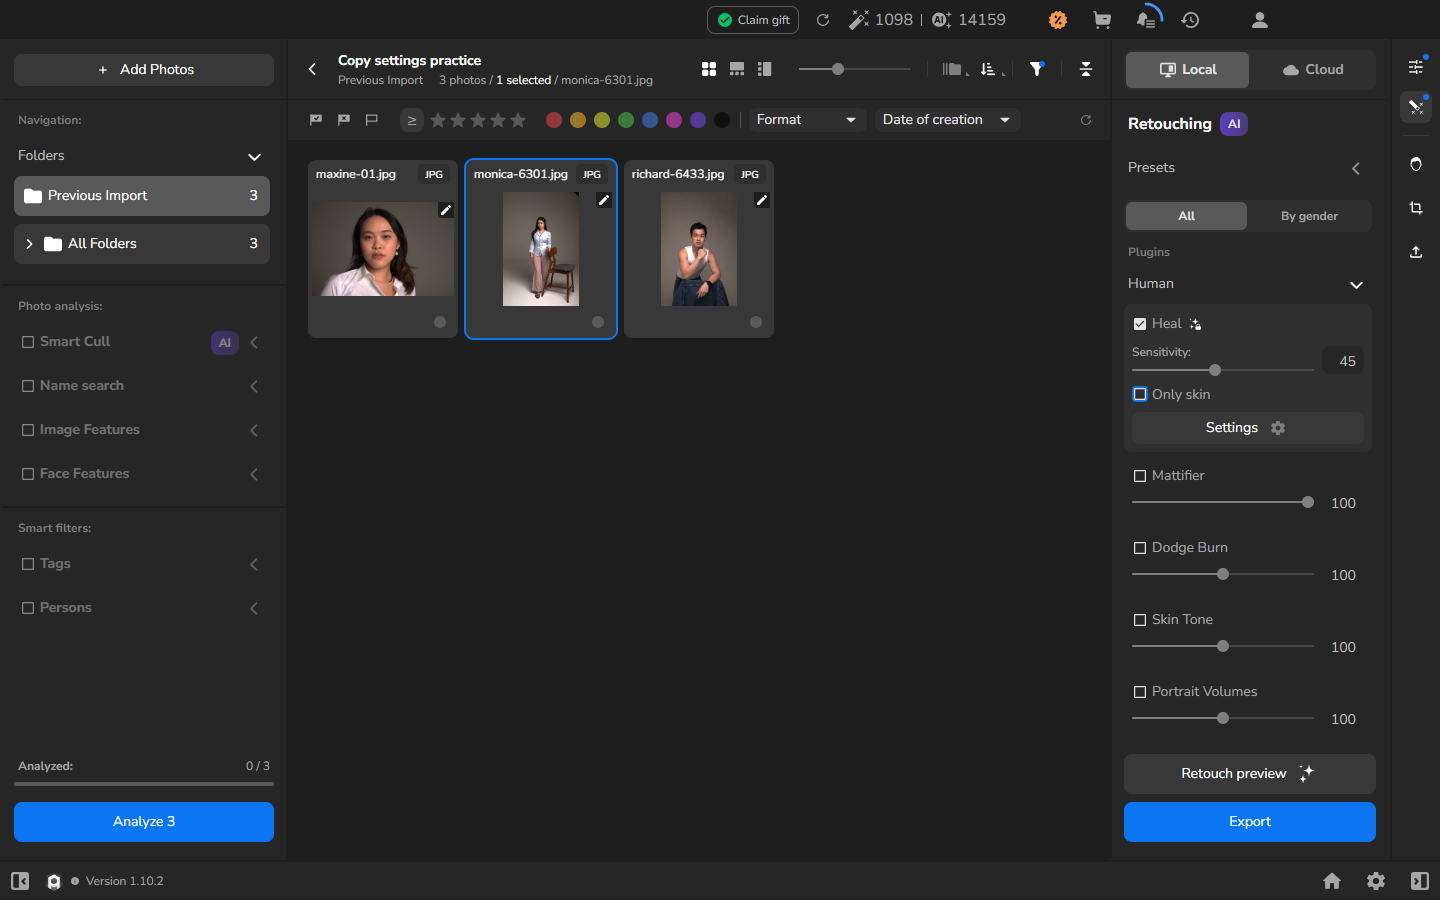
Copied settings are independent. Changing one photograph does not update the source or the other photographs. The source keeps its settings:
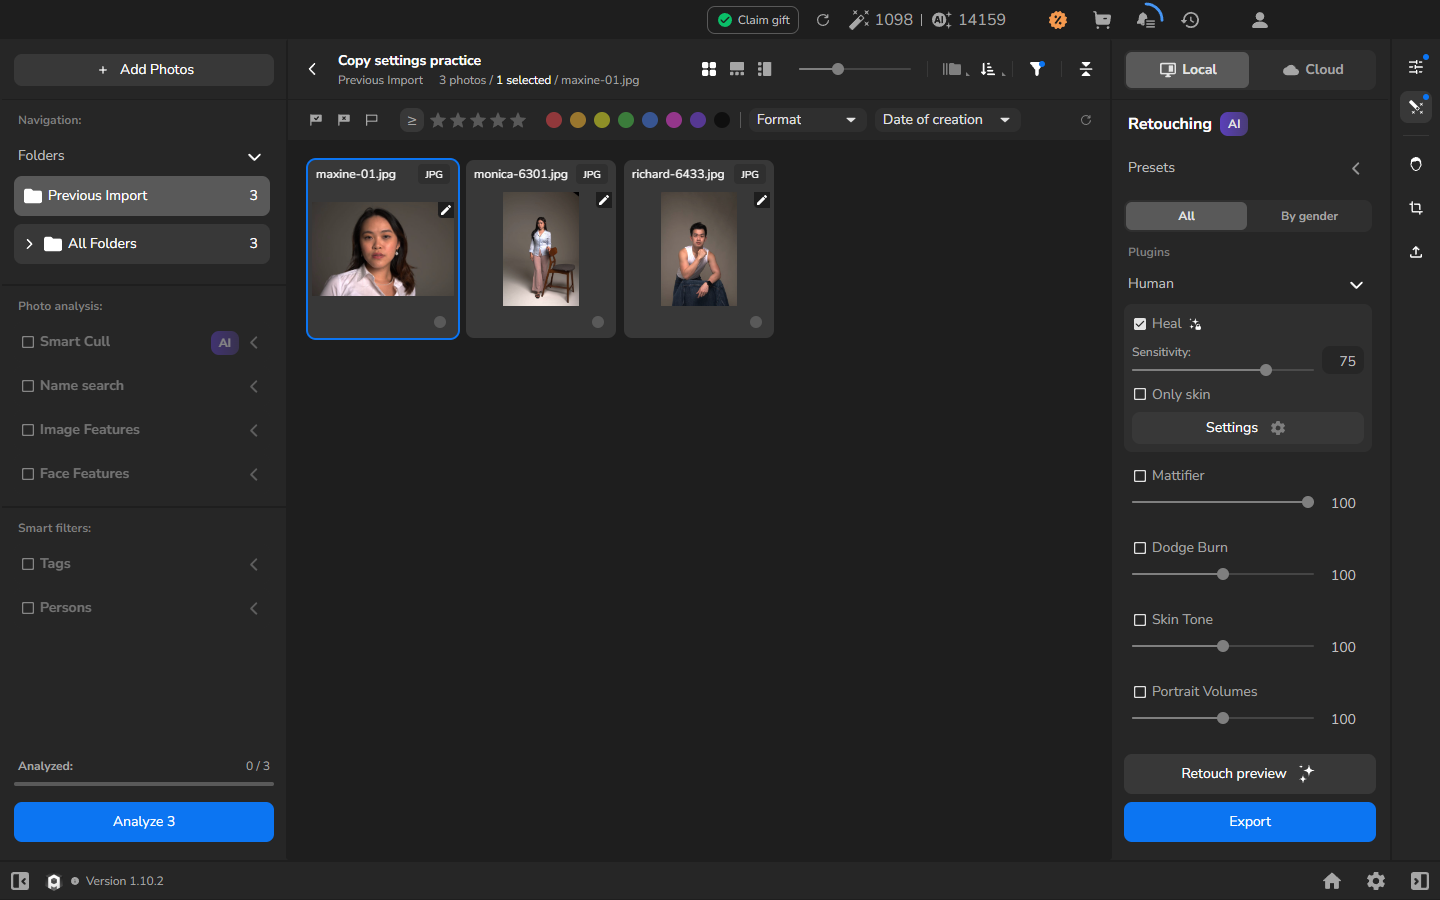
Other photographs also keep their settings until you adjust them or paste settings onto them again:
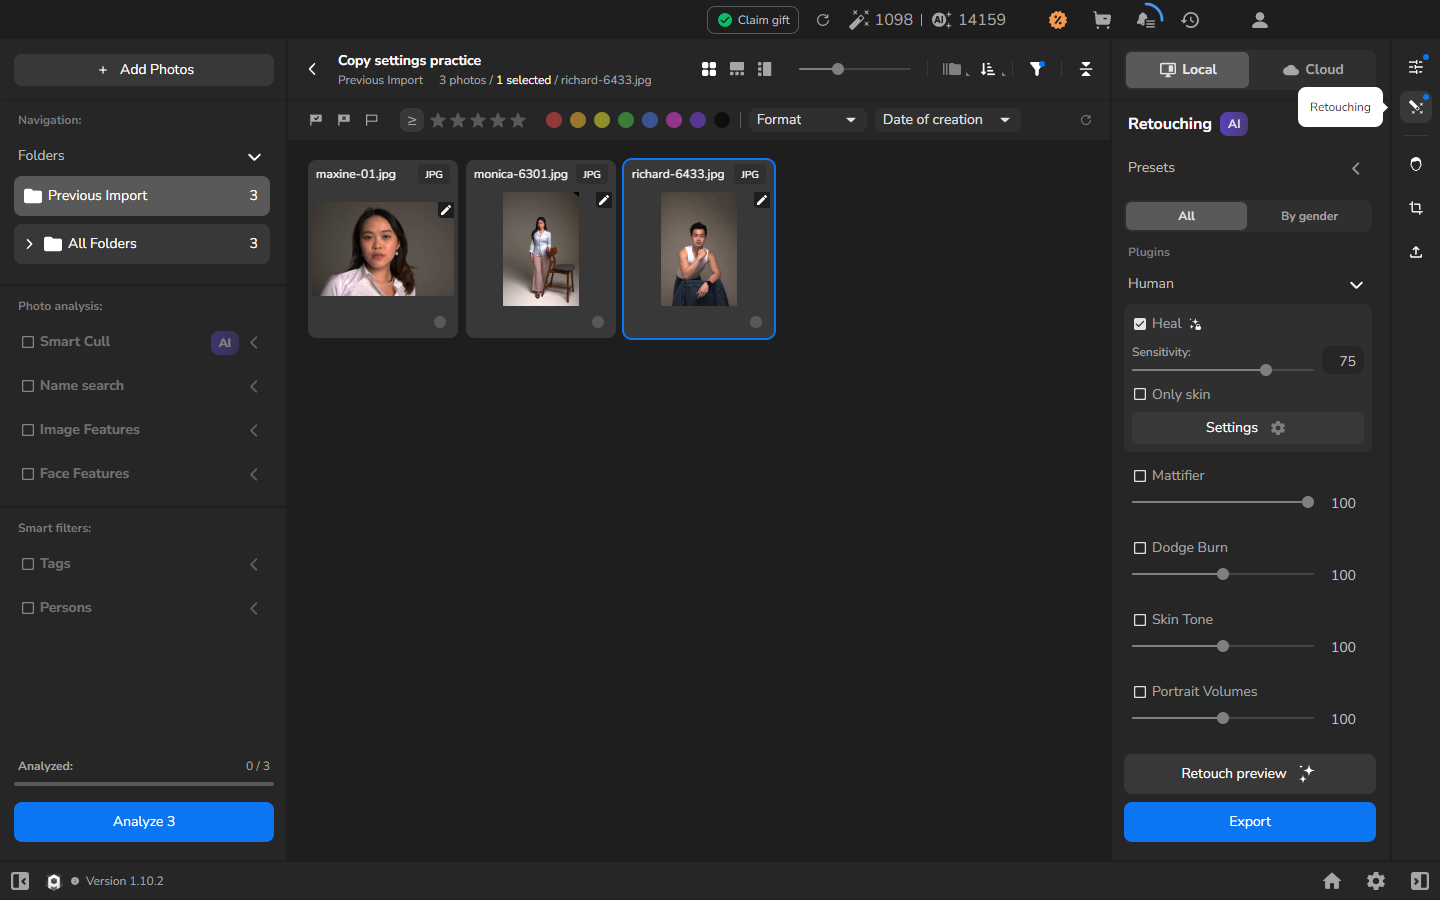
Copying is a one-time transfer; it does not keep the photographs synchronized. If you later change the source and want that change elsewhere in the series, copy and paste the settings again.
Render and inspect each photograph
Section titled “Render and inspect each photograph”- Return to the gallery and select one photograph.
- Choose Retouch preview and wait for processing to finish.
- Open the photograph in the larger viewer. Inspect skin texture and the edges around hair, clothing, and the background for unwanted changes.
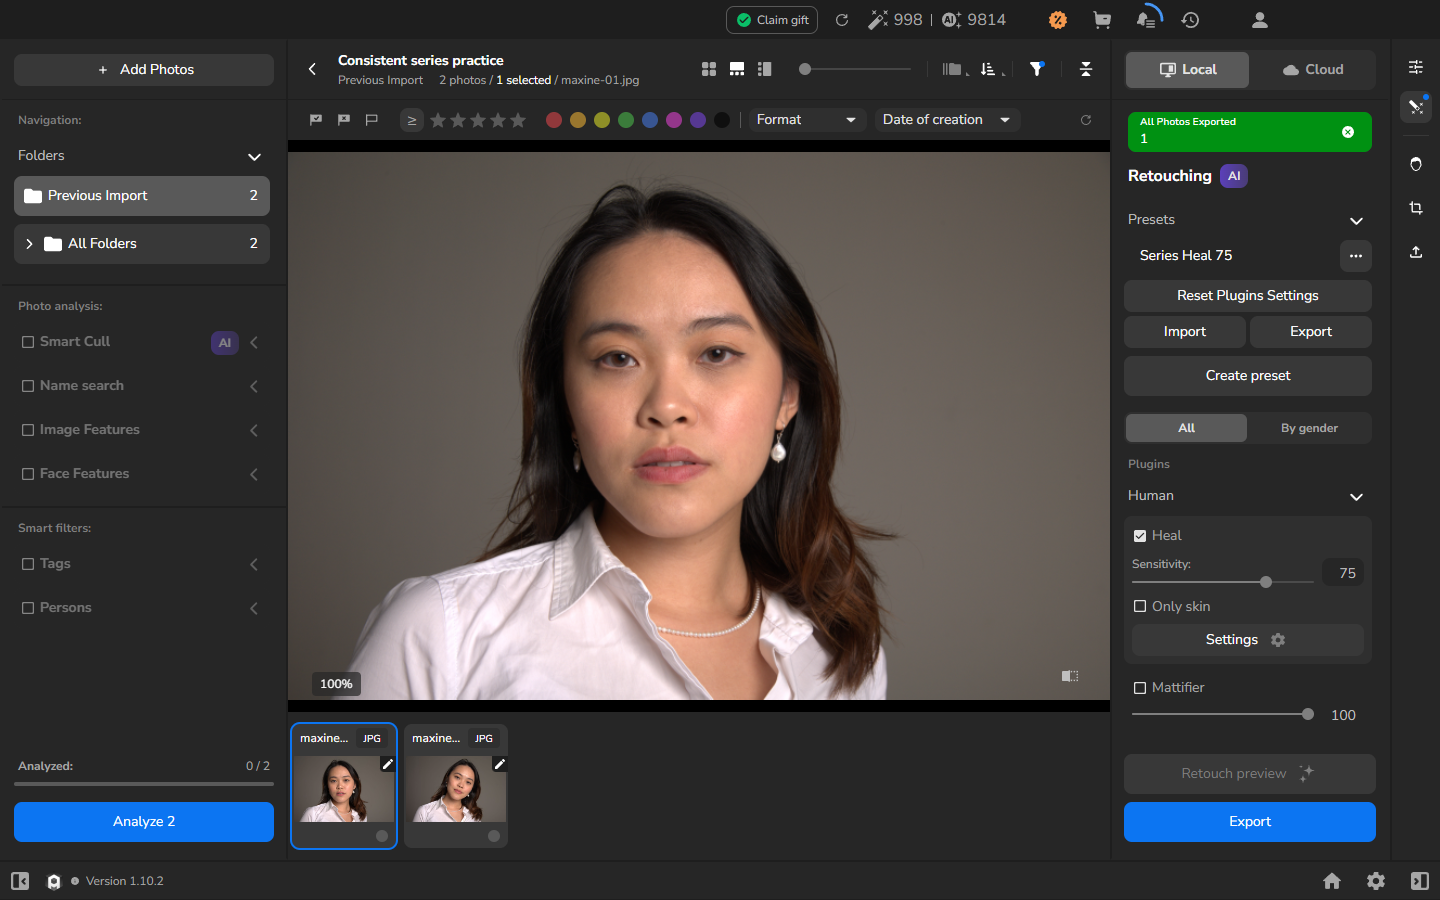
- Return to the gallery and process the next photograph with Retouch preview.
- Inspect it independently. If the correction is too strong or misses an area, adjust that photograph and render it again.
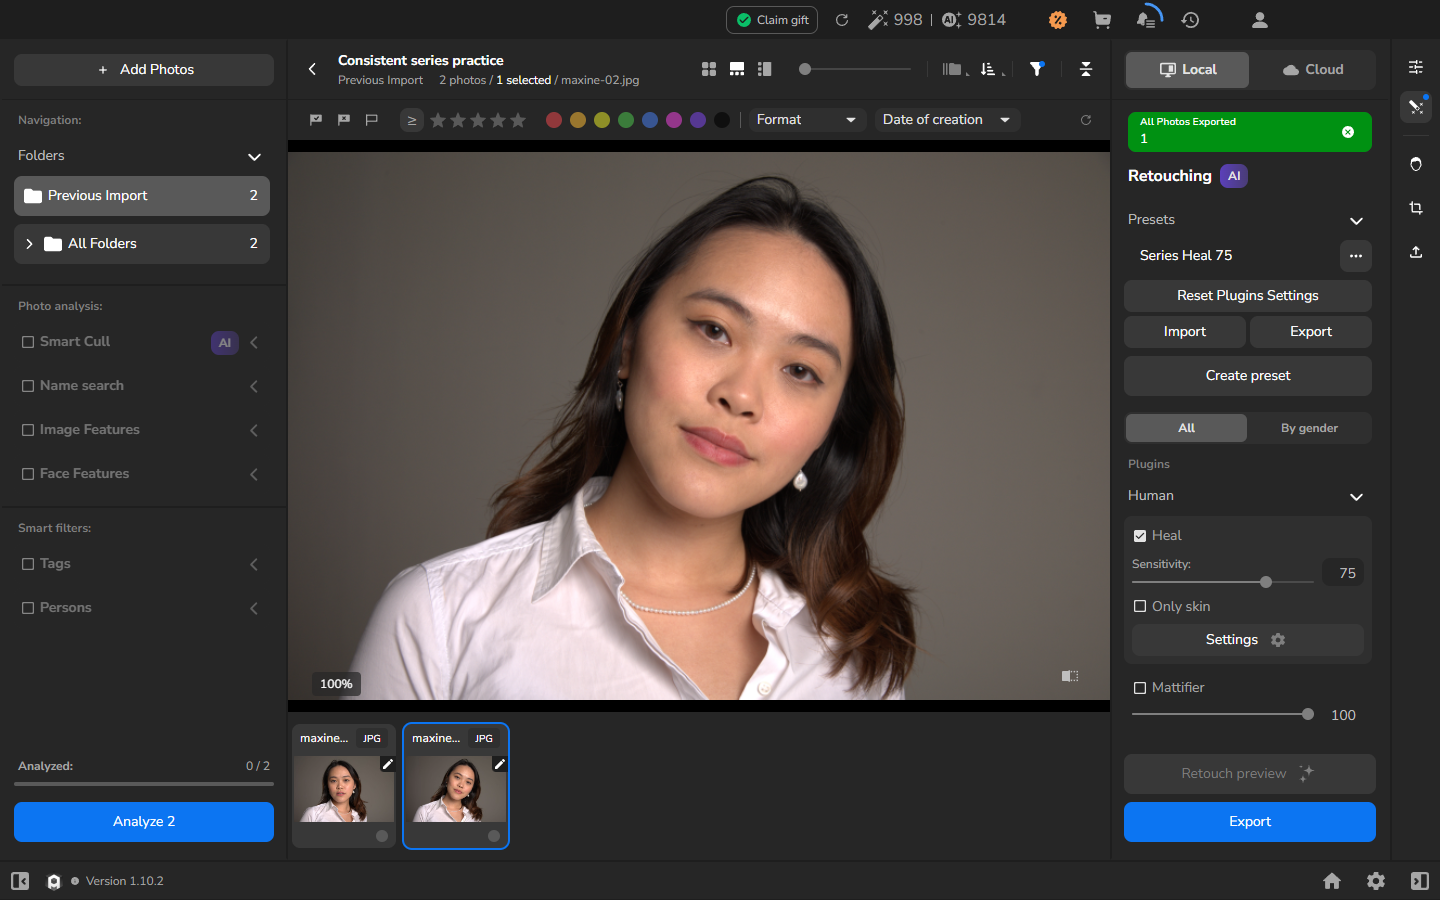
A shared preset keeps the configuration consistent, but every pose and lighting condition still needs its own visual review.
Export and verify the series
Section titled “Export and verify the series”- Return to the gallery and select the original photographs you want to export.
- Open Export settings and choose Hard drive.
- Set Photos to Export to the selected photographs and choose Original Files Folder.
- Enable Put in Subfolder and enter a new, unique subfolder name.
- Under Naming and Overwriting, add a suffix such as -retouched to the filename. Enable Add to Current Project if you want the exported copies to appear in this project.
- To keep the original pixel dimensions, leave Resize to fit off and choose JPEG.
- Choose Export and wait until the export history reports Completed at 100%.
- Open All Folders to find the exported copies beside the originals.
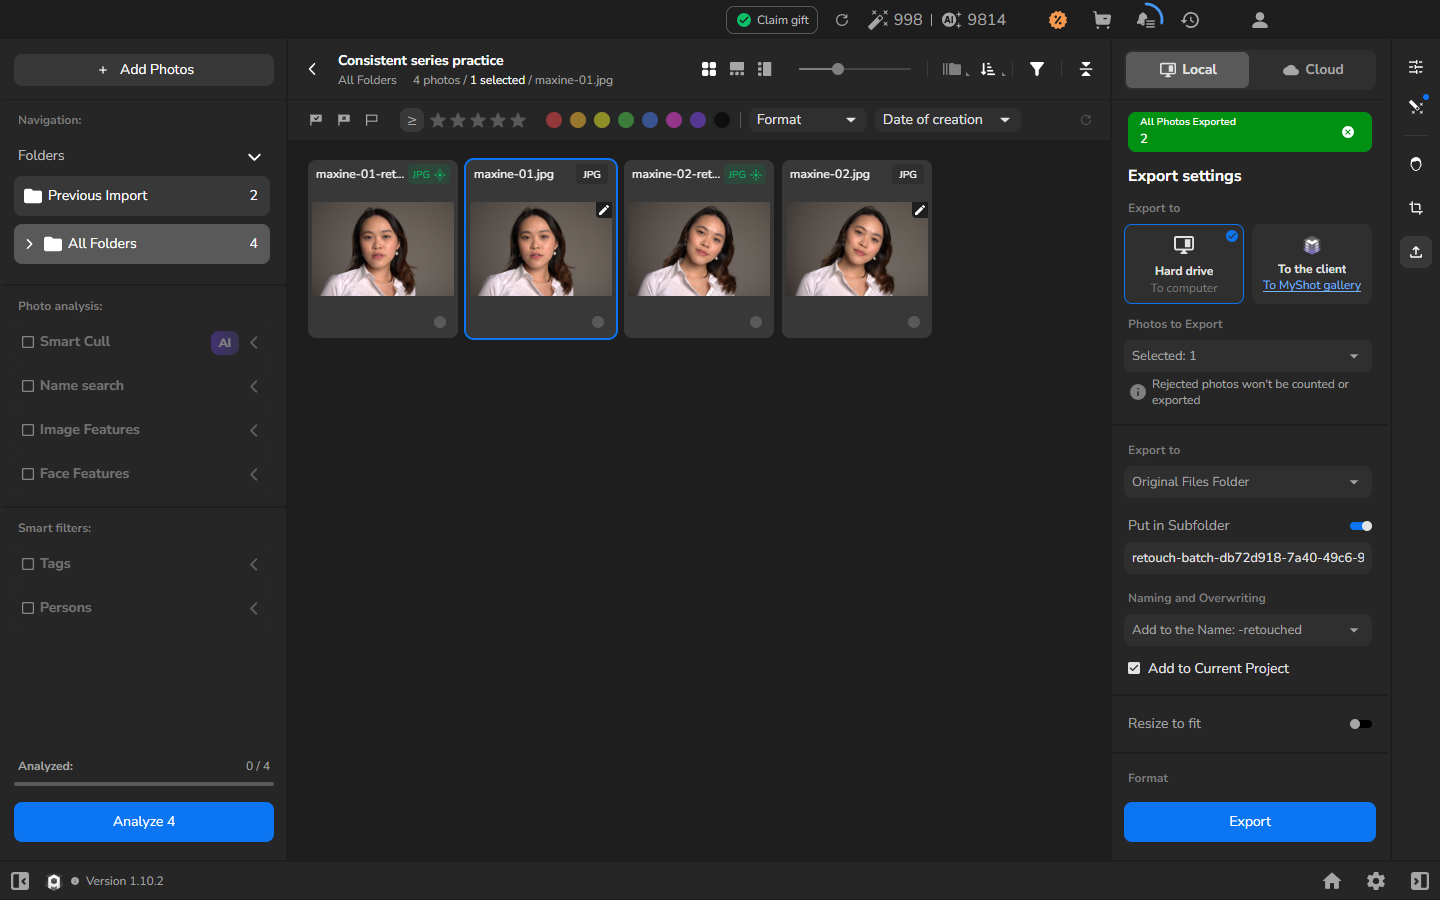
- Open a few saved JPEGs at full size and check the retouching before delivering the series.
Exporting to a new subfolder with new filenames creates separate copies. Add to Current Project adds those copies to the project; it does not replace the originals.
Export without creating a preview
Section titled “Export without creating a preview”You can export photographs immediately after copying and refining their settings; creating a Retouch preview first is optional. Use a preview when you want to inspect a rendered photograph closely before committing a larger selection to export. Otherwise, select the photographs and use the same full-size JPEG choices described above.
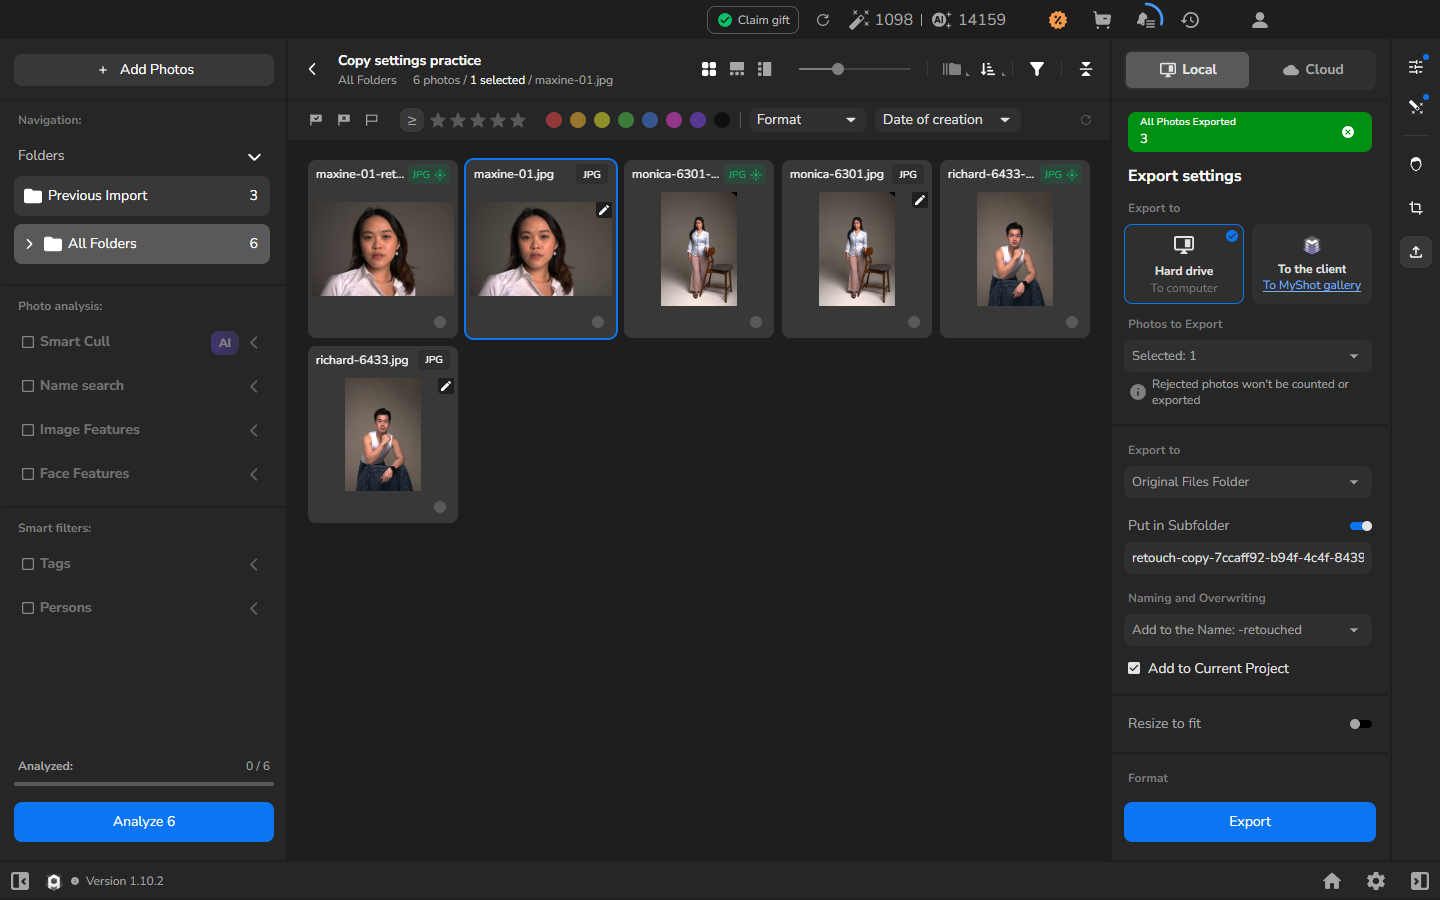
Open representative files outside Arams and inspect them at full size before delivery.
Check the result
Section titled “Check the result”The photographs should share a consistent starting setup while retaining any individual adjustments you made afterward. Look across the series for abrupt changes in skin texture, color, or edge treatment, and refine only the photographs that need it.
Your export subfolder should contain newly named JPEG copies. If Resize to fit was off, they should retain the originals’ pixel dimensions. Keep the source files until you have opened representative exports and approved the series.
If it does not work
Section titled “If it does not work”- A retouching tool is missing or unavailable: confirm that it is installed and activated for Local processing.
- A photograph has different settings: select the preset again, or copy the settings from the correct source and paste them onto that photograph.
- Paste changes the wrong photographs: restore their previous settings, then select only the intended photographs before choosing Paste image settings.
- A preview does not finish: open the processing history and check the reported status or error. Resolve the error and run the preview again before relying on it.
- Too few photographs are exported: return to the gallery, select every photograph intended for this export, and confirm the selected counter before opening Export settings again.
- An output has unexpected dimensions: check that Resize to fit is off and repeat the export to a new subfolder. Do not overwrite or delete the originals while troubleshooting.
- The result looks inconsistent: inspect the photographs separately. If only one needs correction, adjust that photograph rather than changing the shared preset. If the whole series needs the change, update the preset and apply it again to every affected photograph.