Retouch a portrait while preserving natural detail
What you will do
Section titled “What you will do”Build a natural portrait retouch by trying Heal, Dodge Burn, and Portrait Volumes separately, then combining only the effects that help your photograph. You will compare the result with the original at full resolution so that skin texture and facial character remain intact. A wider portrait helps you check hair, clothing, body detail, and the surrounding image as well as the face.
The values shown here are starting points for comparison, not a preset. Adjust them for the light, skin detail, and framing in your own photographs.
Before you start
Section titled “Before you start”- Make sure Heal, Dodge Burn, and Portrait Volumes are installed, activated, and available in Local mode.
- Create a project and import a sharp, full-resolution portrait that shows enough skin detail to judge the retouch. A close portrait makes subtle differences easier to see.
- Keep the original files unchanged. Export comparisons as new files so that you can return to the unretouched photographs.
- If you also work with wider portraits, choose one that shows areas beyond the face, such as hair, shoulders, clothing, or the background. This lets you check whether the same approach suits the rest of the frame.
For the controls used below, see Choose retouching tools and settings. For a focused original-versus-result procedure, see Compare retouching with the original.
Inspect skin and lighting before choosing tools
Section titled “Inspect skin and lighting before choosing tools”- Open the close portrait in the larger viewer.
- Wait until Loading… disappears and the image is sharp. Keep the same zoom percentage when you compare this portrait with its exported versions.
- Inspect the forehead, cheeks, nose, lips, eyelashes, hairline, and the transitions between light and shadow. Identify temporary distractions you may want to soften and permanent features you intend to keep.
- Also note natural variations in skin texture. Do not treat every pore, line, highlight, or shadow as a defect.
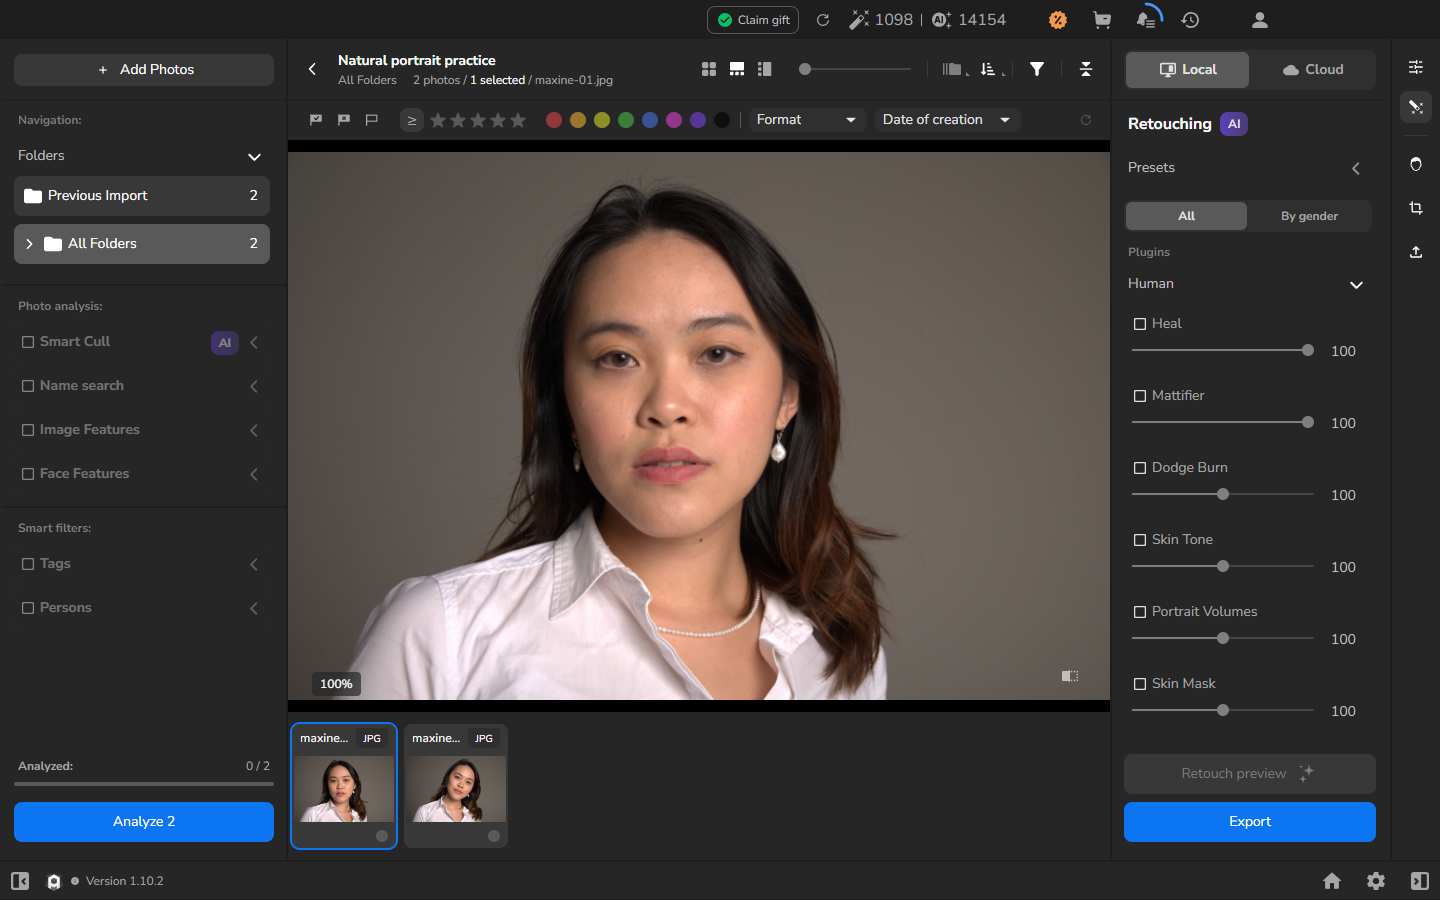
Matching the zoom makes small changes easier to judge. Use the full-resolution files, rather than the displayed percentage, to assess the final detail.
Compare Heal, Dodge Burn, and Portrait Volumes separately
Section titled “Compare Heal, Dodge Burn, and Portrait Volumes separately”Trying one tool at a time shows what each contributes and helps you avoid stacking effects that solve the same problem. For each trial, return to Local processing and All, disable the other tools, and export a separate full-resolution JPEG. Import each comparison into the project and open it at the same zoom as the original.
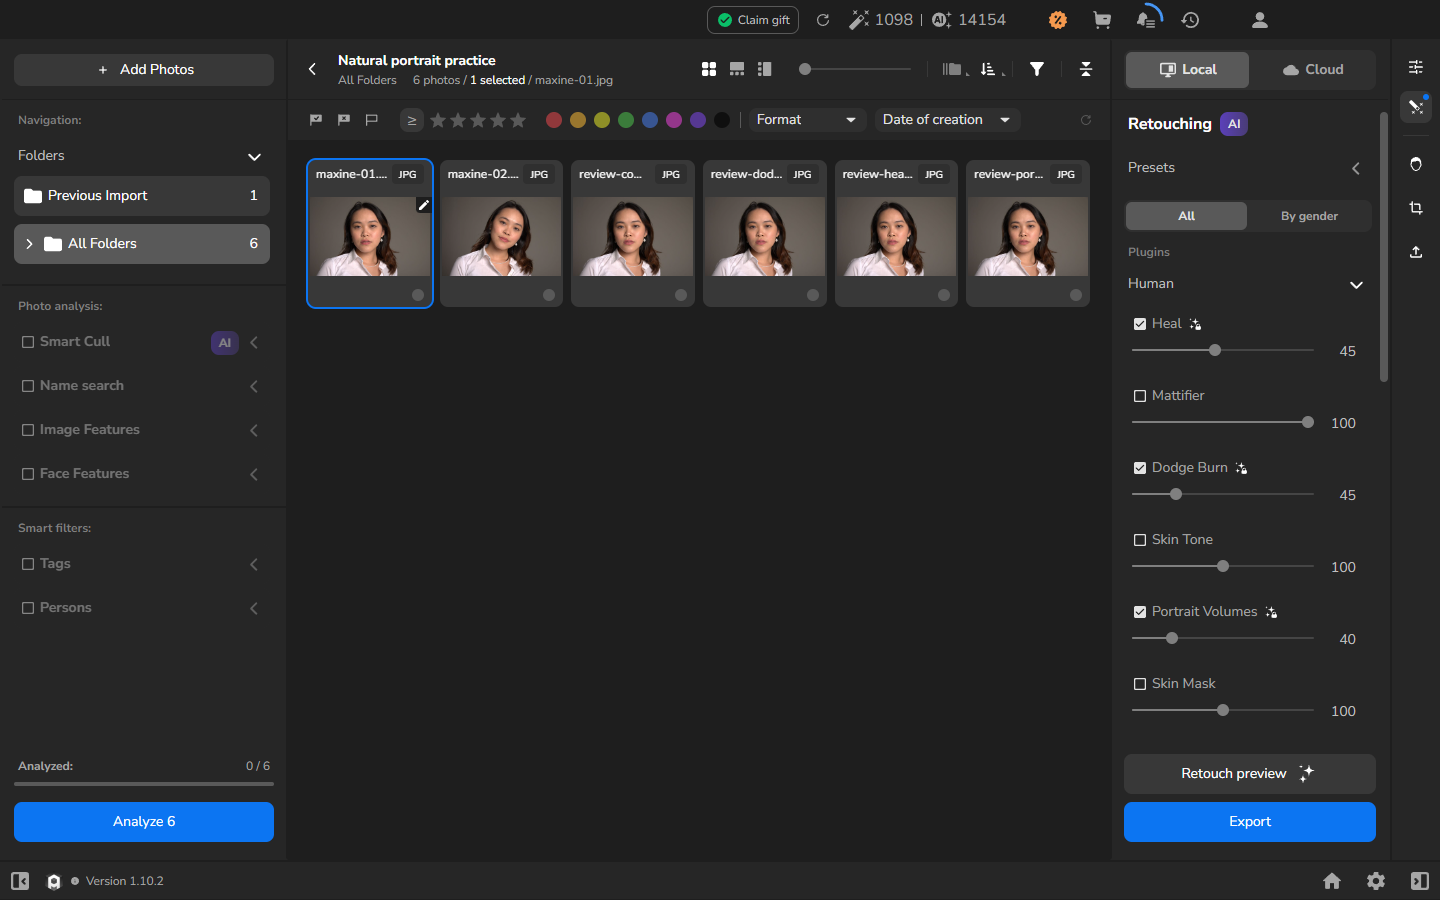
- Enable only Heal. Start at 45, export a copy, and compare it with the original. Look for changes to small skin distractions, then check that fine texture, eyes, lips, and the hairline still look natural.
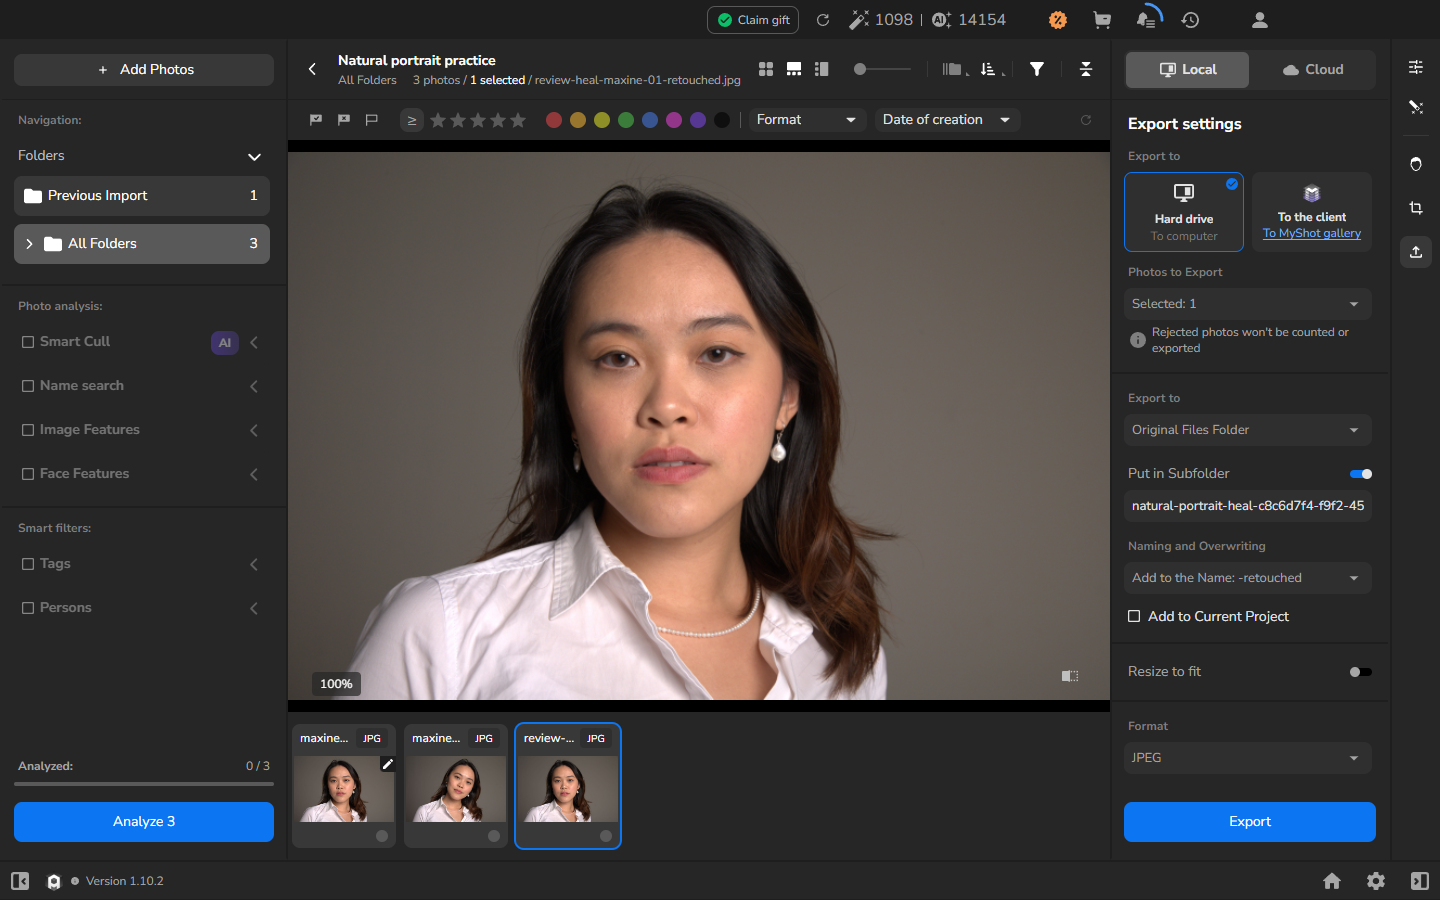
- Disable Heal, enable only Dodge Burn, and start at 45. Export another copy and compare the same areas. Look for smoother tonal transitions without a flattened face or halos.
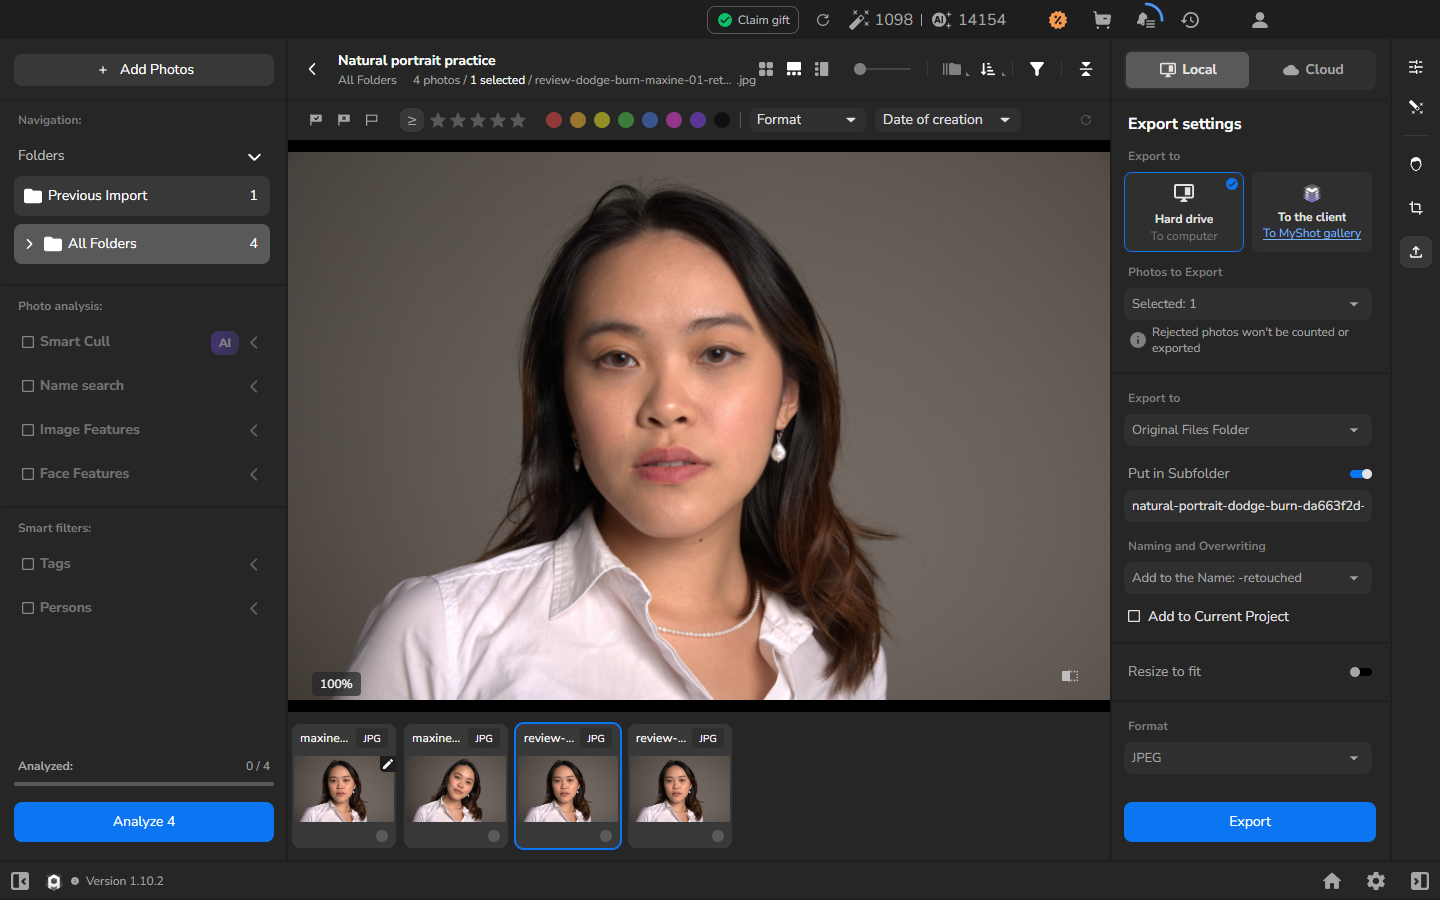
- Disable Dodge Burn, enable only Portrait Volumes, and start at 40. Export and compare the same face area. Look at how the light models the face; a stronger value is useful only if it improves the form without drawing attention to the retouch.
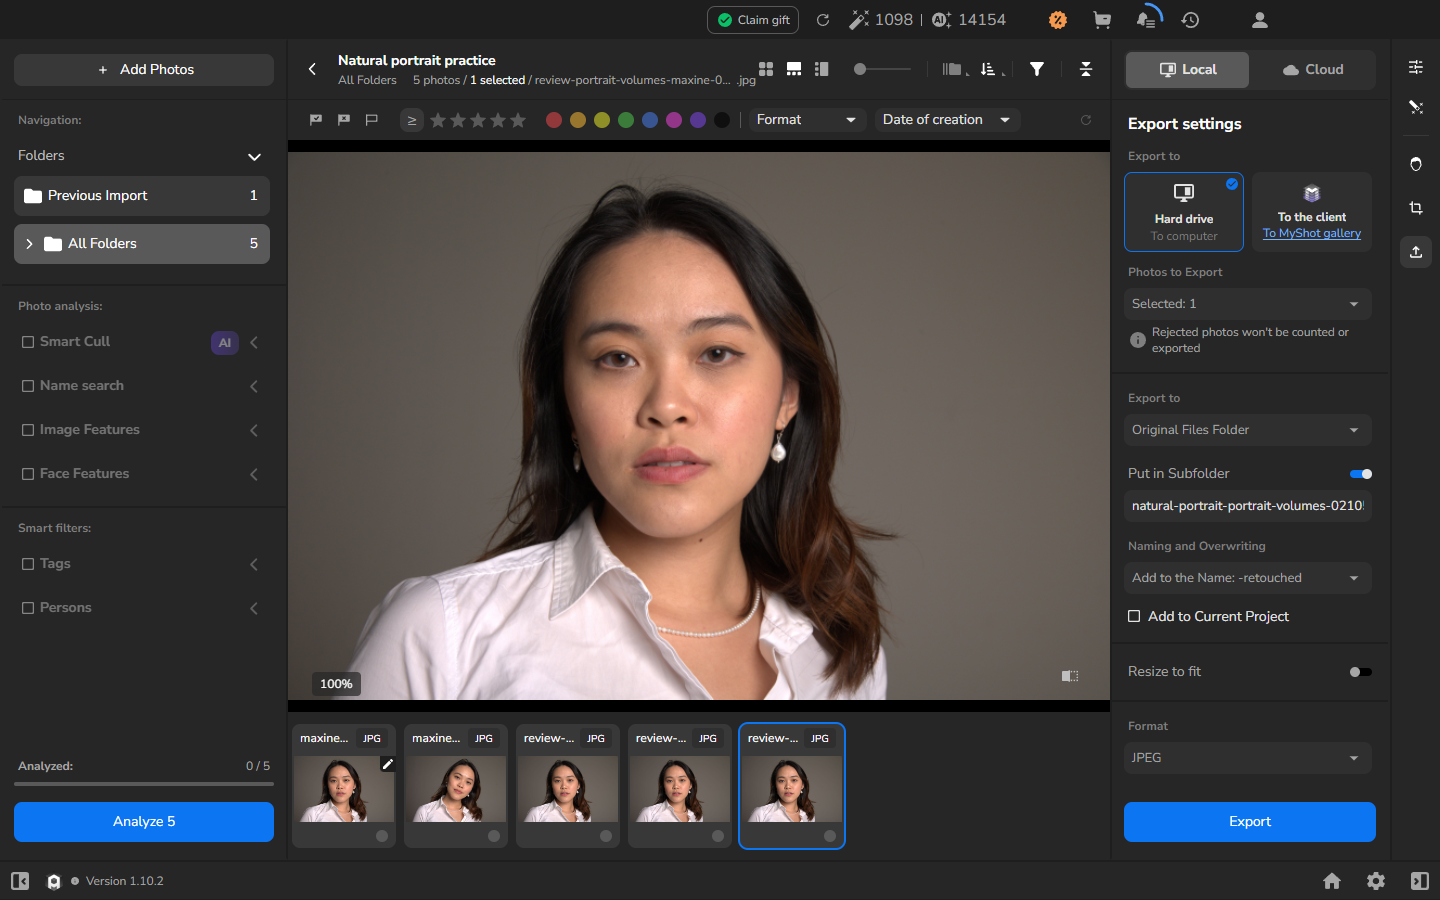
In the example, Heal 45 softens small skin distractions, while Dodge Burn 45 makes a modest change to uneven light and shadow around the eyes and cheeks. Portrait Volumes 40 changes the modeling of facial light more than surface marks. The differences are subtle, so compare the same areas instead of judging from the tool names. If a tool adds nothing useful or damages important detail in your portrait, reduce it or leave it out.
Balance the combined result
Section titled “Balance the combined result”- Enable the tools that improved your close portrait. As a starting point, the example uses Heal 45, Dodge Burn 45, and Portrait Volumes 40.
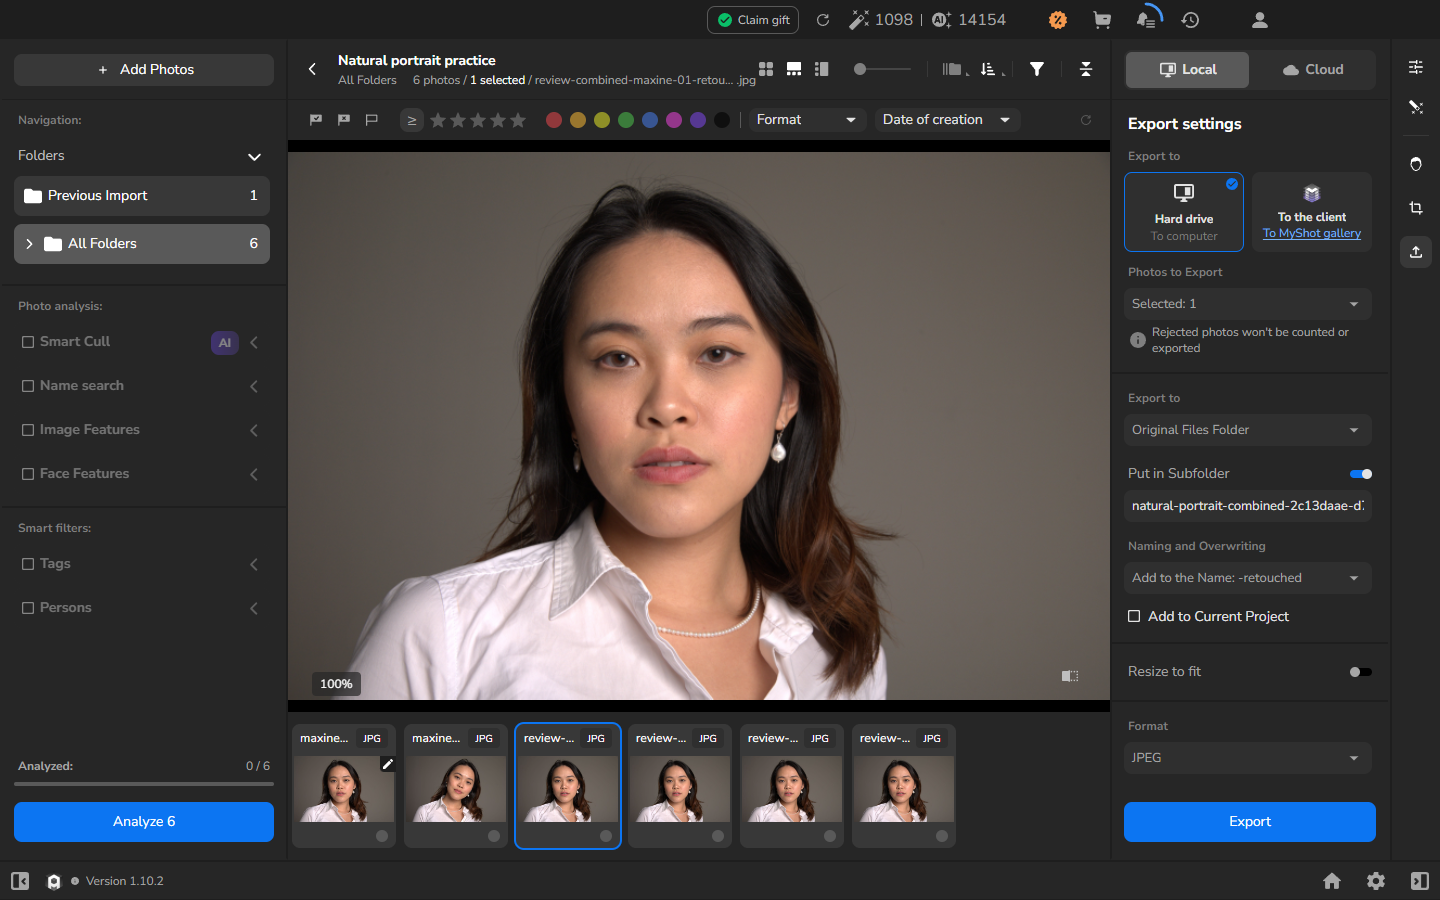
- Export a new full-resolution copy without resizing it.
- Open the combined copy at the same zoom. Compare it with the original and the individual results. Keep the combination only if it adds useful cleanup while the skin, eyes, lips, hair edges, and facial contours still look natural.
- Compare your result with the deliberately strong 100 / 100 / 100 example below. It makes common signs of excessive retouching easier to recognize without prescribing a limit for your photograph.
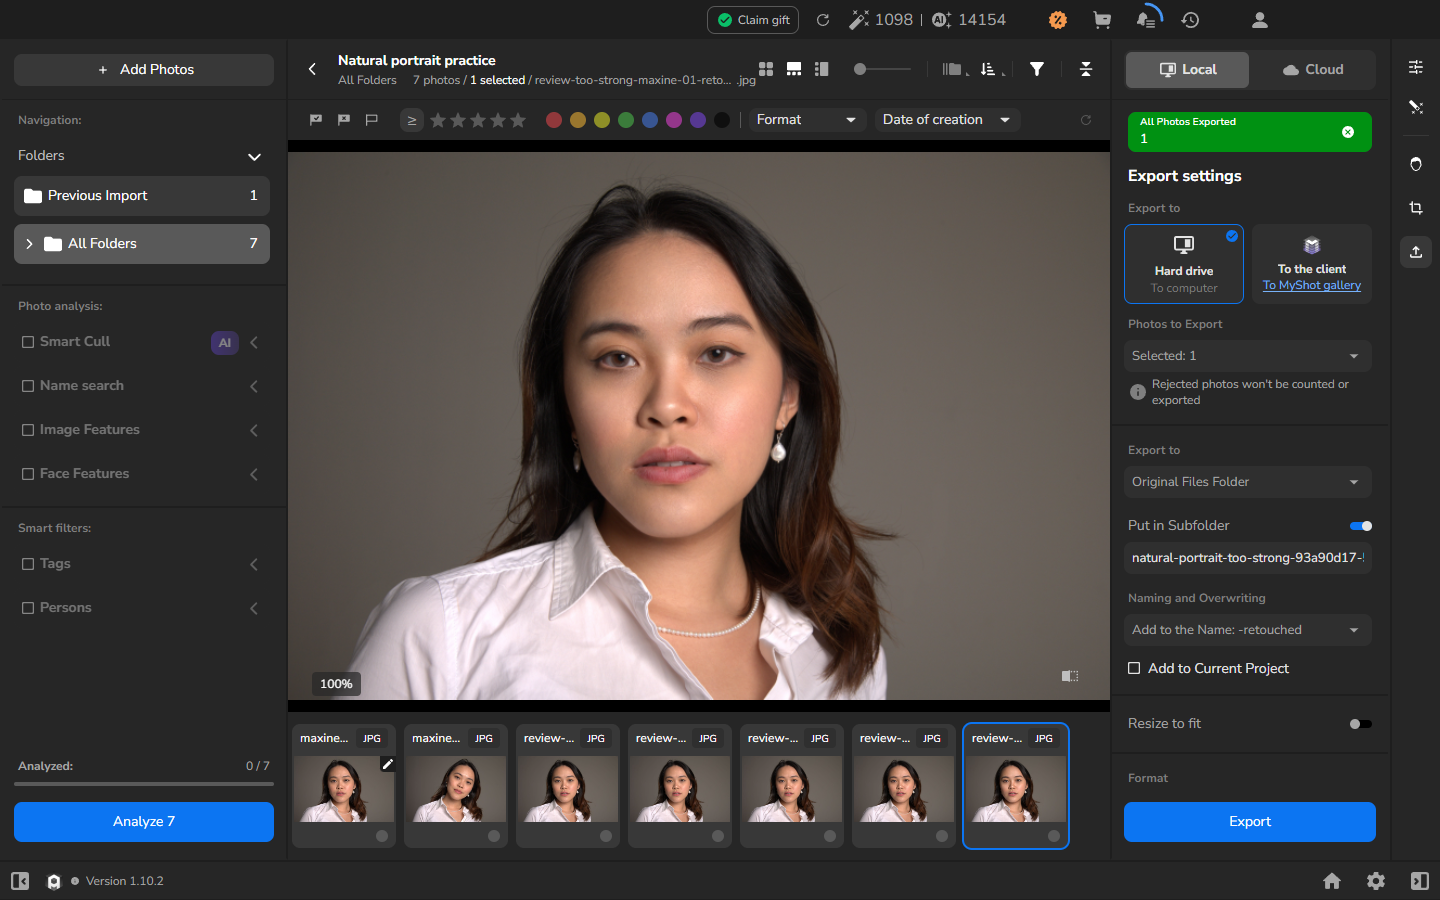
At 100 / 100 / 100, the example face is visibly smoother than the balanced copy. Fine variation is reduced across the forehead and cheeks, and stronger highlight modeling draws attention to the retouch. The numbers are not a universal threshold: step back whenever texture, edges, lighting, or facial character begin to look unnatural.
Verify face and body detail in the full-resolution export
Section titled “Verify face and body detail in the full-resolution export”- Open your wider portrait and inspect the face together with the hair, shoulders, clothing, and surrounding image.
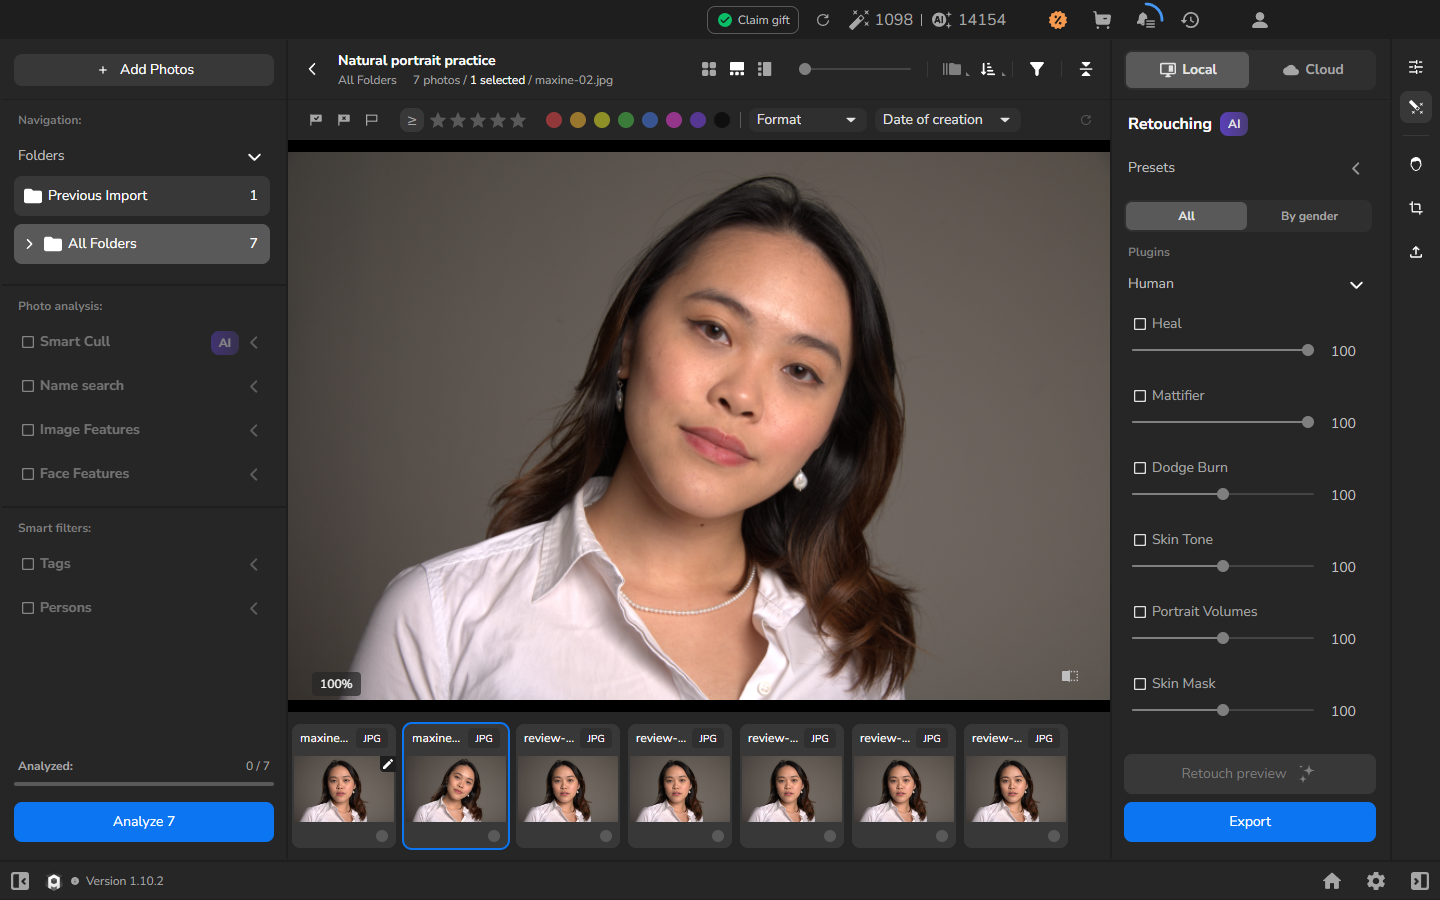
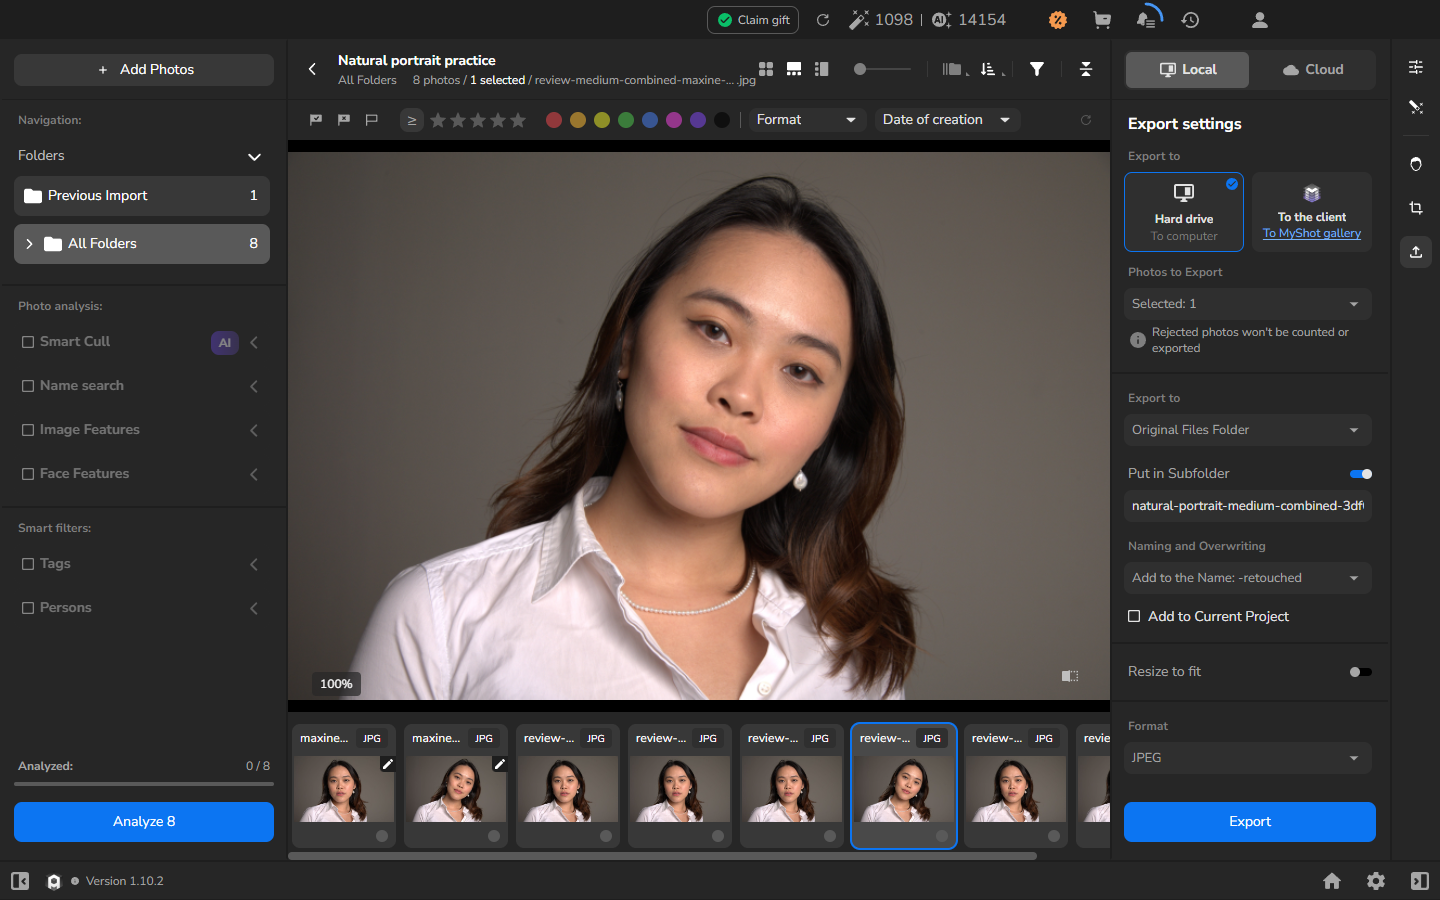
- Apply your balanced combination as a starting point. The wider photograph may need different strengths because the face occupies less of the frame and the light or skin detail may differ. Export a separate JPEG with Resize to fit off.
- Open the exported JPEG at the same zoom and compare it with its own original. Check the entire frame rather than assuming that settings chosen on a close portrait will suit body detail and clothing.
- Adjust or remove any tool that damages hair edges, clothing texture, body contours, or the background. Export the finished version as a new file and leave the original unchanged.
Check the result
Section titled “Check the result”The retouch should improve the portrait without obvious loss of pores and natural skin variation, changes to permanent facial features, damaged eyelashes or hair edges, flattened facial form, or halos. On the wider portrait, also check shoulders, clothing, body contours, and the background. If you notice damage, lower one tool at a time and compare again with the unchanged original.
If it does not work
Section titled “If it does not work”- A required tool is missing or disabled: confirm that Heal, Dodge Burn, and Portrait Volumes are installed and activated for your account.
- Processing or export does not complete: open export history and check the status or error before trying again. Do not use an unfinished preview or partial file as the final photograph.
- The comparison scale differs: reopen the photographs at the same displayed percentage before judging fine detail.
- The balanced result looks artificial: reduce one tool at a time and export a new comparison. Judge the photograph after every change instead of keeping the example values.
- An output is resized or will not open: leave Resize to fit off and export to a new file. Keep the original and failed output while you diagnose the problem.