Select photographs for delivery
What you will do
Section titled “What you will do”Build a reliable delivery shortlist without losing track of close alternatives. You will compare similar frames, mark them with consistent ratings, narrow the gallery with a filter, and select the photographs you intend to deliver.
Before you start
Section titled “Before you start”Sign in and open a project containing the photographs you want to review. Wait until their thumbnails and filenames appear. You can complete this workflow with manual ratings; photo analysis, retouching, and export are separate tasks.
If your photographs are not in a project yet, import them first. For the detailed controls used below, see review groups of similar photographs, inspect a photograph, rate photographs, filter photographs, and select photographs.
Inspect and compare candidate photographs
Section titled “Inspect and compare candidate photographs”- If similar photographs are collapsed into a group, expand the group so that you can compare its members as separate cards.
- Click each candidate in turn. Compare expression, pose, framing, focus, and the details that matter for this delivery. The selected card has a blue outline, and its filename appears beside the photo counter.
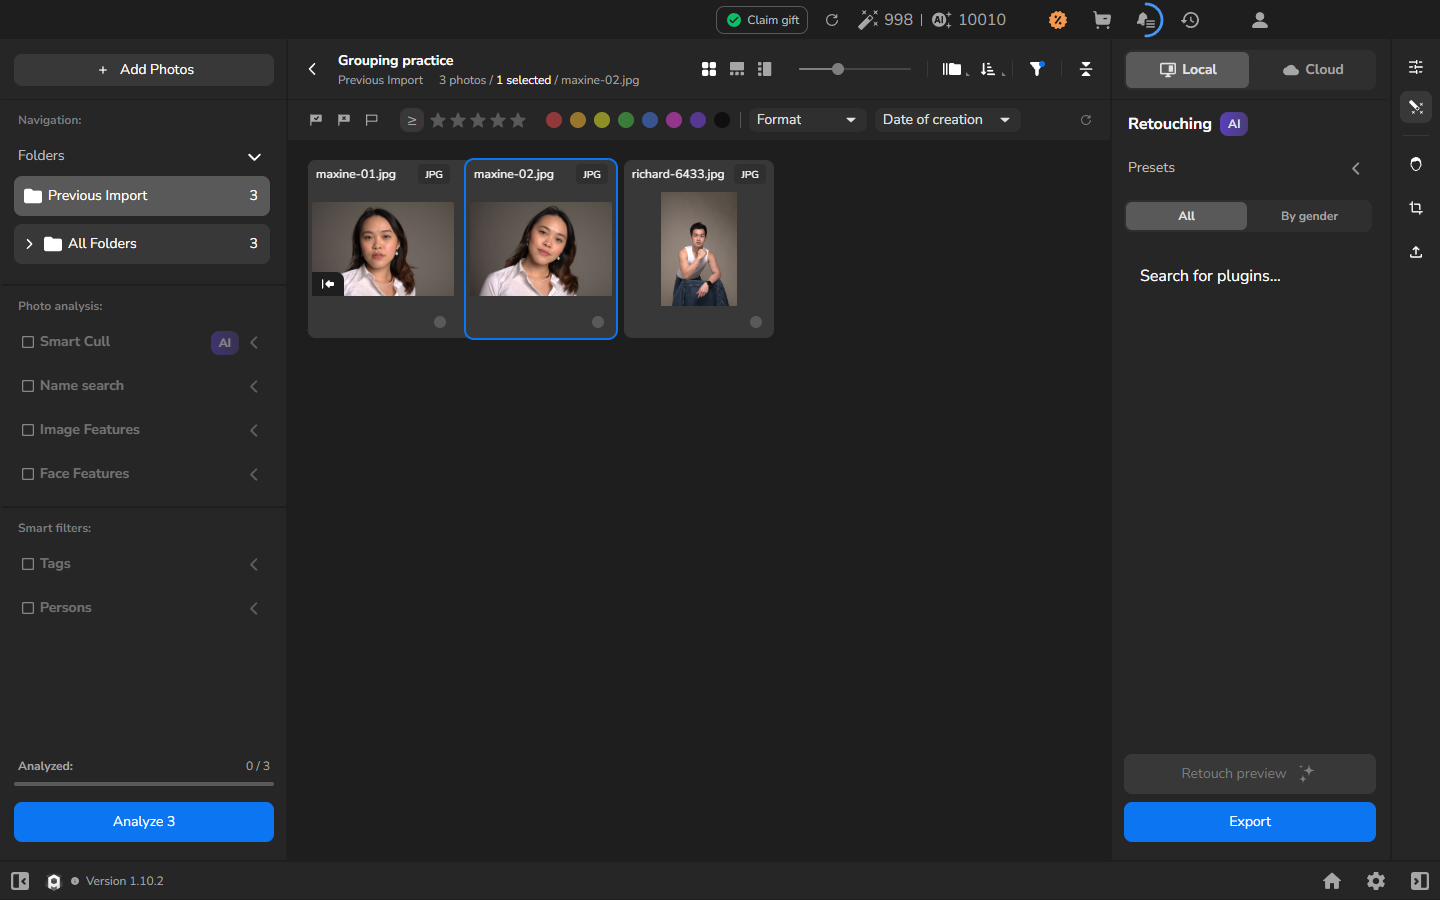
- Double-click a promising photograph to open the larger viewer.
- Inspect important details at the initial 100% viewer scale. Use the filename and thumbnail strip to keep track of the photograph you are viewing as you compare nearby frames.
- Return to the four-square Gallery view when you are ready to record your choice.
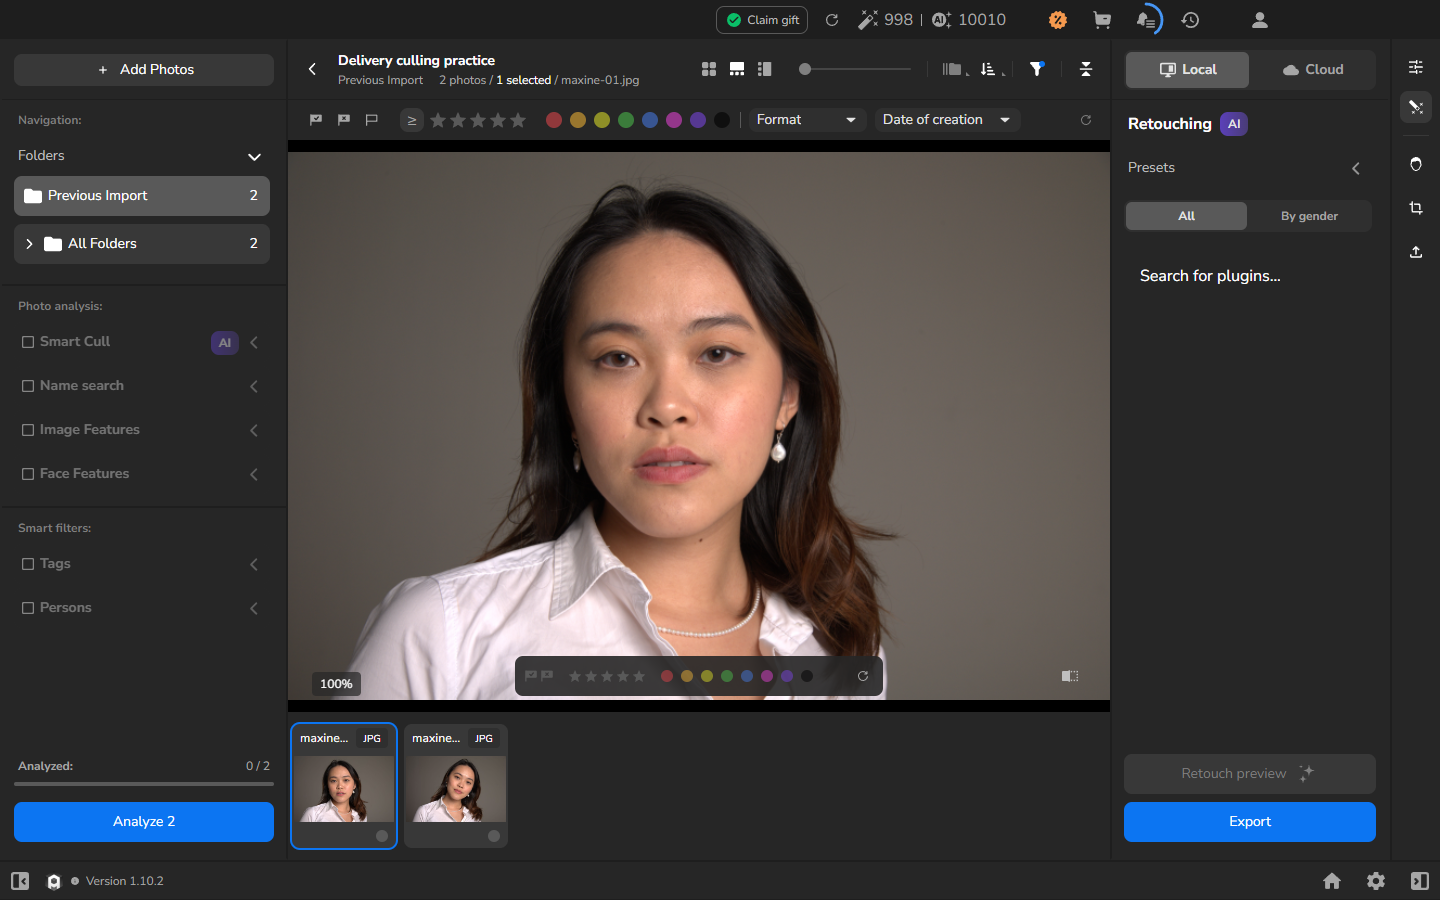
Use the larger view for details such as focus and expression, then judge the whole frame against the needs of the shoot and the intended delivery.
Use ratings and filters to narrow the selection
Section titled “Use ratings and filters to narrow the selection”- Choose how you will use the rating scale before you begin. For example, reserve higher ratings for delivery candidates and lower ratings for alternatives.
- Select a photograph and press a number key to give it that rating. Rate the other candidates in the same way. In the compact card display, the rating appears as a number beside a gold star.
- If you want to build a new selection from the filtered results, press Ctrl+D to clear the current selection. This clears the selection, not the ratings.
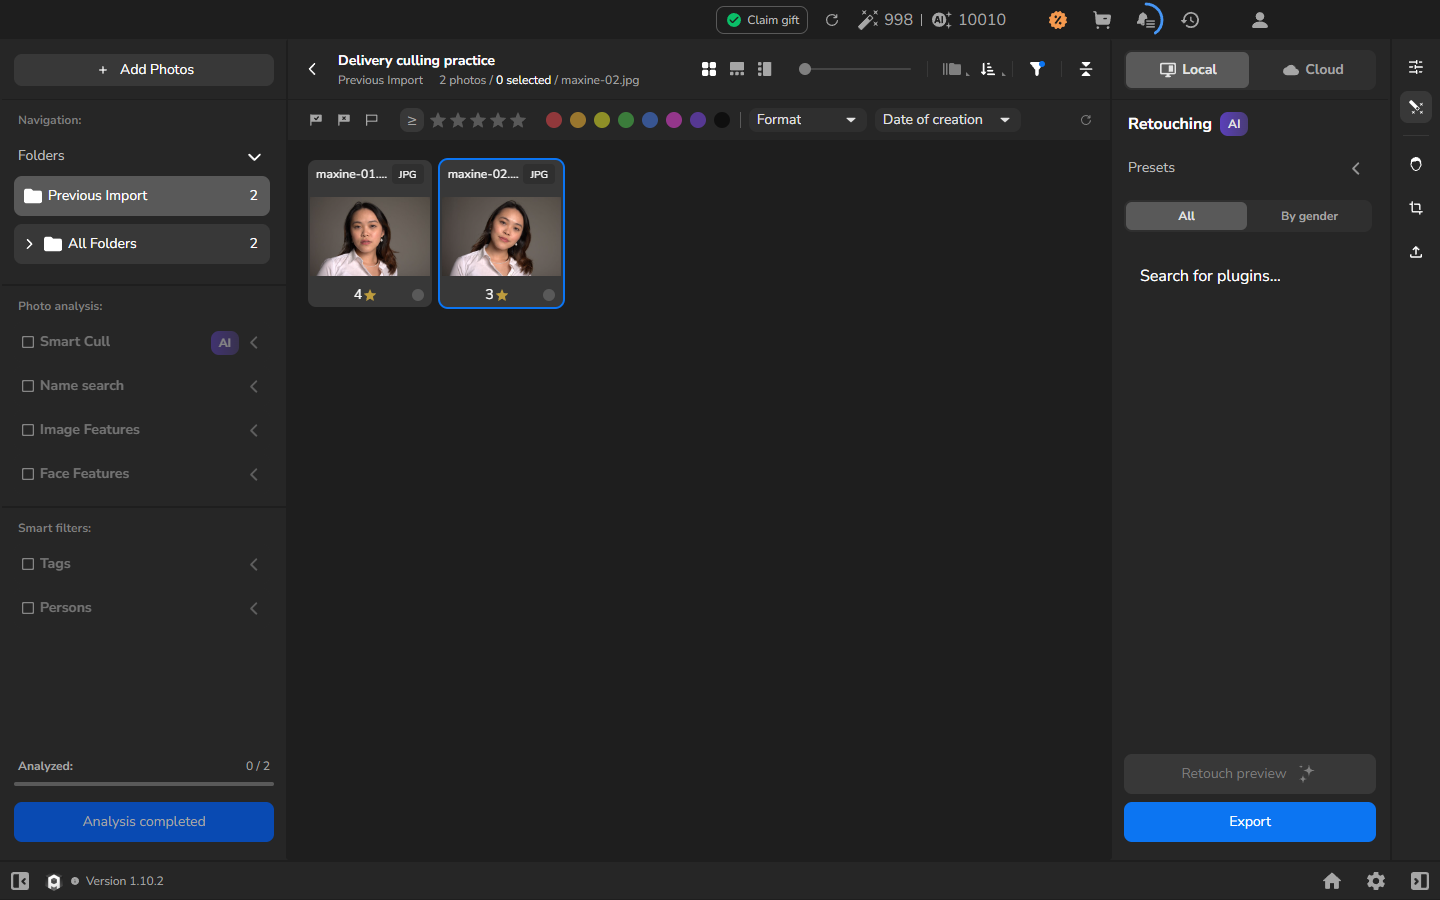
- If the filter bar is hidden, click the funnel icon in the toolbar.
- Choose the rating comparison and cutoff that match your goal. For example, ≥ with four stars shows photographs rated four stars or higher.
- Review the photographs that remain. Filtering narrows the gallery; it does not remove hidden photographs from the project.
Use ratings as working marks rather than as an automatic delivery decision. You can reset the filter and revise a rating after another comparison.
Control selection when changing filters
Section titled “Control selection when changing filters”Choose what should happen to selected photographs that fall outside a new filter. The best setting depends on whether you want to preserve that broader selection or make it follow the filtered results more closely.
- Open Settings from the project toolbar and locate Reset selected photos when switching filter.
- Leave the switch off to keep working from the current selection as you narrow the gallery.
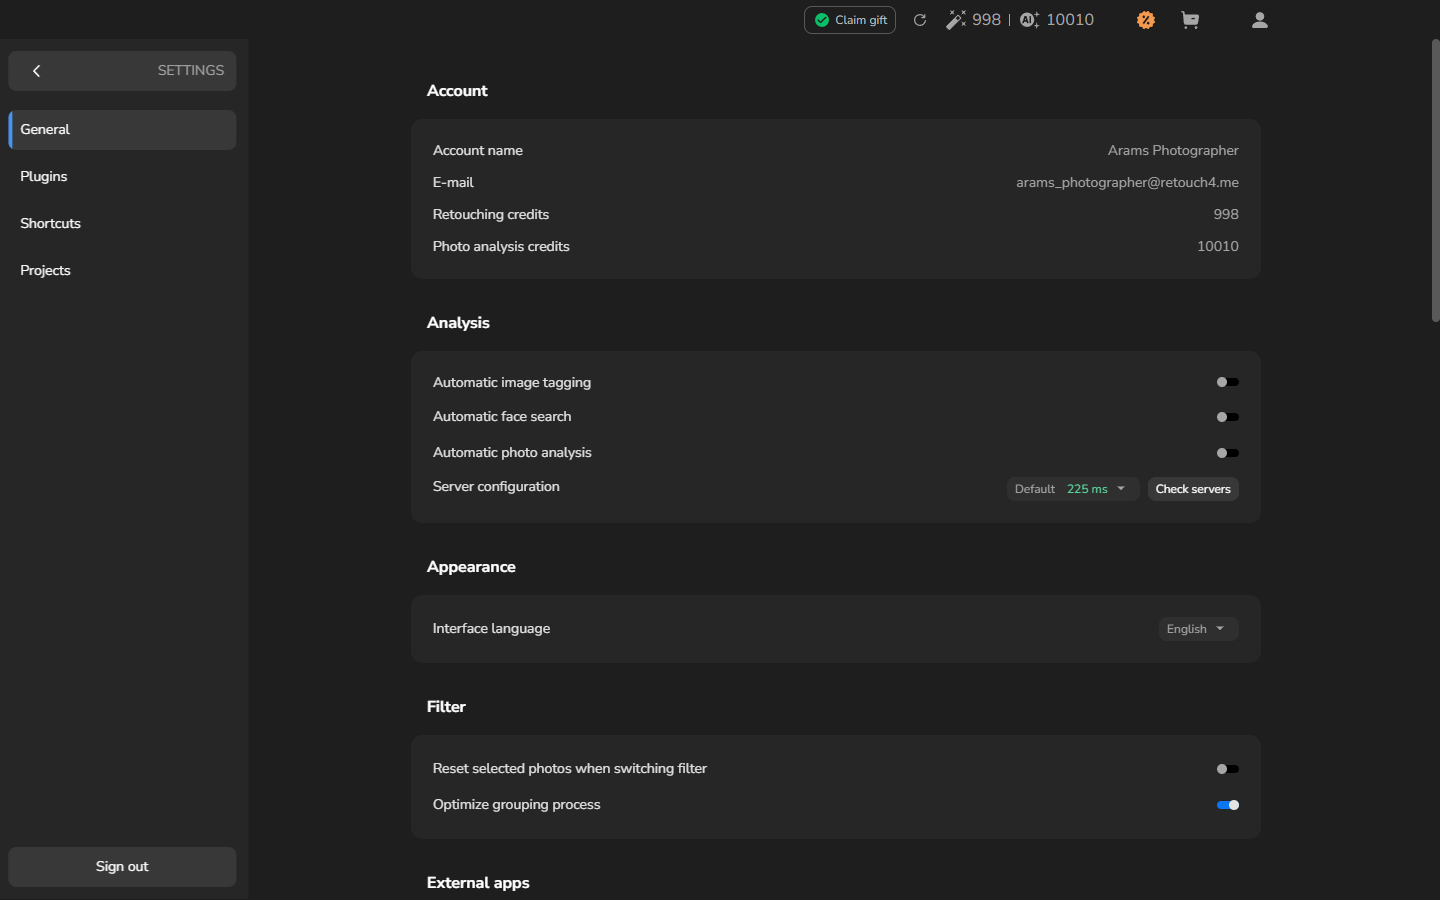
With the switch off, a photograph that remains in the filtered view can stay selected.
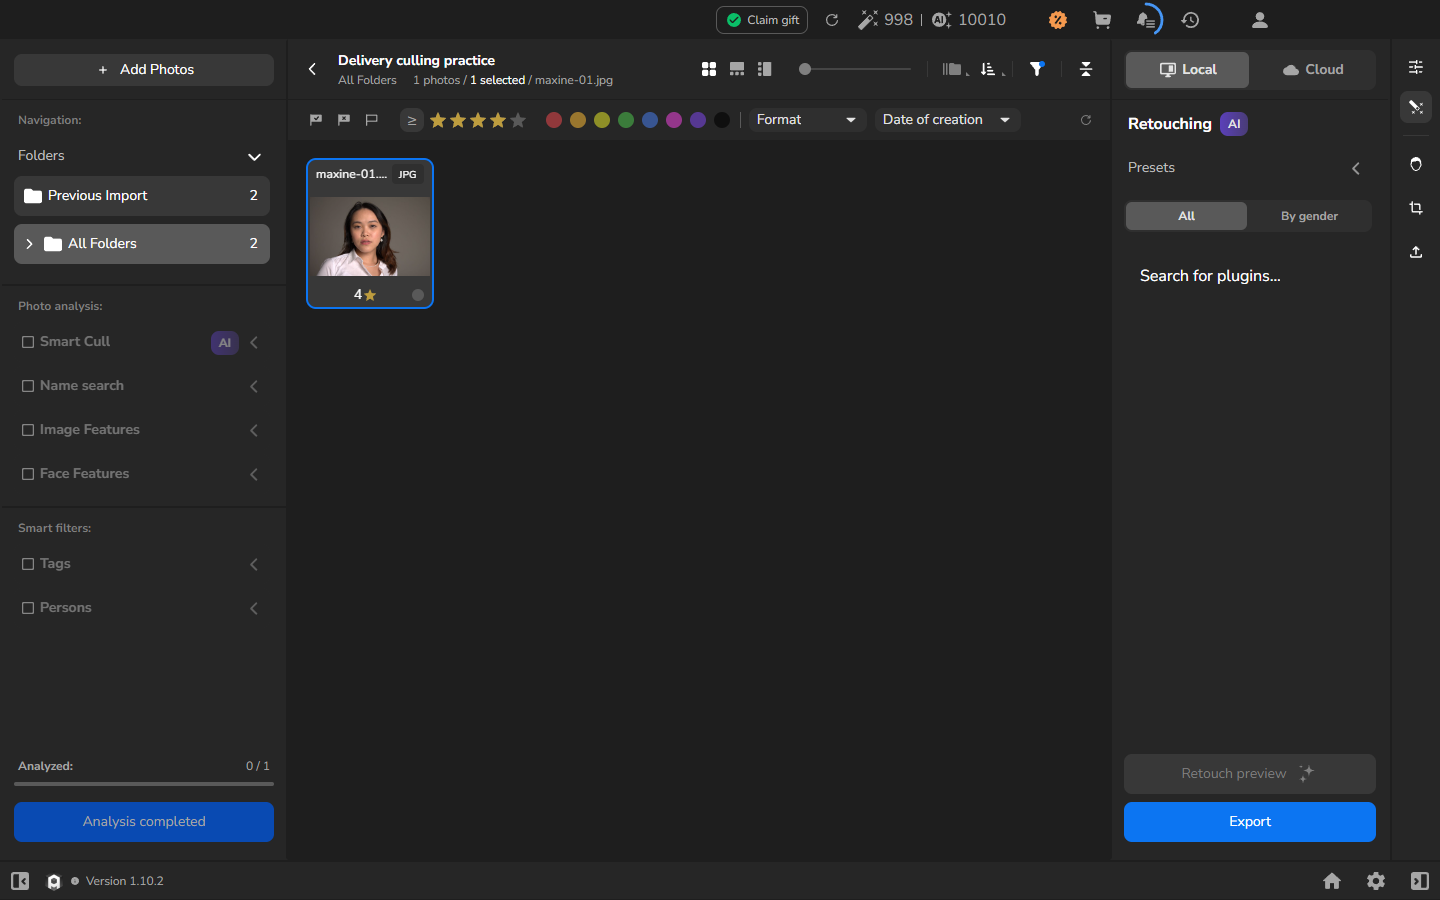
This setting does not guarantee that a filtered-out photograph will return to the selection when you reset the filter. Check the selection again before continuing.
- Turn Reset selected photos when switching filter on if you want a filter change to discard selected photographs that no longer match the new filter.
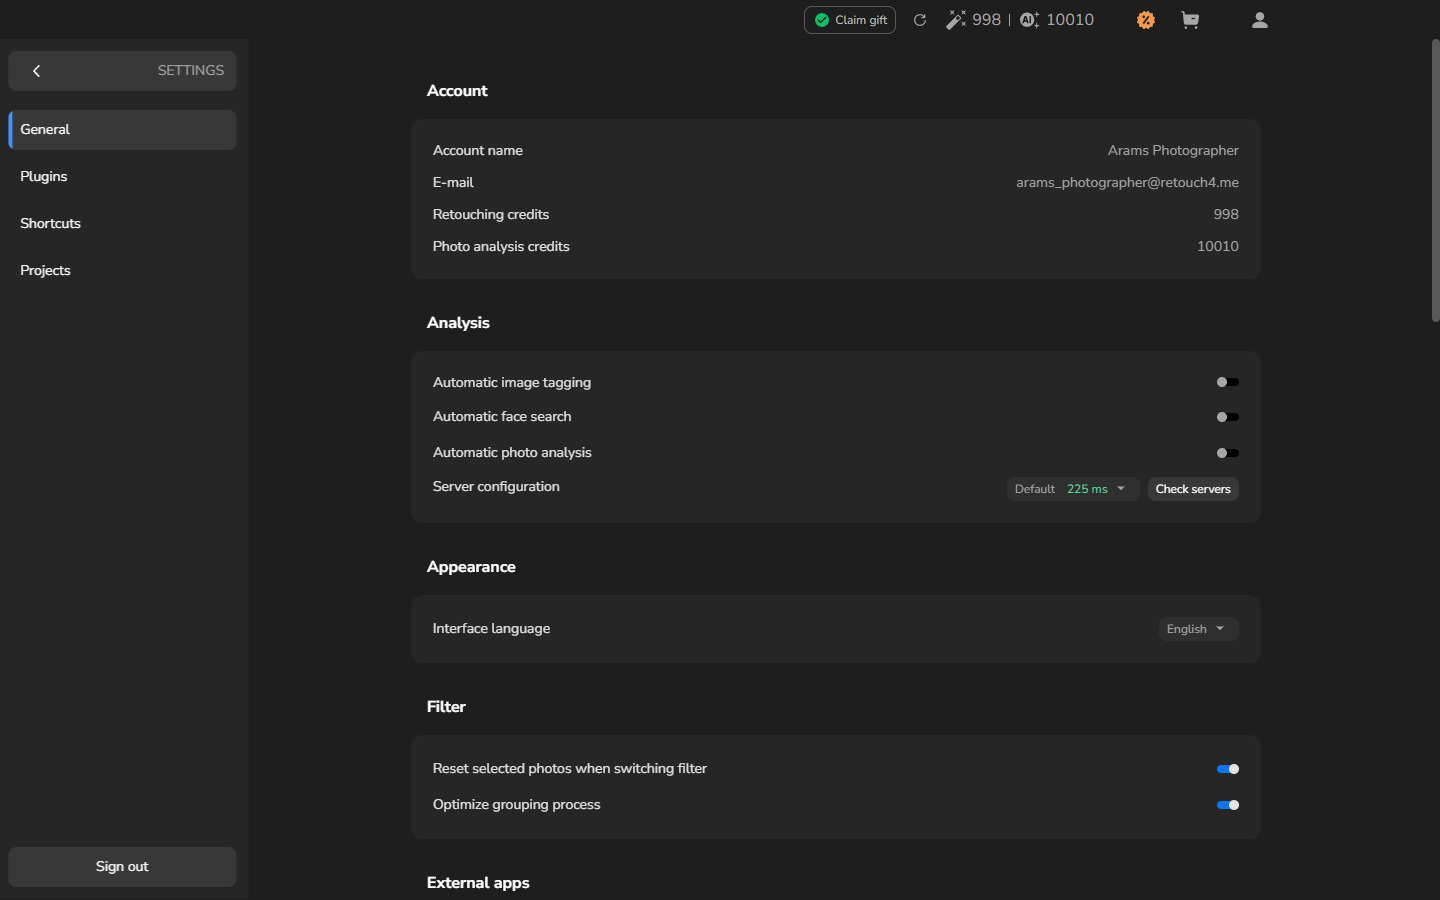
With the switch on, a photograph that still matches the filter can remain selected. Photographs excluded by the filter are removed from the selection.
- Return to the project and apply the rating filter you want. After changing a filter, review the blue outlines and the selected counter before rating photographs or moving to export. The counter reports the selection in the displayed result, so do not rely on an earlier outline or count.
Check the final selected set
Section titled “Check the final selected set”- Reset all filters so that every candidate is visible again.
- Review the filenames and ratings. This final pass helps catch a strong alternative that was hidden by the cutoff.
- Click the first photograph you intend to deliver. Hold Ctrl and click each additional photograph that belongs in the final set.
- Check that the blue outlines, filenames, and selected counter match the set you intend to deliver.
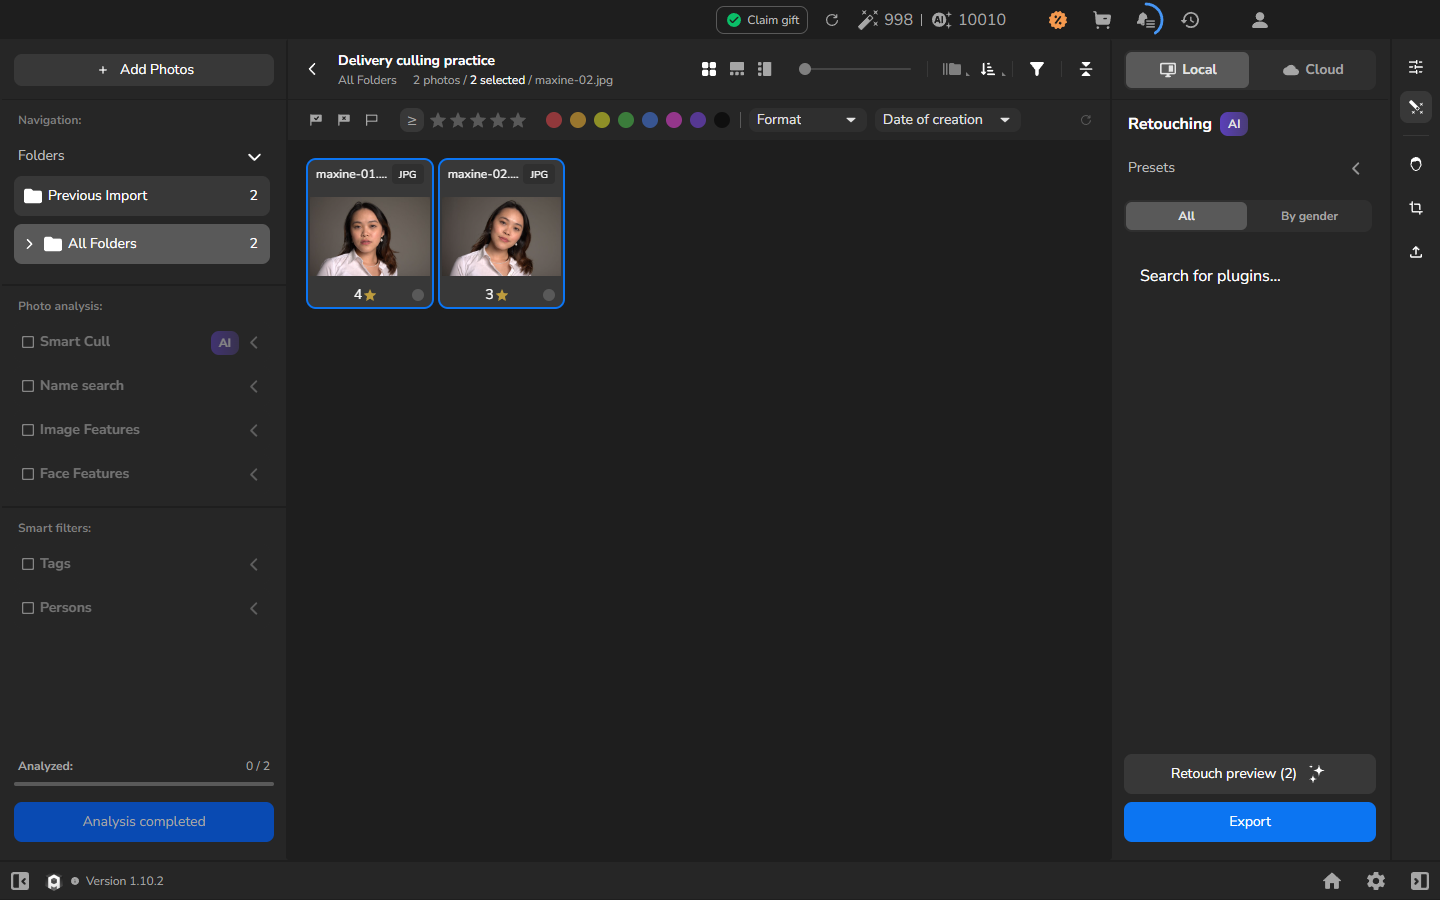
- Ctrl-click an individual card to add or remove it if the set needs adjusting, then continue to your export workflow.
Check the result
Section titled “Check the result”Your ratings remain available when you reset the filter. The final blue outlines and selected counter identify the photographs chosen for delivery. This workflow creates a selection inside the project; exporting and publishing are separate, and selecting photographs does not retouch or delete them.
If it does not work
Section titled “If it does not work”- Only one card is visible before you start: look for a numbered group badge and expand it, or turn grouping off to show the photographs separately.
- The wrong photograph remains after filtering: check both the ≥ symbol and the number of gold stars in the filter bar. Reset the filter with the circular-arrow button and try again.
- A filter change altered the selection unexpectedly: check Reset selected photos when switching filter, then reselect the intended cards after resetting the filter. Confirm the selected counter as well as the blue outlines.
- A rating shortcut changes more photographs than intended: check the selected counter before pressing a number. Click one card without Ctrl to select it alone.
- No photographs are visible: reset the filters. If the gallery is still empty, import photographs and wait for their thumbnails to load.