Correct color with AI, curves and LUTs
What you will do
Section titled “What you will do”Use AI Color Correction for a starting point, refine the tones with an RGB curve, and add a LUT when you want a particular color look. Each control contributes separately, so you can compare it with the original and keep only the changes that improve your photograph. When the color feels right, export a full-size JPEG for review outside Arams.
The screenshots show one possible progression through these controls. Choose settings by watching how they affect your photograph.
Before you start
Section titled “Before you start”- Create a project and import the photograph you want to correct.
- Keep the original file unchanged. Export the corrected JPEG to a new subfolder so that it cannot be confused with the source.
- Choose a LUT that is already available to you. LUTs with a purchase badge require separate access.
This workflow starts with a JPEG. Develop RAW files and make any RAW white-balance or color-profile decisions before following these steps.
Inspect the unprocessed photograph
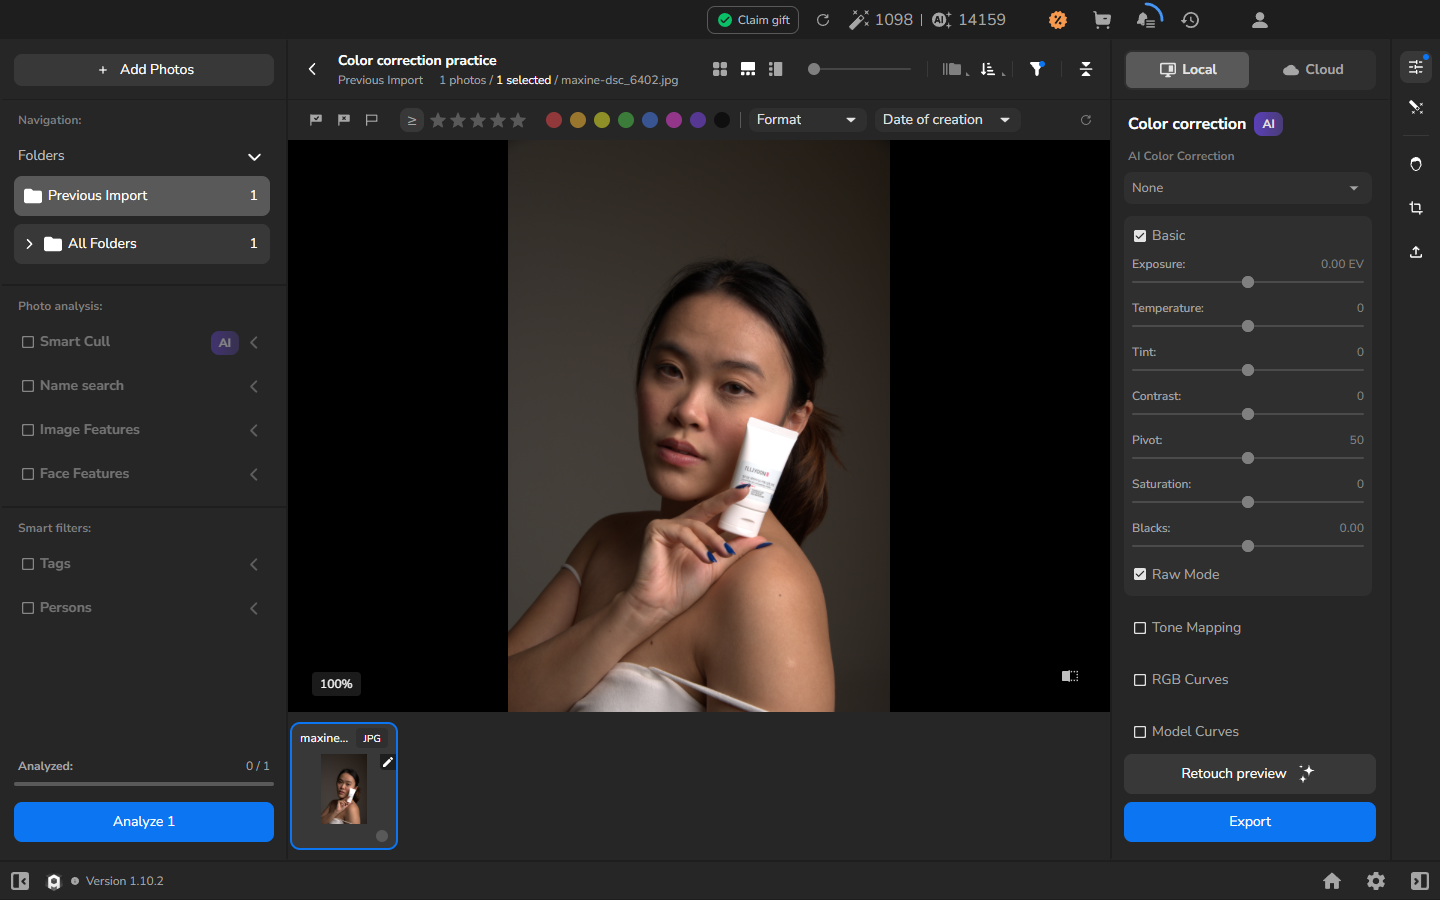
Section titled “Inspect the unprocessed photograph”- In the photo grid, select the photograph you want to correct.
- Double-click the photograph to open the larger image view.
- Inspect skin tones, neutral areas, highlights, shadows, and strong colors. This gives you a reference for judging each correction.
Apply AI Color Correction
Section titled “Apply AI Color Correction”- Open the right-side Color correction panel.
- Find AI Color Correction and choose Full.
- Compare the corrected view with the original. Look at exposure, white balance, and color, and decide whether the result gives you a useful starting point.
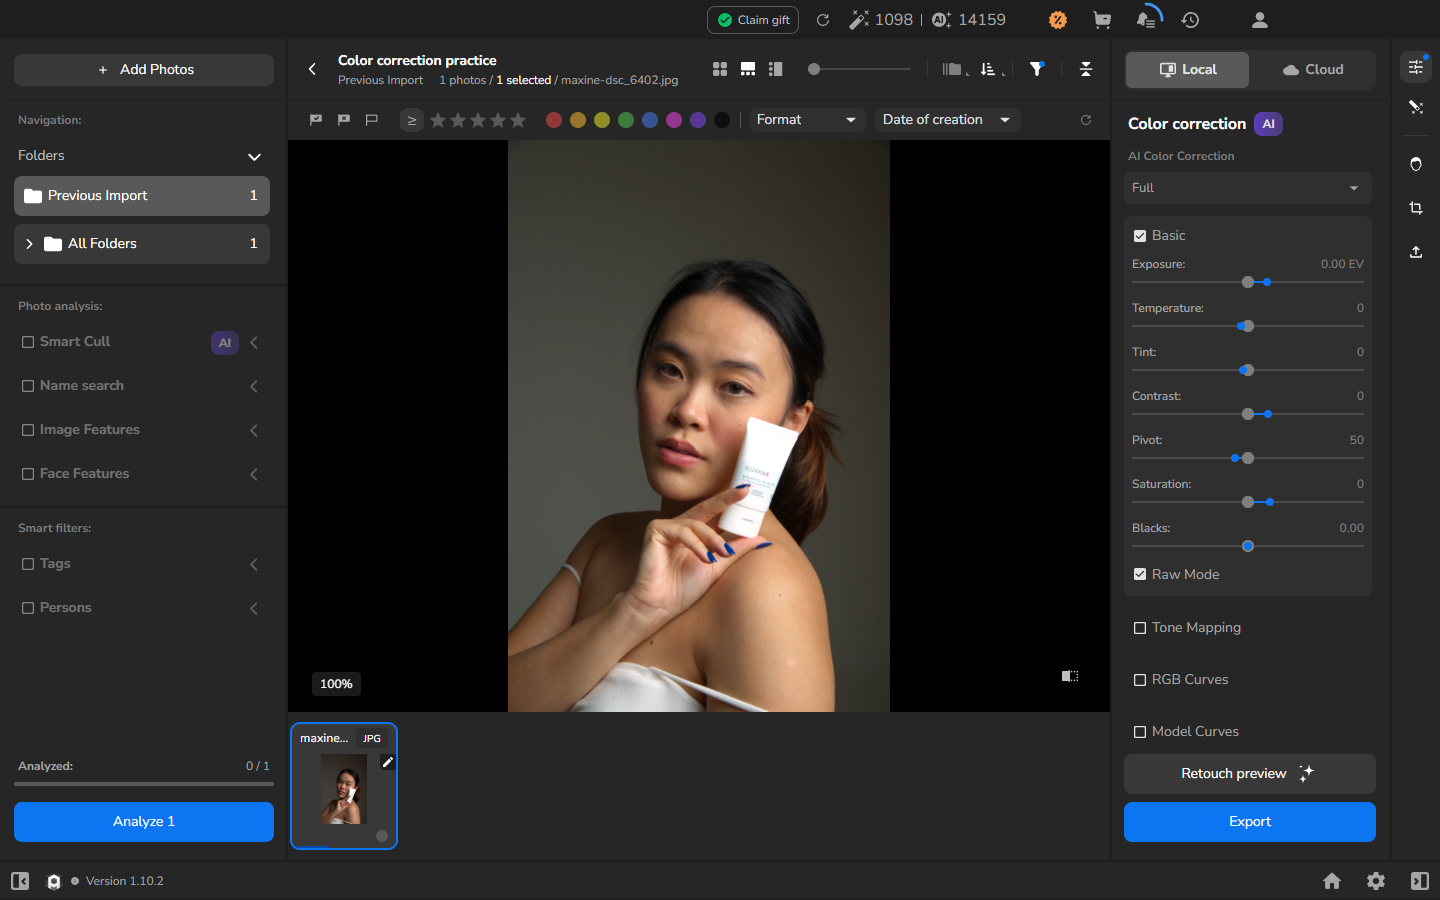
In the example, Full lifts the face and other midtones and shifts the brown-gray background toward a more neutral gray. When judging your photograph, check that neutral objects remain neutral and that important highlight detail and skin texture remain visible.
AI Color Correction, curves, and LUTs are separate adjustments. You can use them together or keep only the controls that help the image.
Refine tone with an RGB curve, then reset it
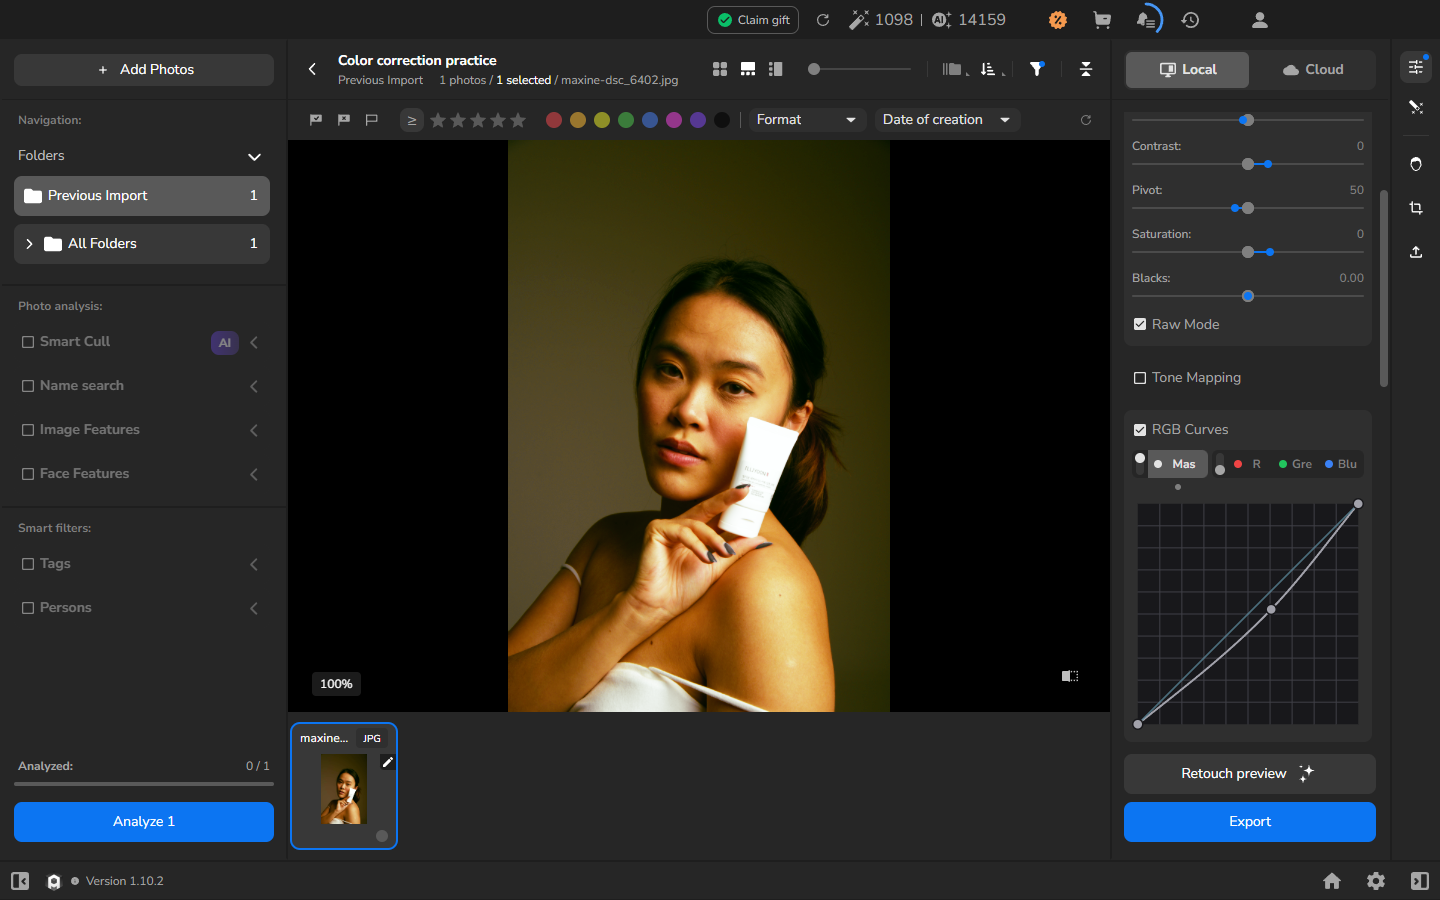
Section titled “Refine tone with an RGB curve, then reset it”- In the same panel, expand RGB Curves.
- Enable the section and select Master.
- Add a point and move it gradually while watching the photograph. A gentle S-shaped curve can add contrast; lifting or lowering the middle of the curve changes the midtones. Avoid losing important highlight or shadow detail.
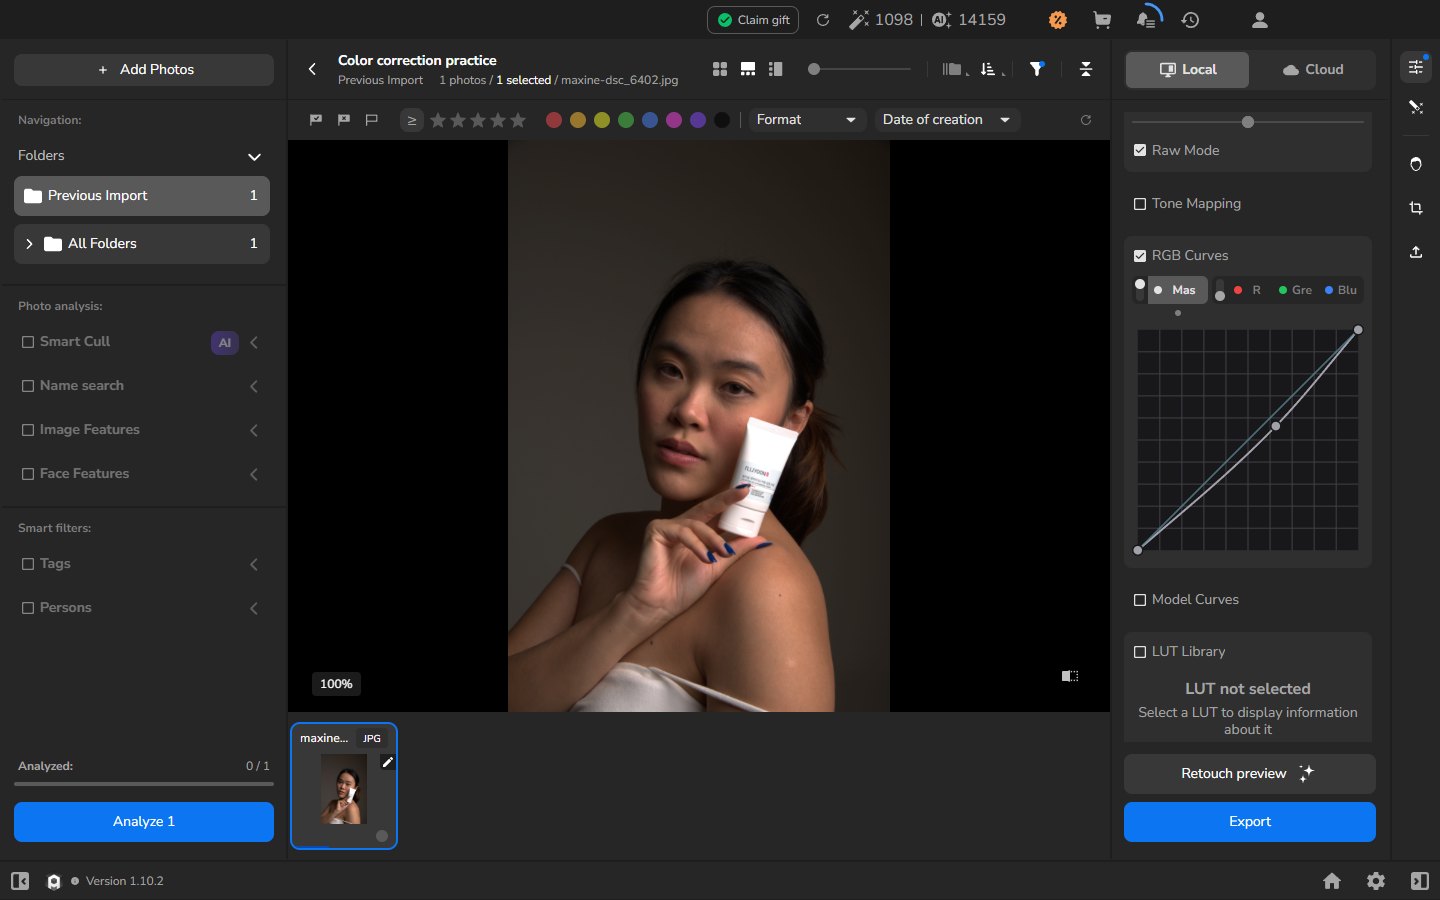
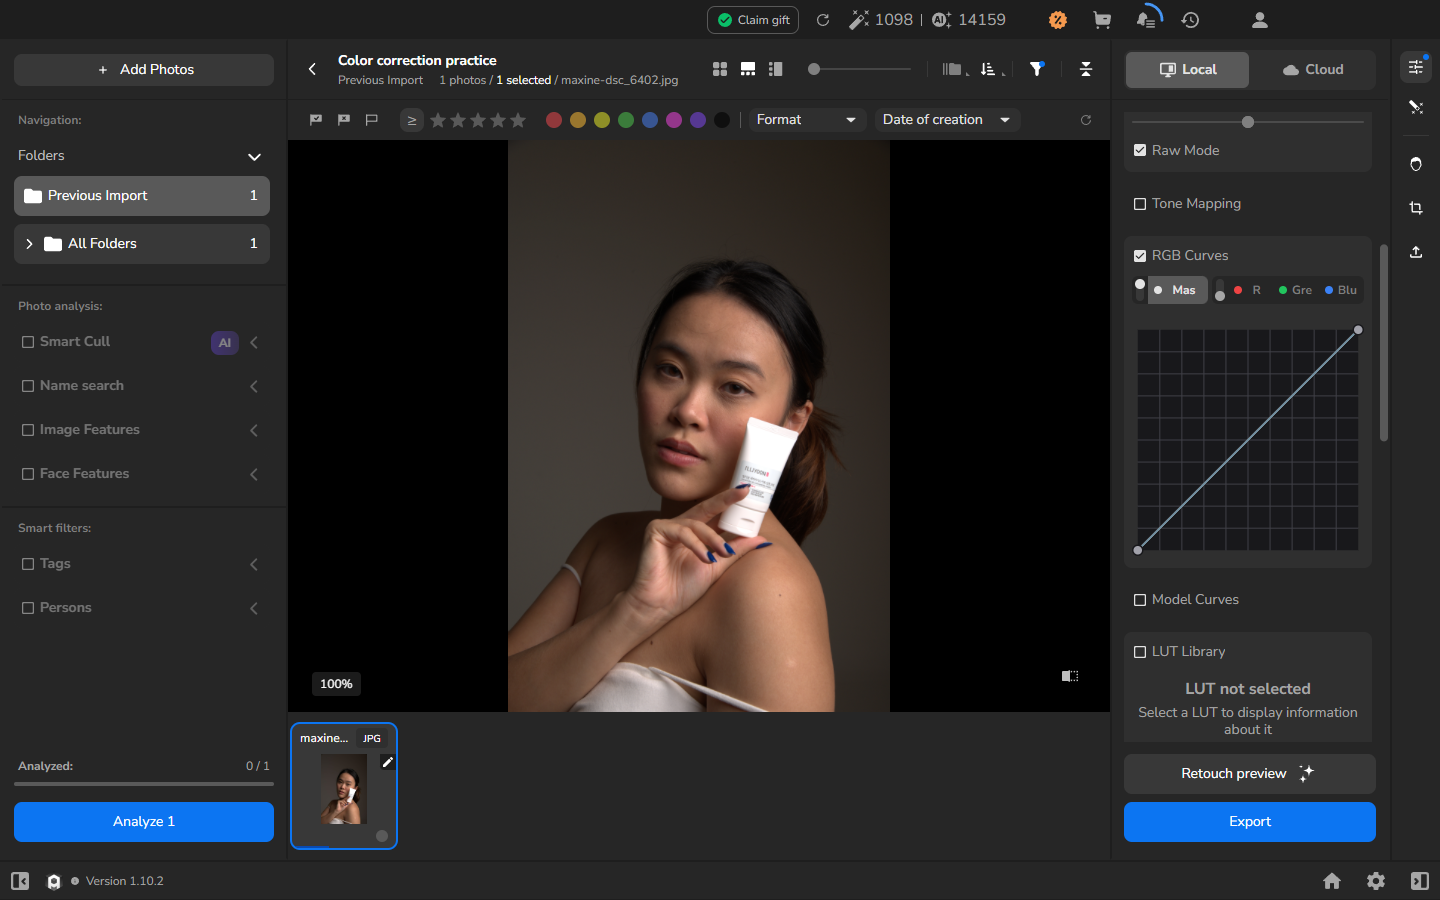
If the curve does not improve the photograph, use the reset control for RGB Curves to return to a neutral curve.
Choose, adjust, and disable a LUT
Section titled “Choose, adjust, and disable a LUT”- Expand LUT Library.
- Choose an available LUT that supports the mood and color palette you want. The example uses Toning-Warm Only (Yellow) from Warm Only. Arams clips the name in the compact selected-LUT summary, so use the full name shown when you select the entry.
- Adjust Intensity while watching skin tones, neutrals, and saturated colors. Intensity changes only the LUT contribution; it does not change the AI mode or curve. The example uses 100% to make its yellow-warm shift easy to see, but a lower value will often blend the look more gently.
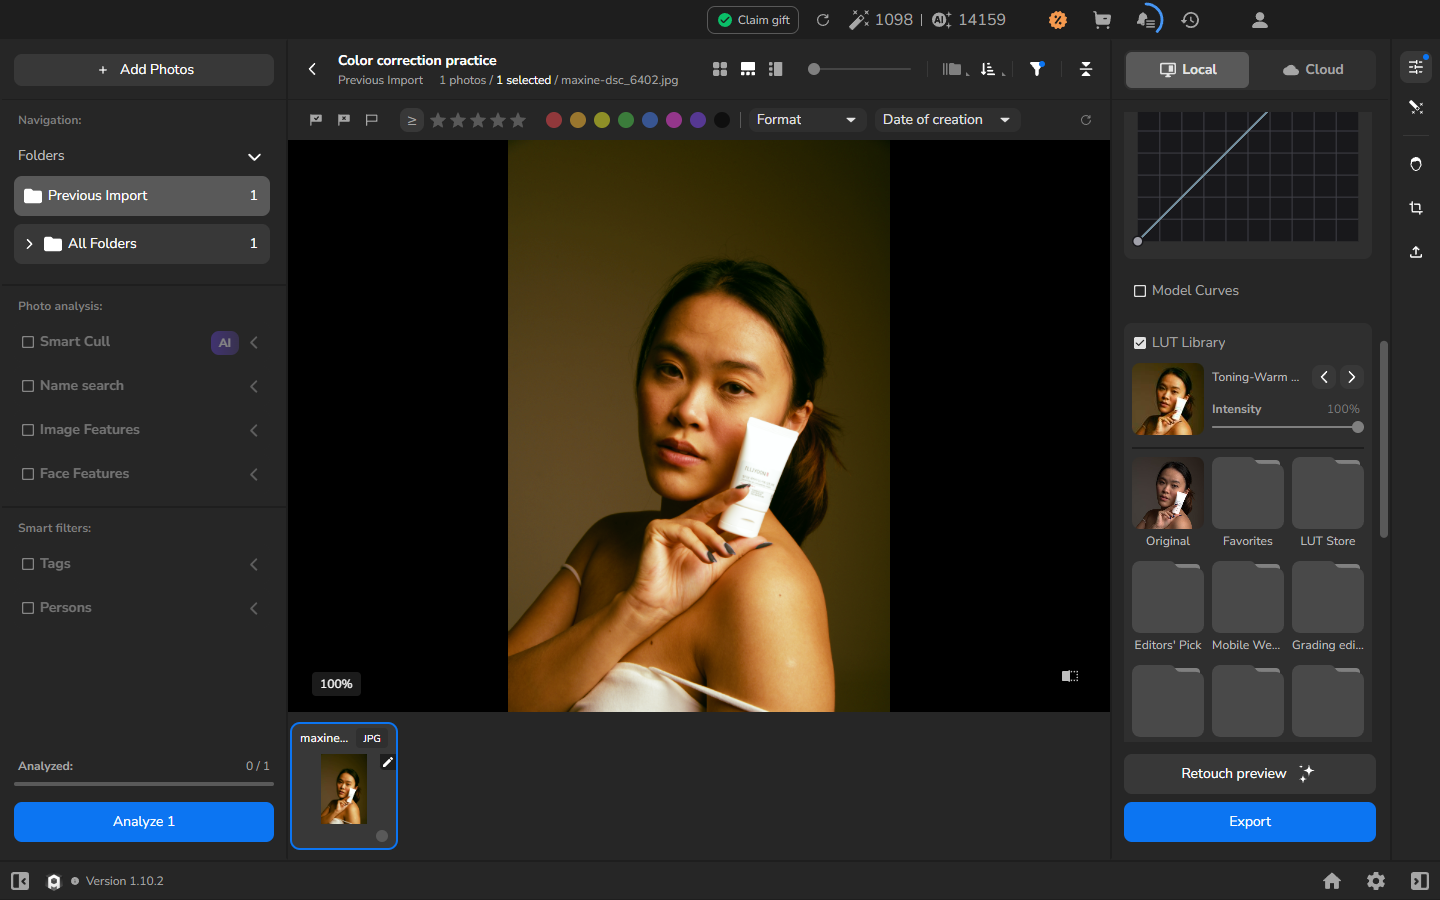
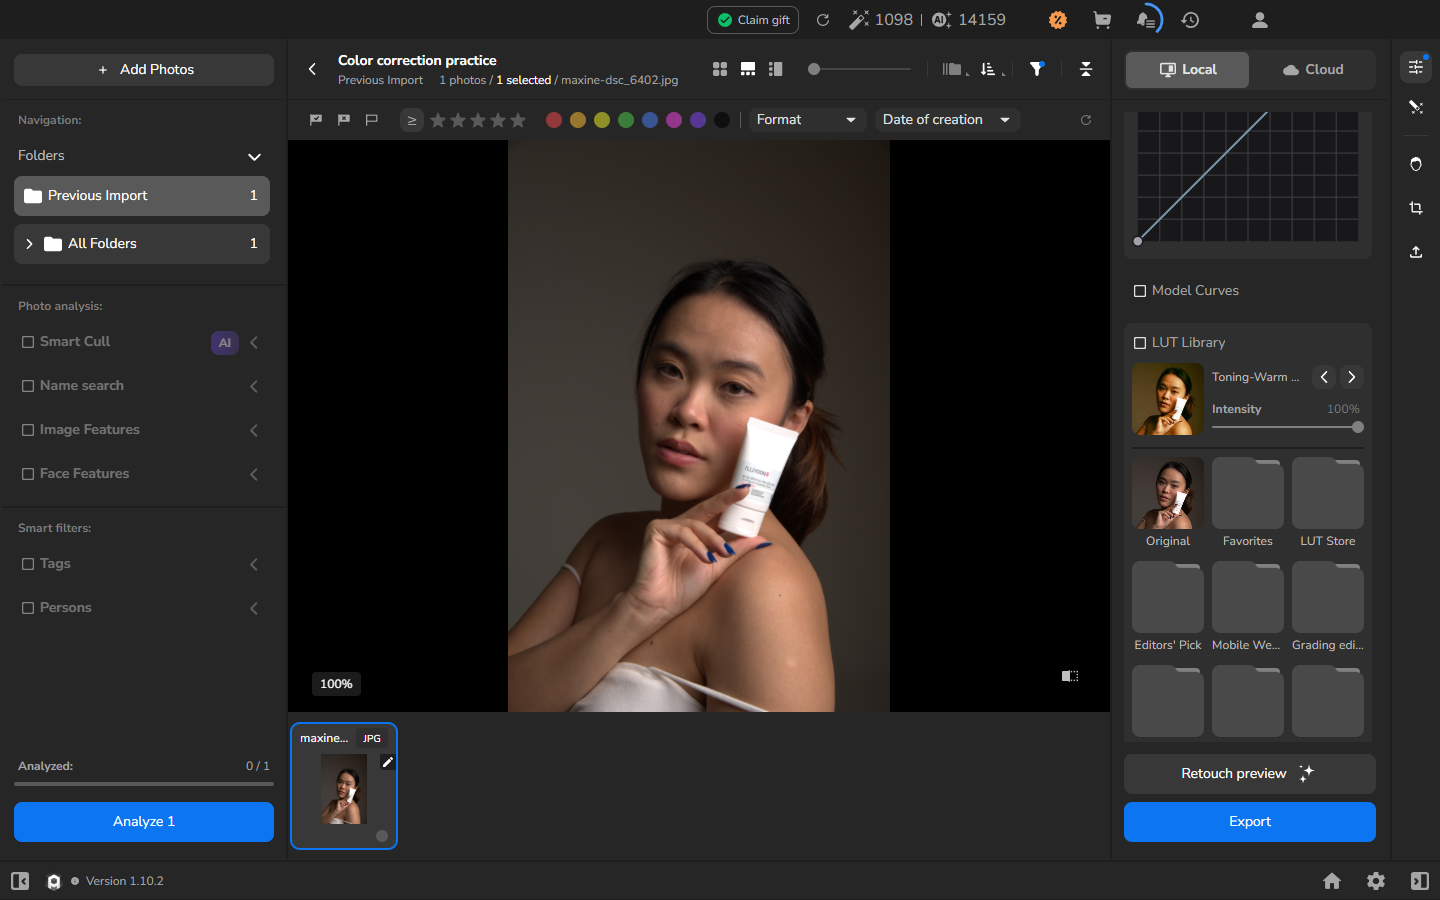
To compare the LUT with your other corrections, clear the LUT Library checkbox. Arams keeps the selected LUT and intensity ready for you to enable again.
Review the combined correction
Section titled “Review the combined correction”Review the photograph with your chosen AI mode, curve, and LUT enabled. Compare it with the original at a useful size, looking for balanced color and tone as well as unwanted casts, clipped detail, or an effect that is too strong. Adjust or disable each control separately until the combination works as a whole.
Export and inspect the result
Section titled “Export and inspect the result”- Open Export settings.
- Choose Hard drive, Selected photos, and Original Files Folder.
- Enable a new subfolder to keep the export separate from the original. Leave Resize to fit off and choose JPEG.
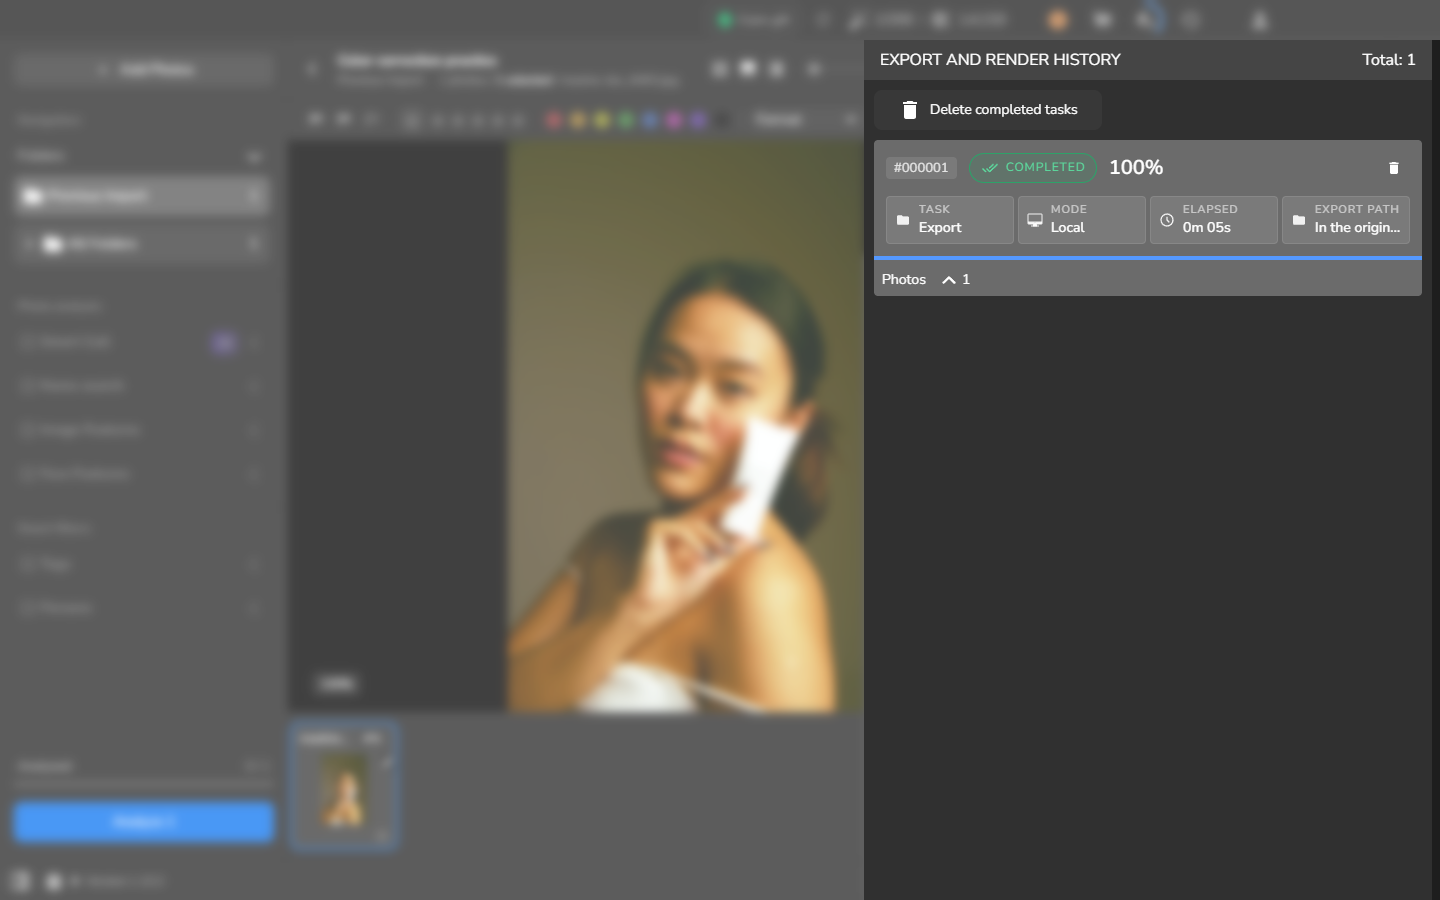
- Start the export and wait until the export history shows Completed and 100%.
- Open the exported JPEG in an image viewer at a useful size.
Check the result
Section titled “Check the result”Check skin tones, neutrals, saturated colors, and highlight and shadow detail once more. The exported image should match the correction you approved in Arams, while the original remains unchanged.
If it does not work
Section titled “If it does not work”- AI Color Correction is missing or does not update the image: confirm that you are signed in and check any availability, model, or network message shown by Arams.
- The curve does not change: make sure RGB Curves and Master are enabled before adding a point. Use the section reset to return to a neutral curve.
- No included LUT is available: entries with a purchase badge require separate access. You can finish the correction with AI Color Correction and curves, or obtain a LUT separately before returning to this step.
- The LUT looks too strong: reduce Intensity, or clear the LUT Library checkbox to compare without the LUT.
- Export does not complete: inspect the export task for an error and try again after resolving it. Open the JPEG itself before relying on the exported result.