Process a photograph locally
What you will do
Section titled “What you will do”Preview a local retouch before export, then compare it with the original photograph. This helps you choose a useful strength without committing to an exported file.
Before you start
Section titled “Before you start”You need a retouching plugin that is activated on this computer. This example uses Heal; set up retouching first if it is not available.
Import your photographs and select the photograph you want to preview.
- Click the wand icon on the right toolbar (tooltip Retouching) to open the retouching panel, then select Local.
- Clear any plugins you do not want to apply, then select Heal. The screenshot shows Heal at 100; choose a value by comparing the preview with the original and watching fine skin detail.
- Make sure Retouch preview is enabled.
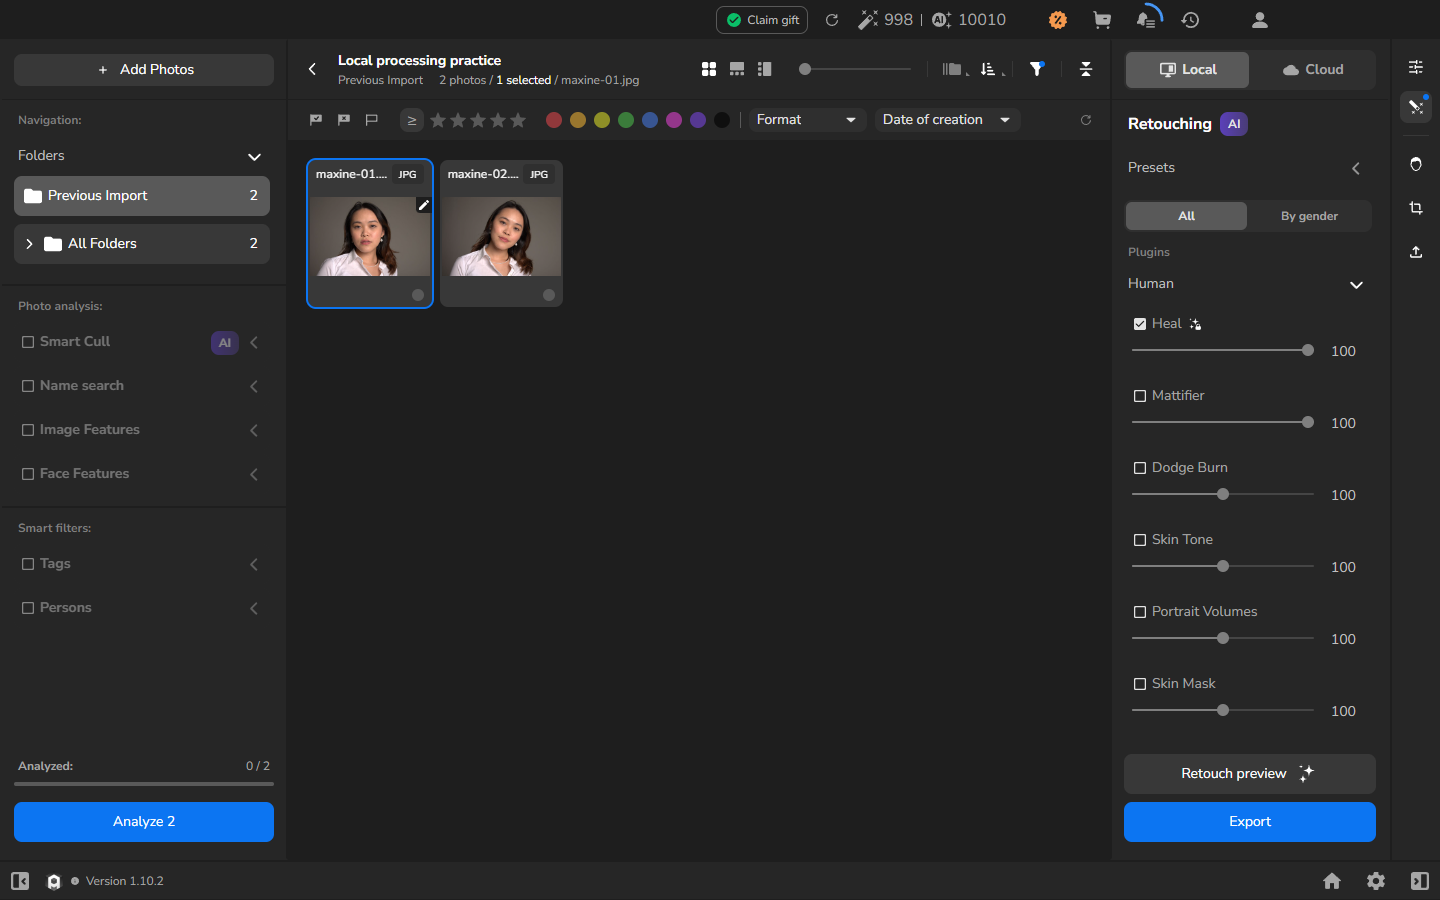
- Click Retouch preview.
- Wait for the missing-preview indicator beside Heal to disappear. Retouch preview becomes disabled when the preview is ready for every active plugin.
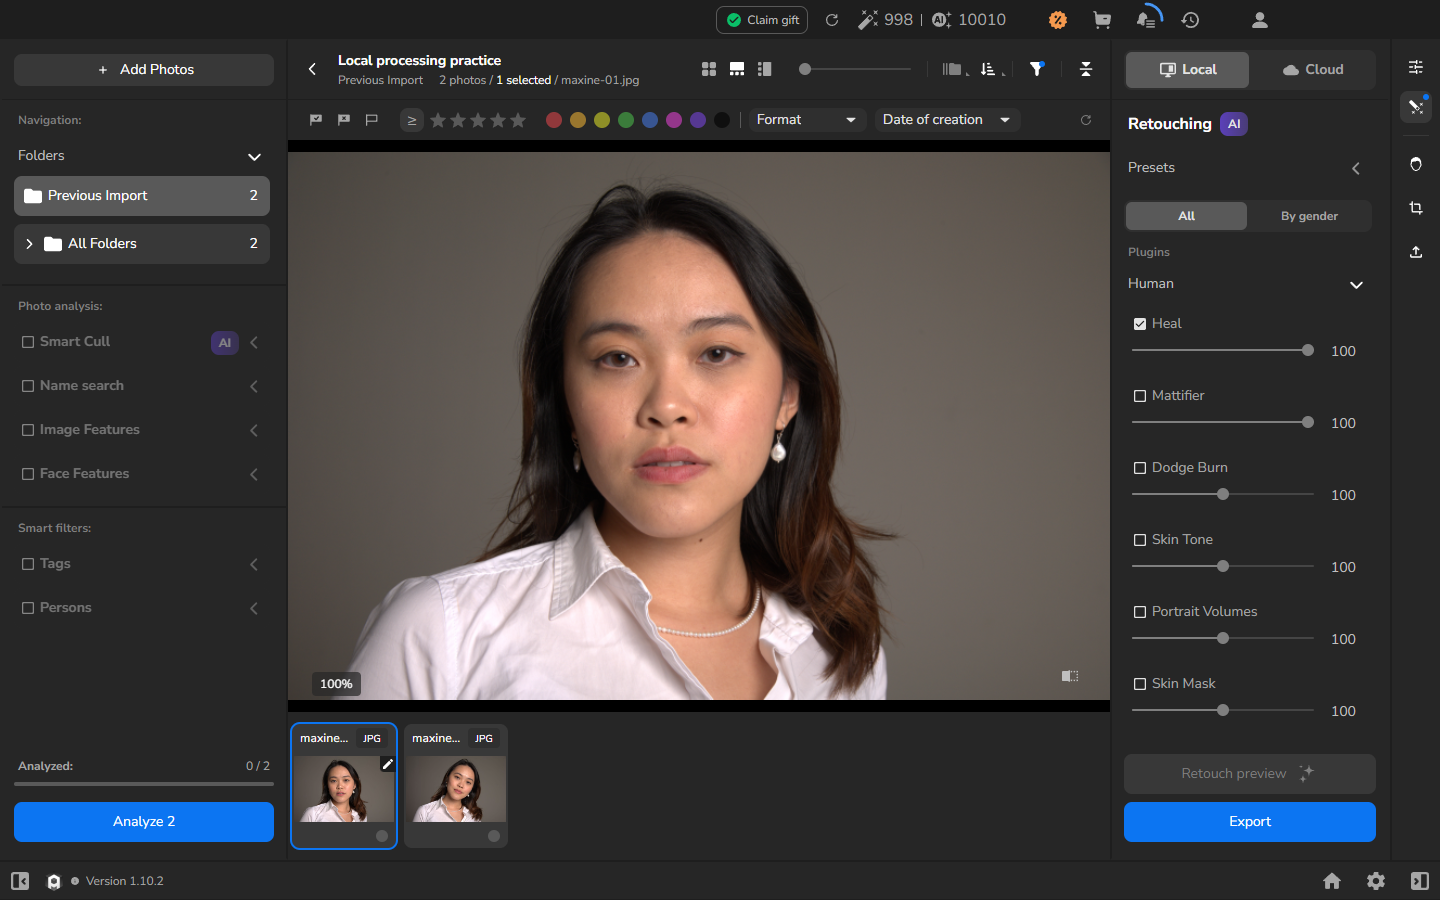
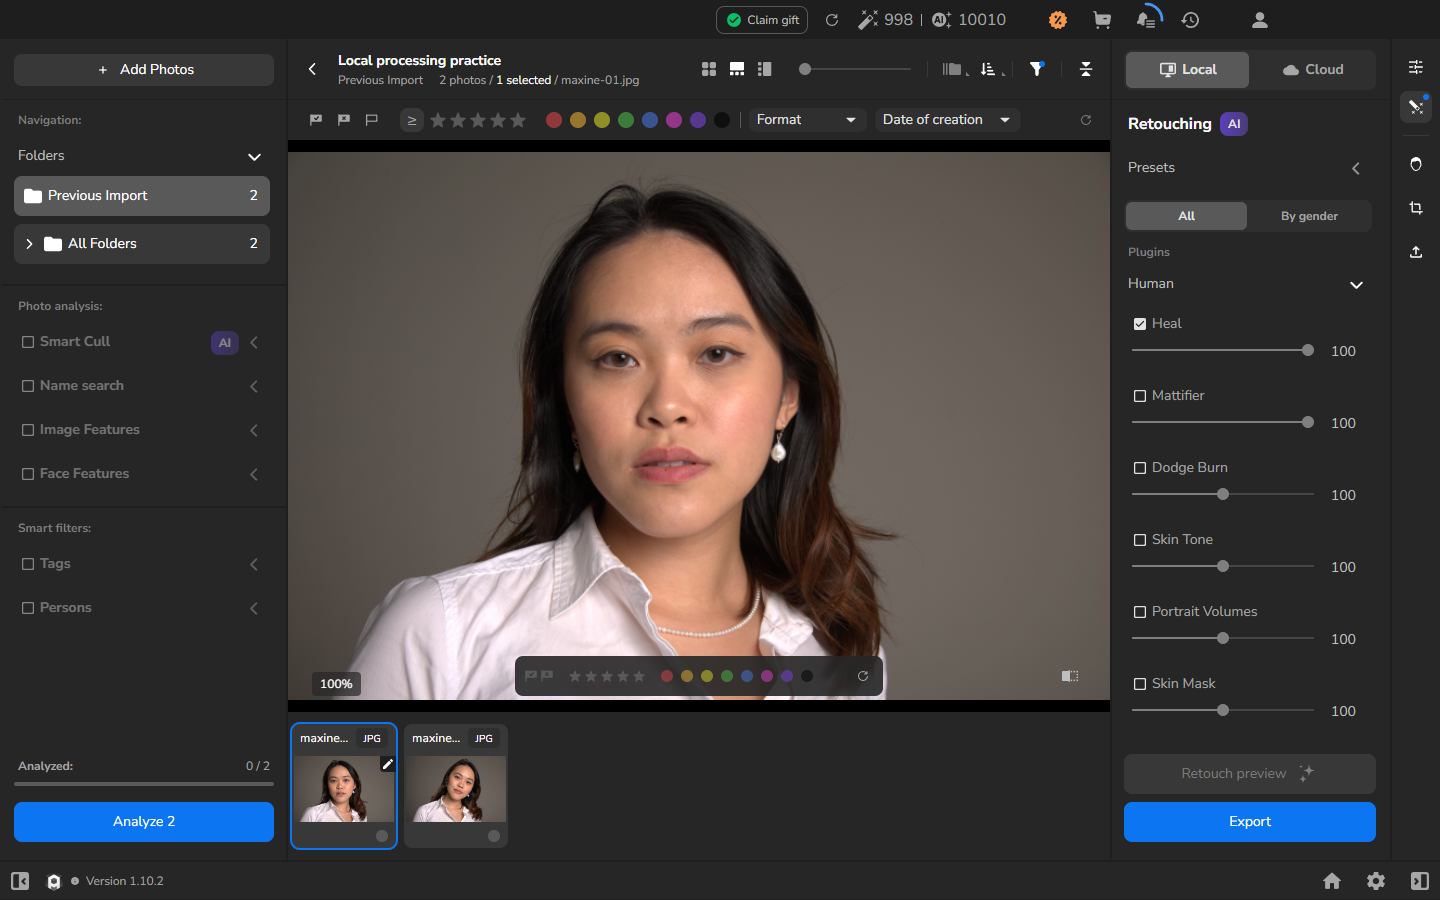
- Double-click the photograph. Hold the before/after control at the lower right of the image to see the original; release it to see the preview.
Check the result
Section titled “Check the result”Compare the original and preview at a useful zoom, paying particular attention to face detail. Heal should reduce small skin marks without removing detail you want to keep. If the effect is too strong or too subtle, adjust the value and create a new preview.
This procedure creates a preview only. It does not export a retouched file or process a batch of photographs.
If the plugin is unavailable
Section titled “If the plugin is unavailable”If Heal has no selectable checkbox, check its displayed status and set up retouching. You need an activated, selectable plugin that supports previews.
If Retouch preview is disabled, hover over it for an explanation. Preview is already available for all active plugins means that the current preview is ready; change a setting only if you want to create a different result.