Create a project
What you will do
Section titled “What you will do”Create a project for a new photo job and open its workspace. The project starts empty, ready for you to add your photos.
Before you start
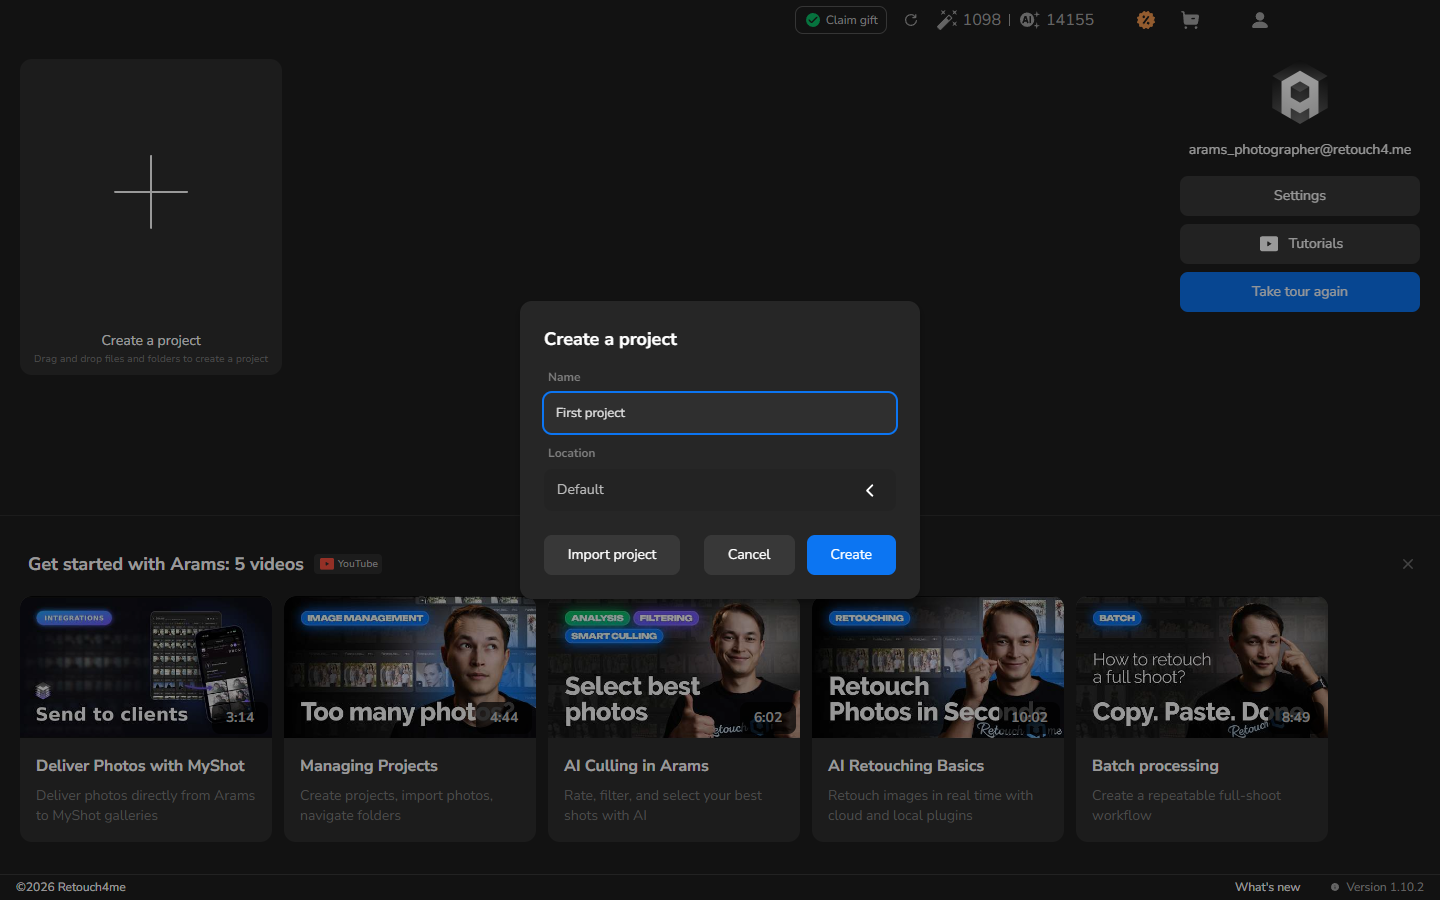
Section titled “Before you start”- On the home screen, click the Create a project tile with the plus sign.
- In the Create a project dialog, enter a descriptive project name in Name.
- To use the standard project location, keep Location set to Default.
- Click Create.
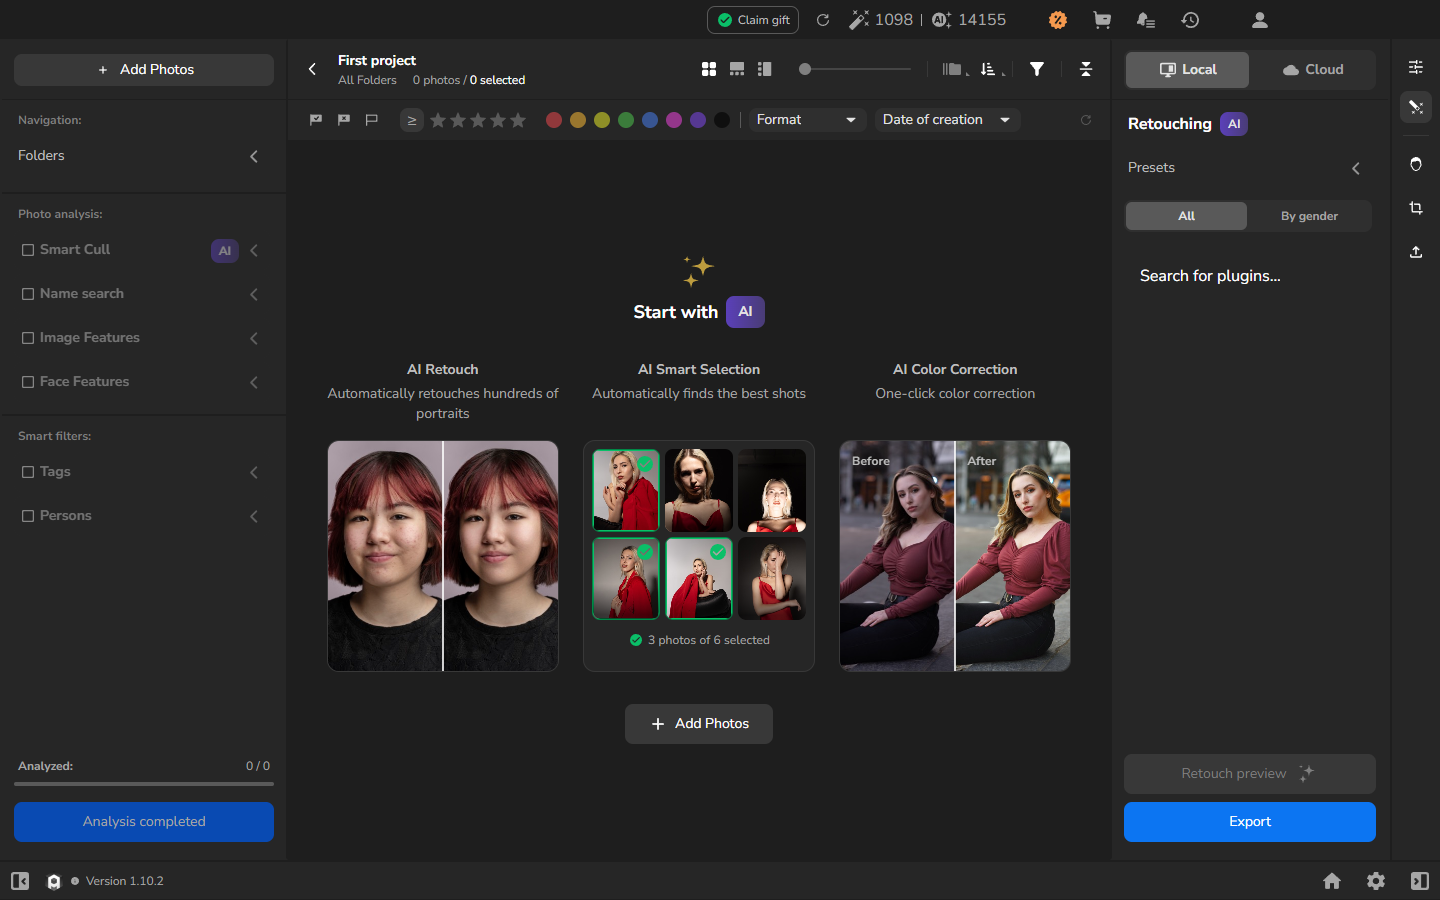
- Wait for the workspace to open. The project name appears at the top, beside the photo area.
Check the result
Section titled “Check the result”The workspace shows the name you entered and the counter 0 photos / 0 selected. Add Photos appears on the left because the new project does not contain photos yet.
If it does not work
Section titled “If it does not work”If the Create a project dialog remains open, the project has not been created. Wait for the workspace to open before adding photos.
Creating a project does not import any photos. Continue with Import photos when you are ready to add them.