Clean clothing and studio backgrounds
What you will do
Section titled “What you will do”Use Fabric to soften distracting clothing wrinkles and Clean Backdrop to reduce marks on a plain studio background. Try each tool separately so you can judge its effect, then combine only the corrections that suit the photograph. The aim is a cleaner image that still preserves fabric texture, deliberate folds, natural shadows, and the subject’s outline.
The screenshots use a Blending value of 100 to make the changes easy to see. Choose the value for your photograph by inspecting the result rather than copying the example.
Before you start
Section titled “Before you start”- Create a project and import the full-resolution photographs you want to retouch. Choose a frame with visible clothing wrinkles, a frame with marks on a plain studio background, or a frame that needs both corrections.
- Protect your originals. Export retouched versions to a different folder and leave Resize to fit off when you want to preserve the source dimensions.
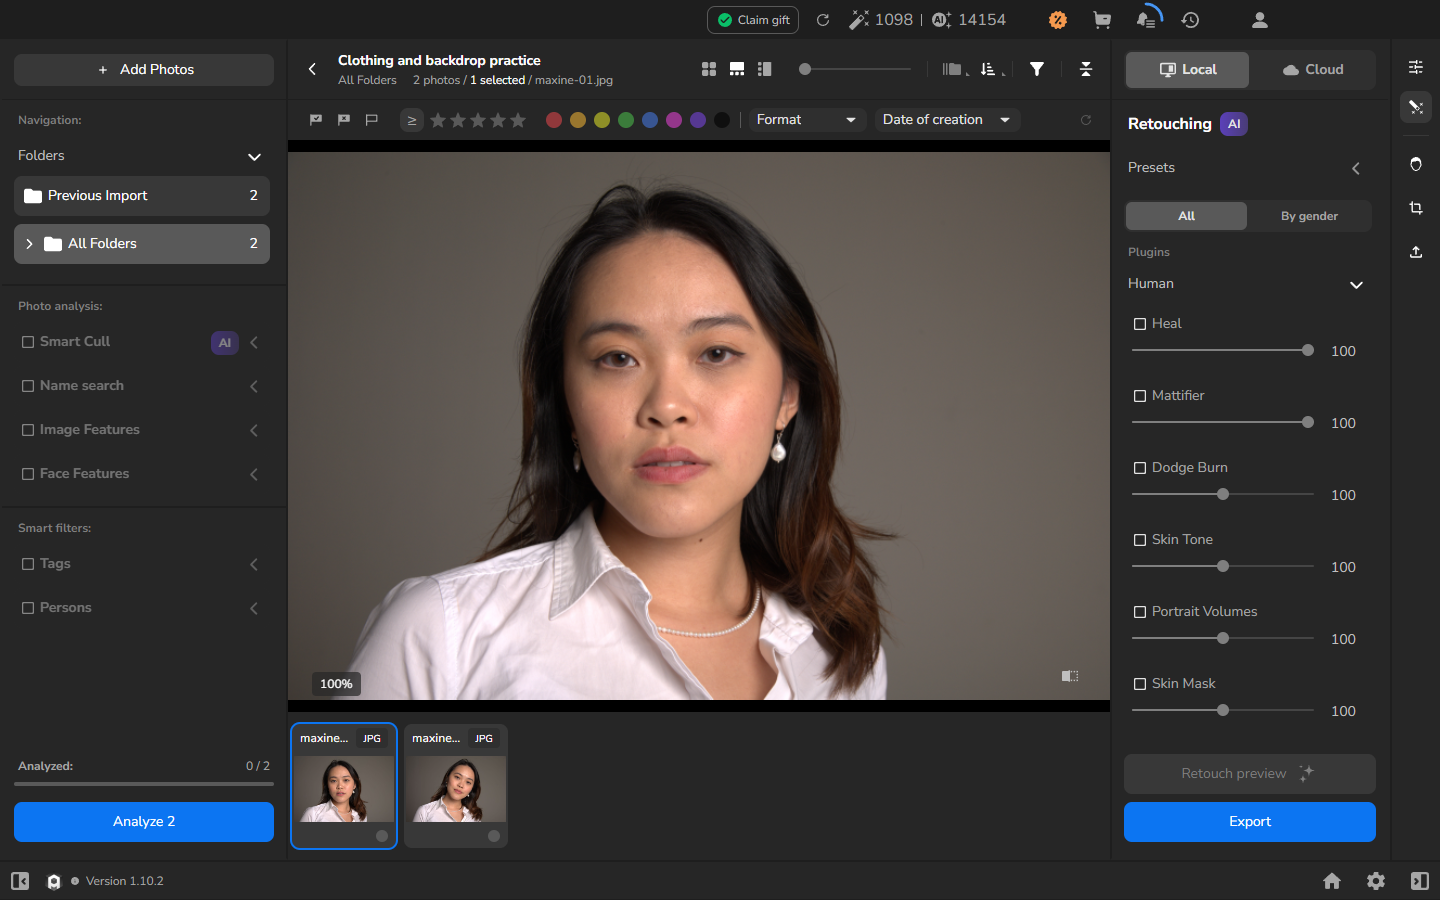
- In the Retouching panel, select Local, then All to find the installed plugins. Disable other tools so you can judge what Fabric and Clean Backdrop change.
- Make sure Fabric and Clean Backdrop are installed, activated, and selectable.
For the general control layout, see Choose retouching tools and settings. For a focused inspection procedure, see Compare retouching with the original.
Choose a useful frame and inspect it first
Section titled “Choose a useful frame and inspect it first”- Select a photograph and open it in the larger viewer. Wait until Loading… disappears.
- Inspect the clothing at a useful magnification. Separate the small wrinkles you want to soften from details you want to keep, such as the collar shape, stitching, larger folds, and fine weave.
- Look for distracting marks on the plain backdrop or studio floor.
- Check the subject boundary, including hair, skin, clothing edges, feet, nearby furniture, and natural shadows. You will compare these areas with the retouched version.
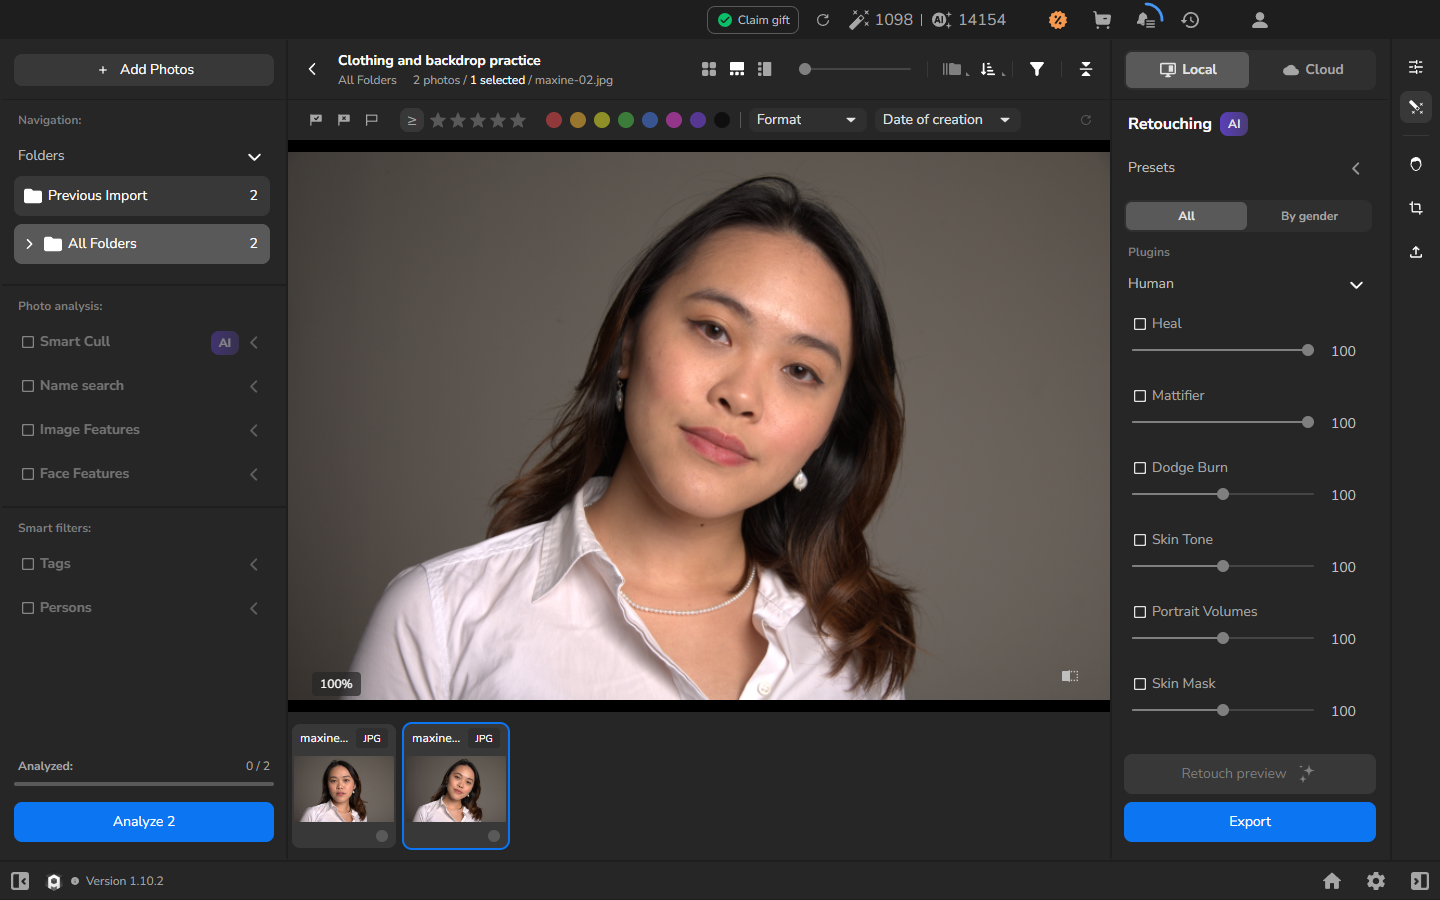
Use the same displayed magnification when comparing the original and retouched versions.
Test Fabric by itself
Section titled “Test Fabric by itself”- Return to the retouching panel, enable only Fabric, and choose a starting Blending value.
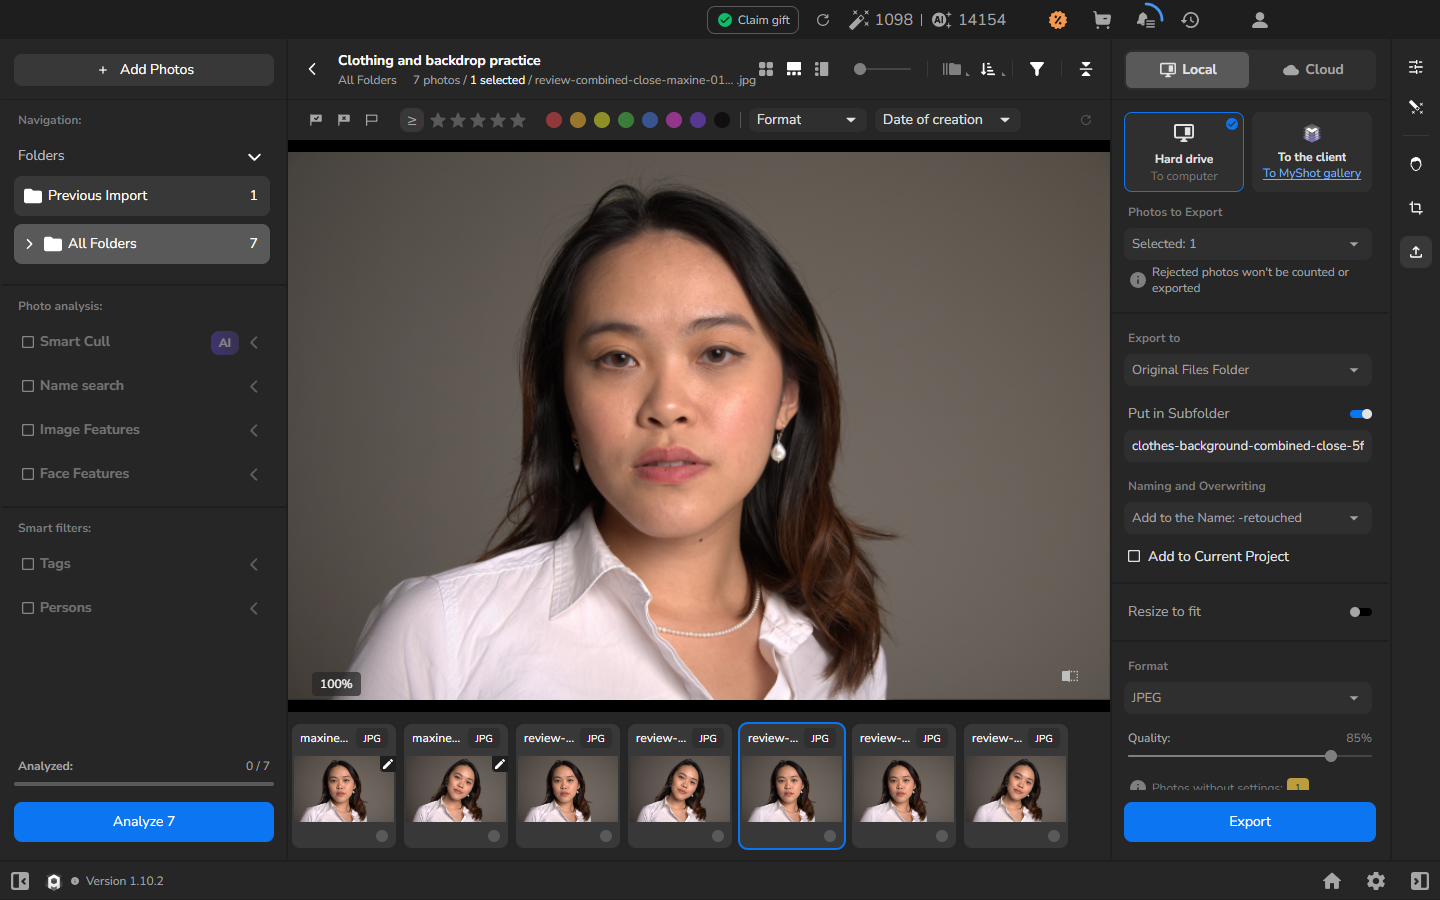
- Export the photograph as a JPEG copy with Resize to fit off.
- Import the exported copy and open it at the same displayed magnification as the source.
- Compare the clothing. Fabric should reduce small creases without erasing the shoulder seam, collar edge, stitching, larger folds, or visible cloth texture.
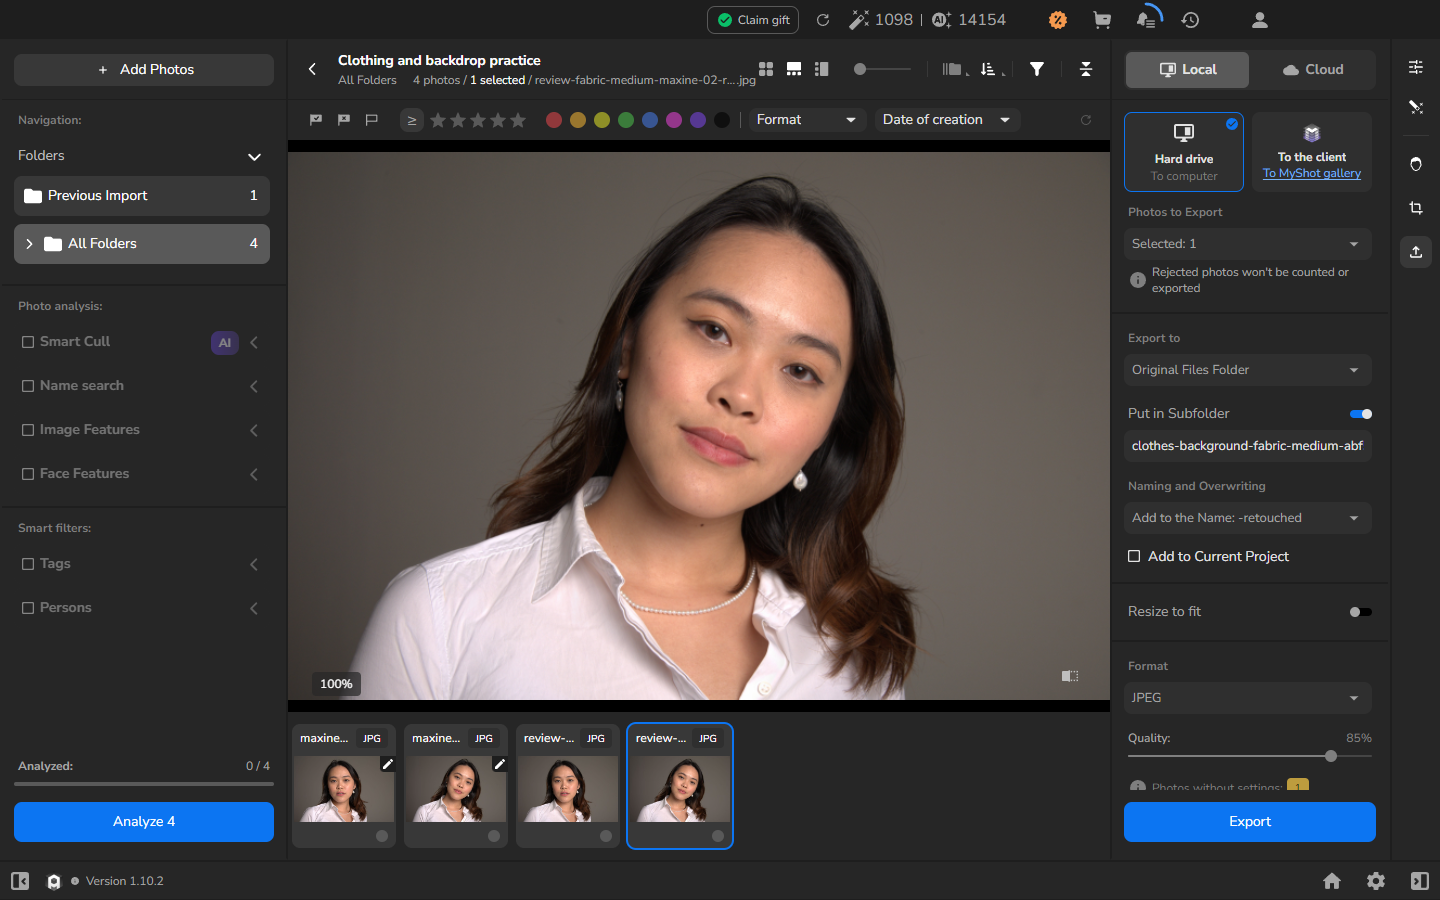
If the cloth looks flat, seams soften, or a deliberate fold disappears, reduce Blending and export another copy.
Test Clean Backdrop by itself on real floor scuffs
Section titled “Test Clean Backdrop by itself on real floor scuffs”- Open a photograph with visible marks on a plain studio background or floor. Disable every retouching tool and inspect the complete frame first.
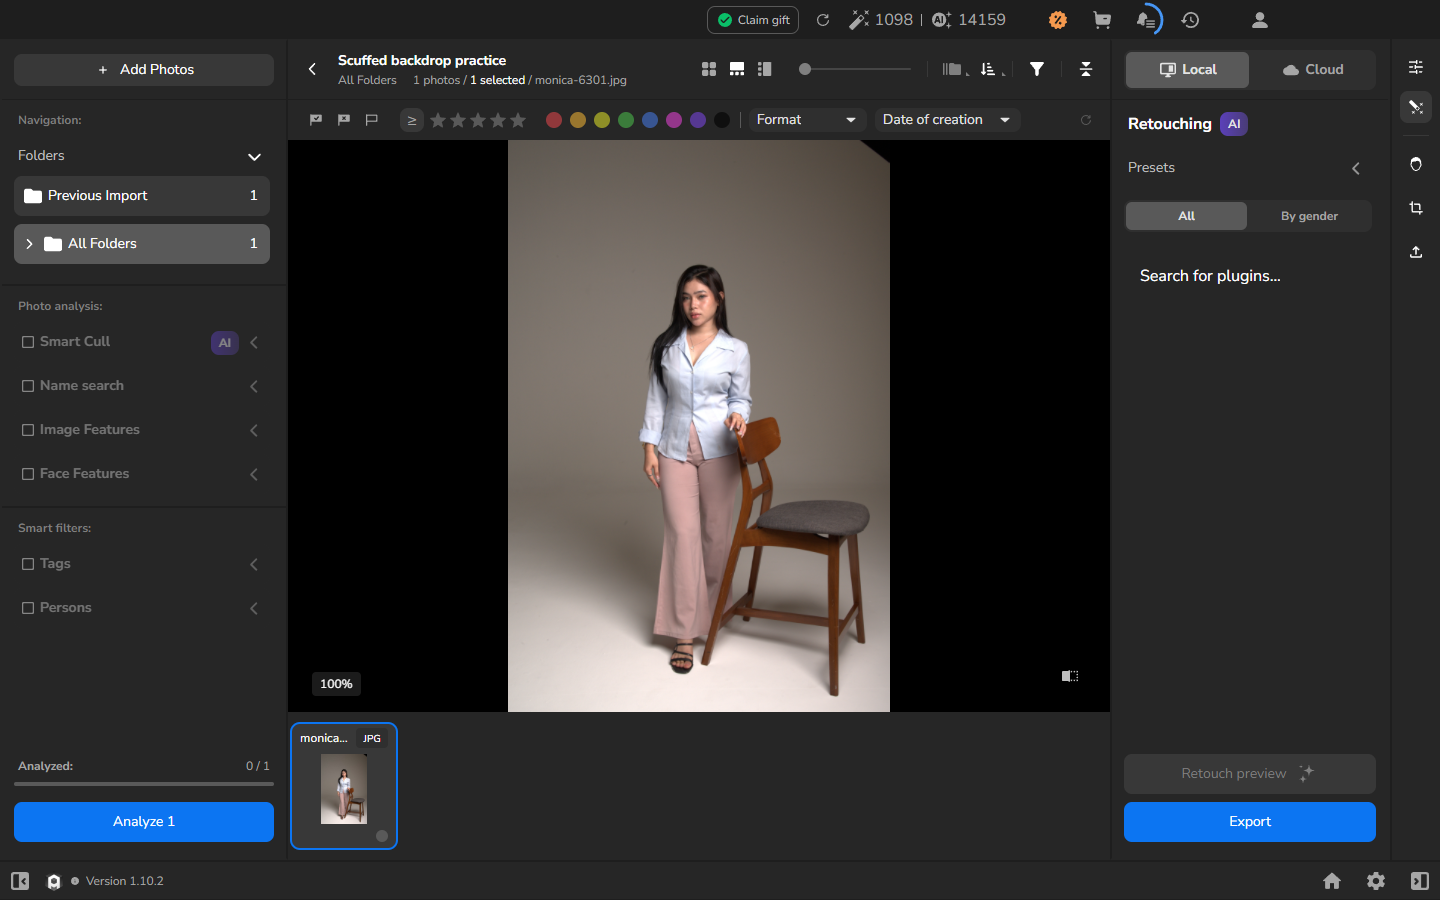
- Zoom in on the marks. Include nearby subject edges, furniture, and shadows in the view so you can see whether the cleanup affects them.
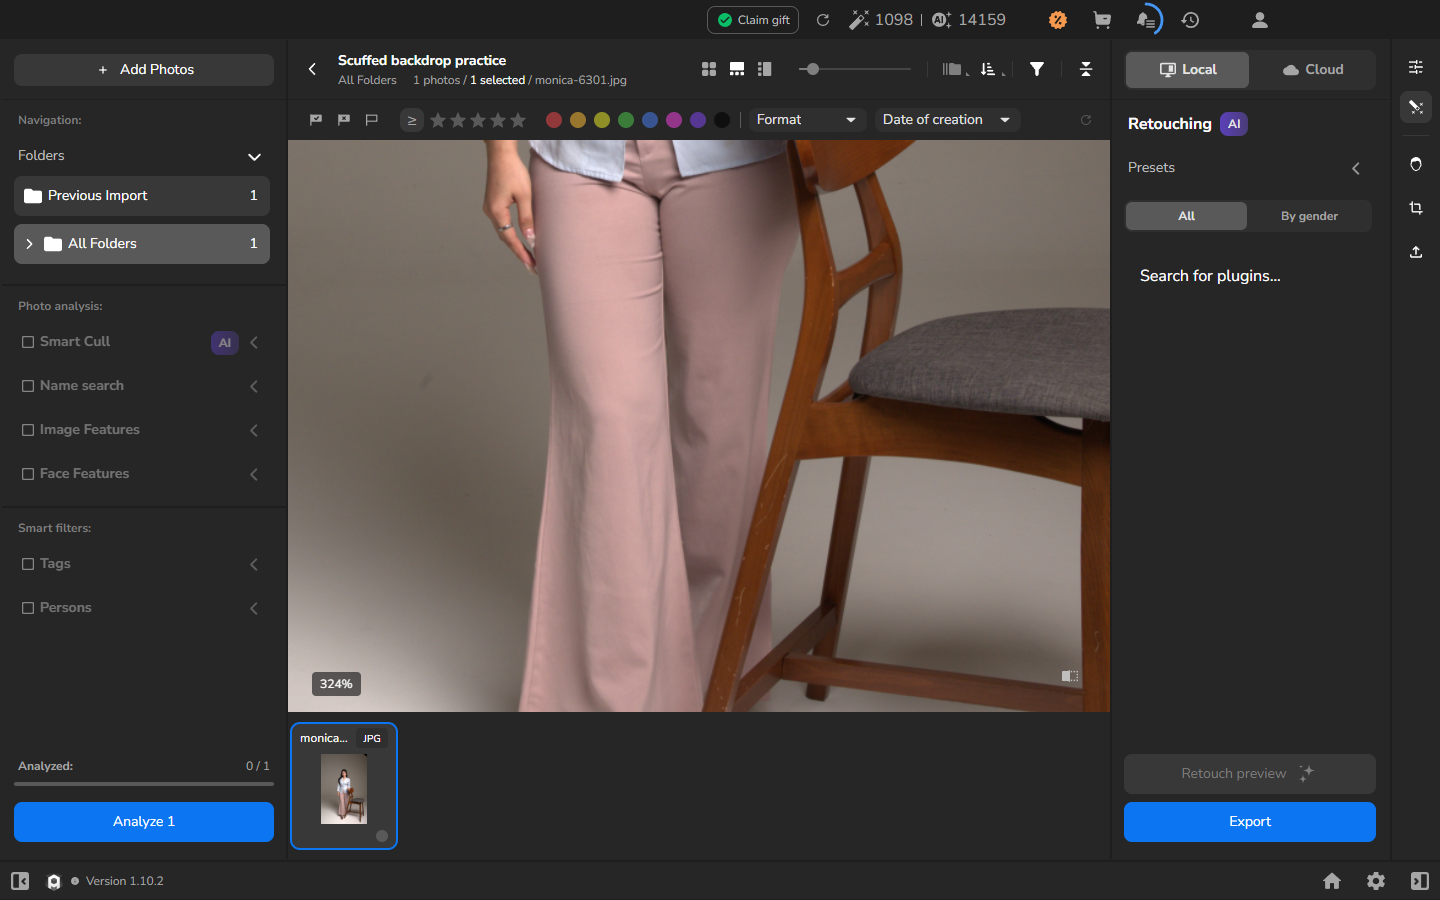
- Return to the retouching panel. Keep Fabric and every unrelated tool off, enable Clean Backdrop, and choose a starting Blending value.
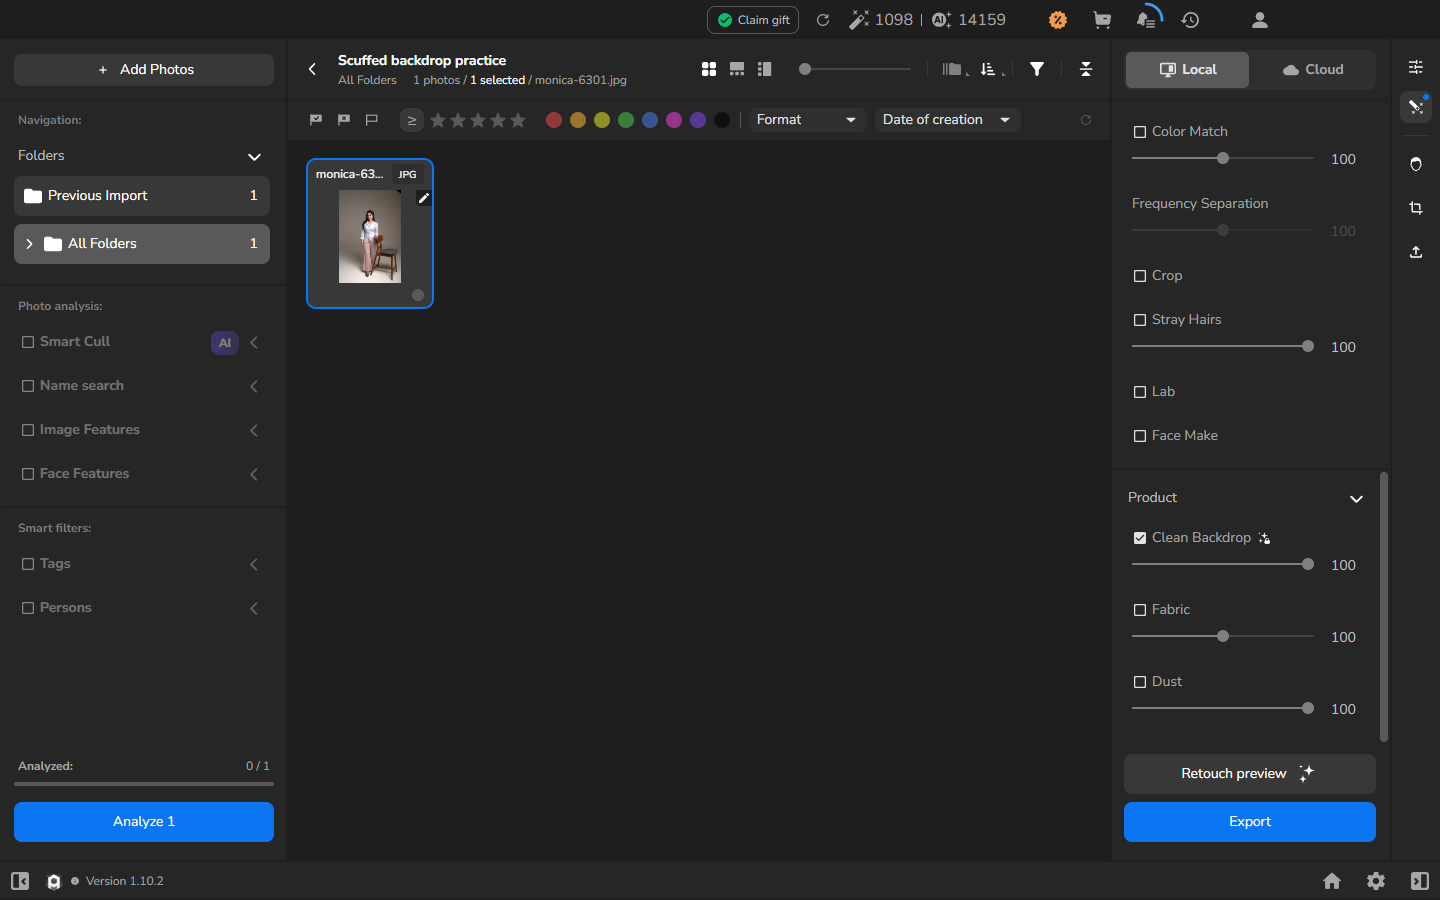
- Export a JPEG copy with Resize to fit off.
- Import the exported copy. Compare the complete frame and the detailed area at the same magnification as the original.
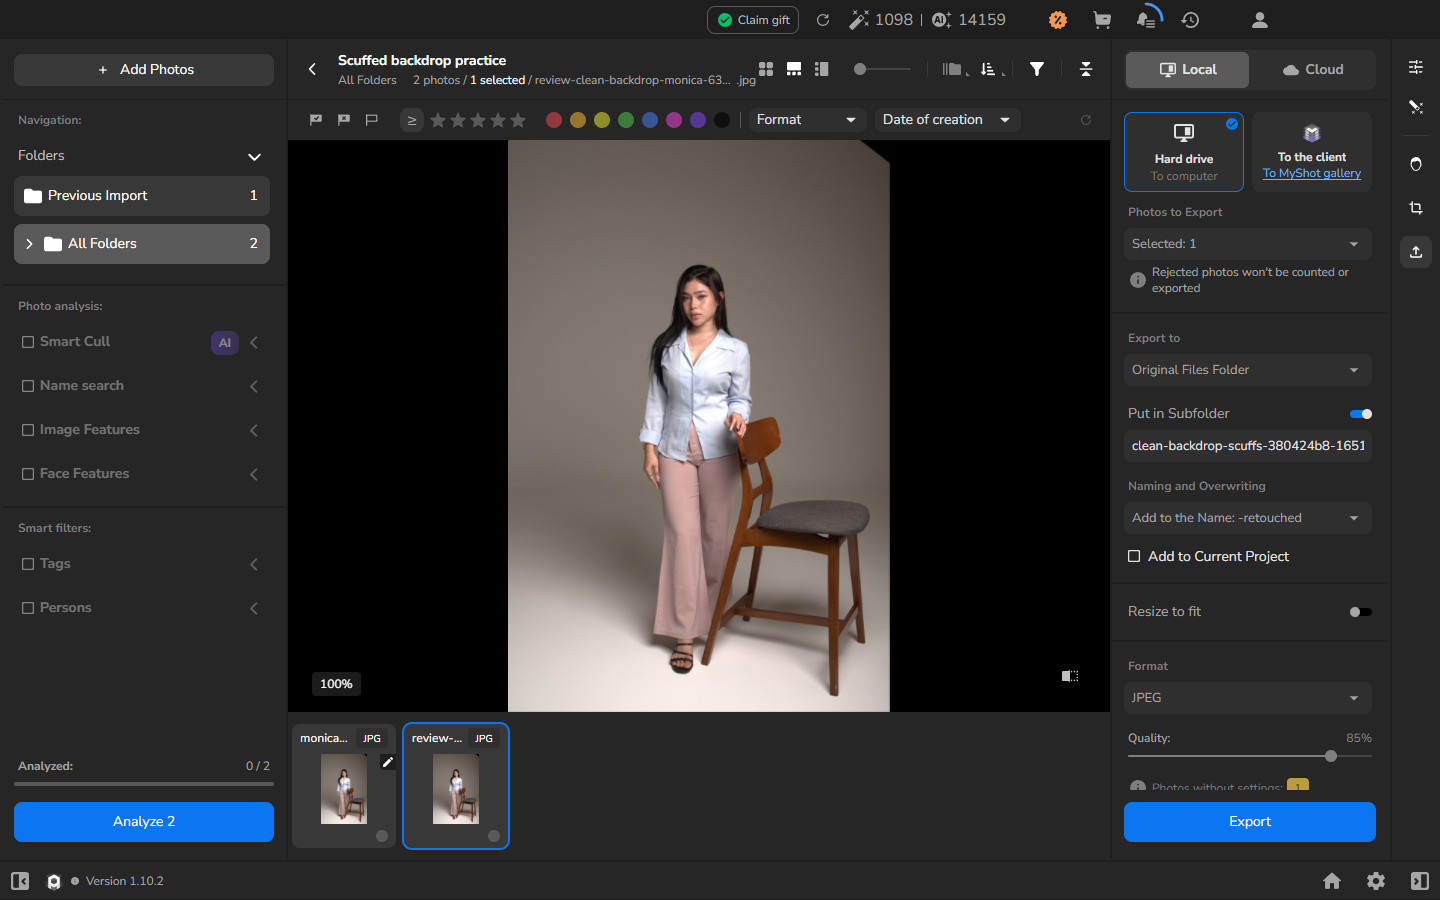
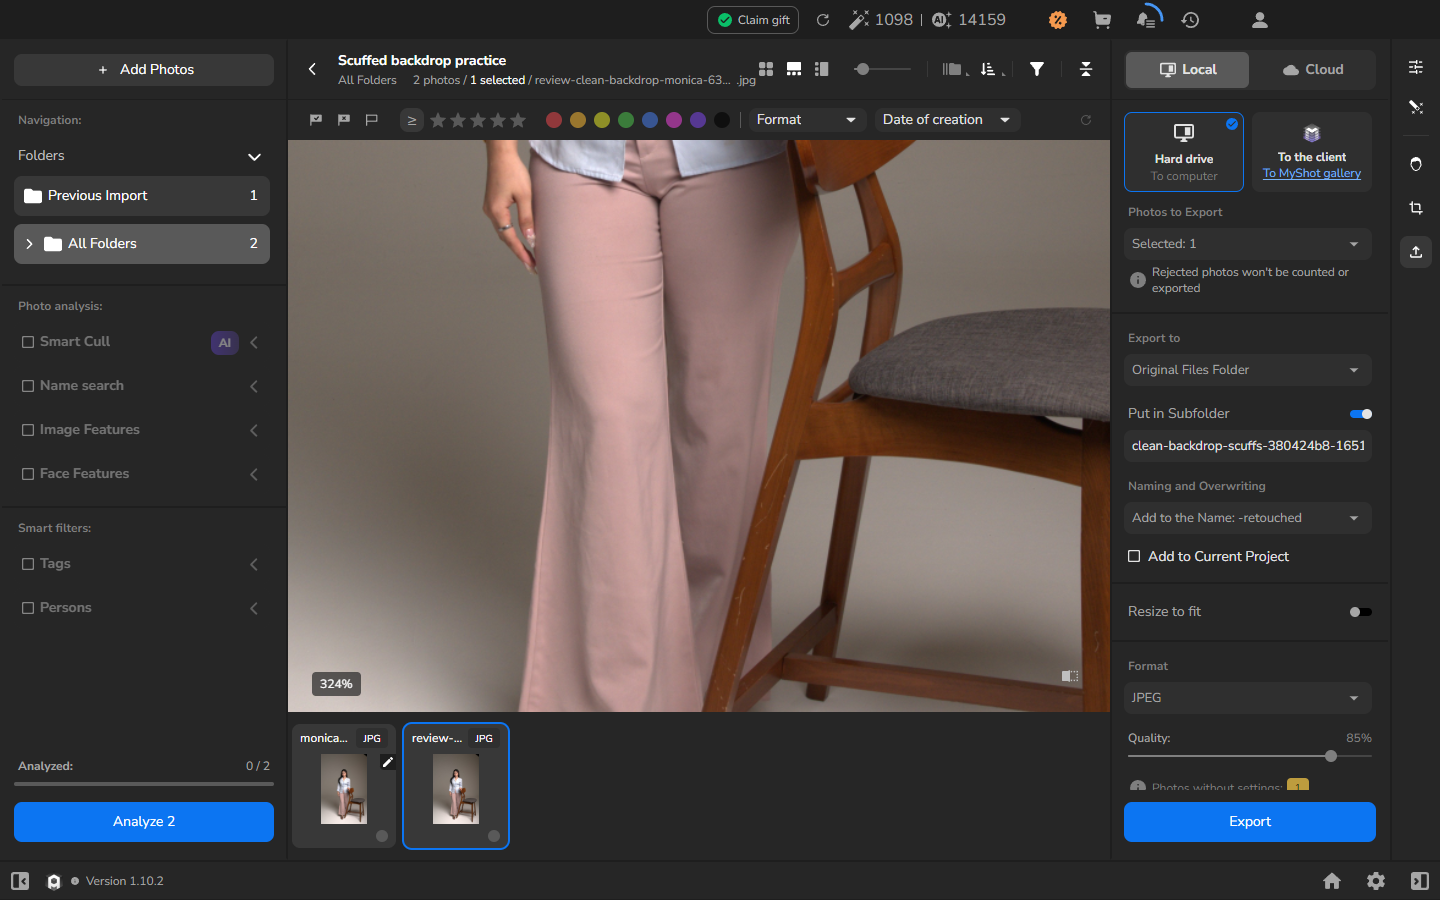
- Judge the visible result. In this example, several dark floor marks disappeared, but faint lines remained. Check that feet, clothing edges, furniture, and natural shadows remain intact, without an obvious halo or cut-out edge. If marks remain, prefer a partial cleanup to a stronger setting that damages important detail.
Combine only the useful corrections
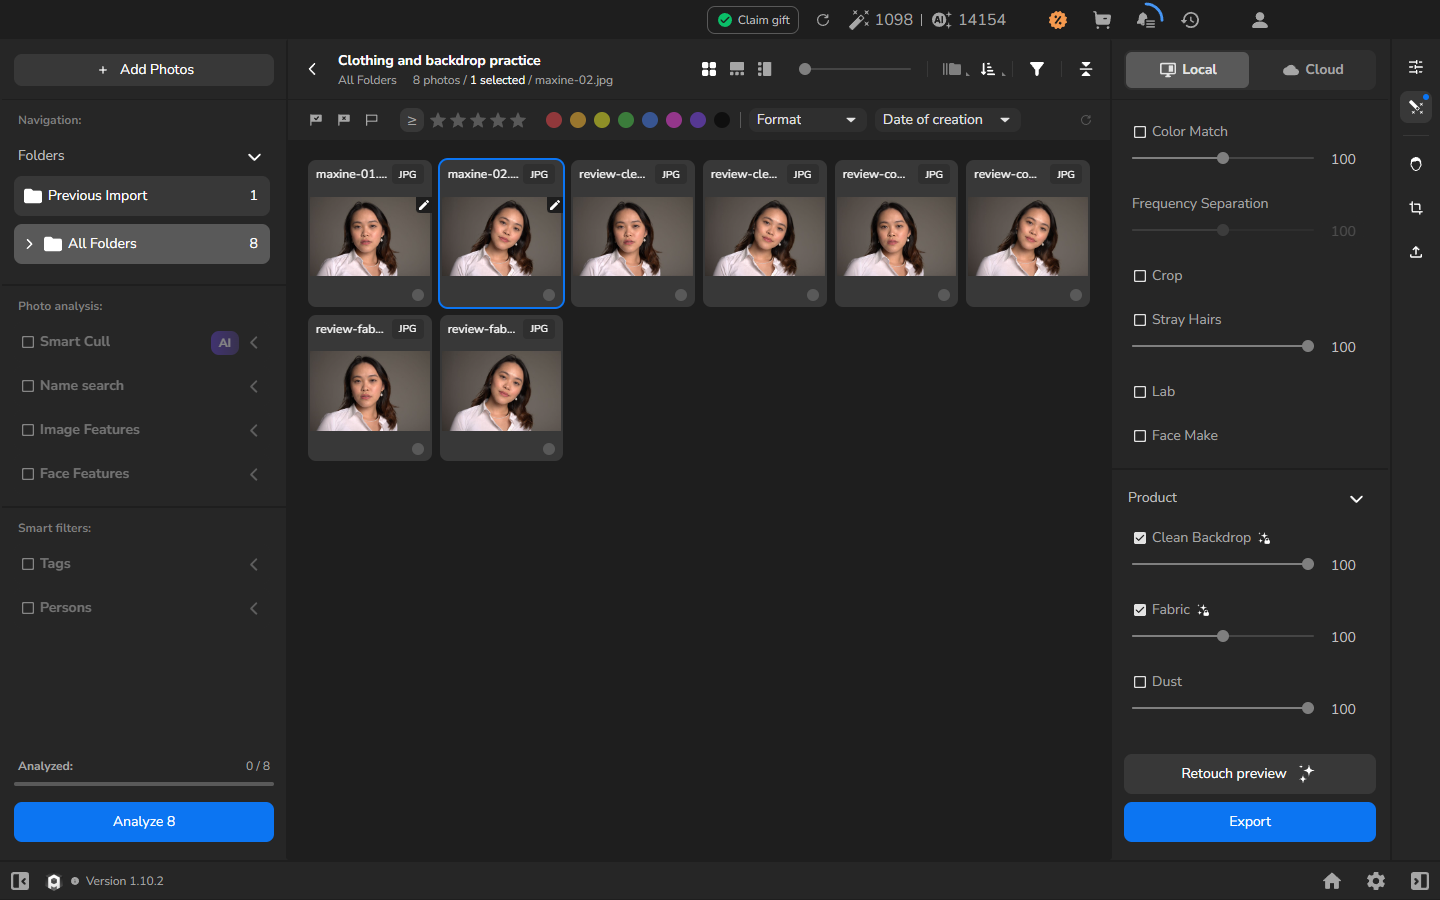
Section titled “Combine only the useful corrections”- Once you are satisfied with each tool separately, enable both Clean Backdrop and Fabric. Use the Blending values that worked for the photograph.
- Make sure unrelated tools are disabled before processing.
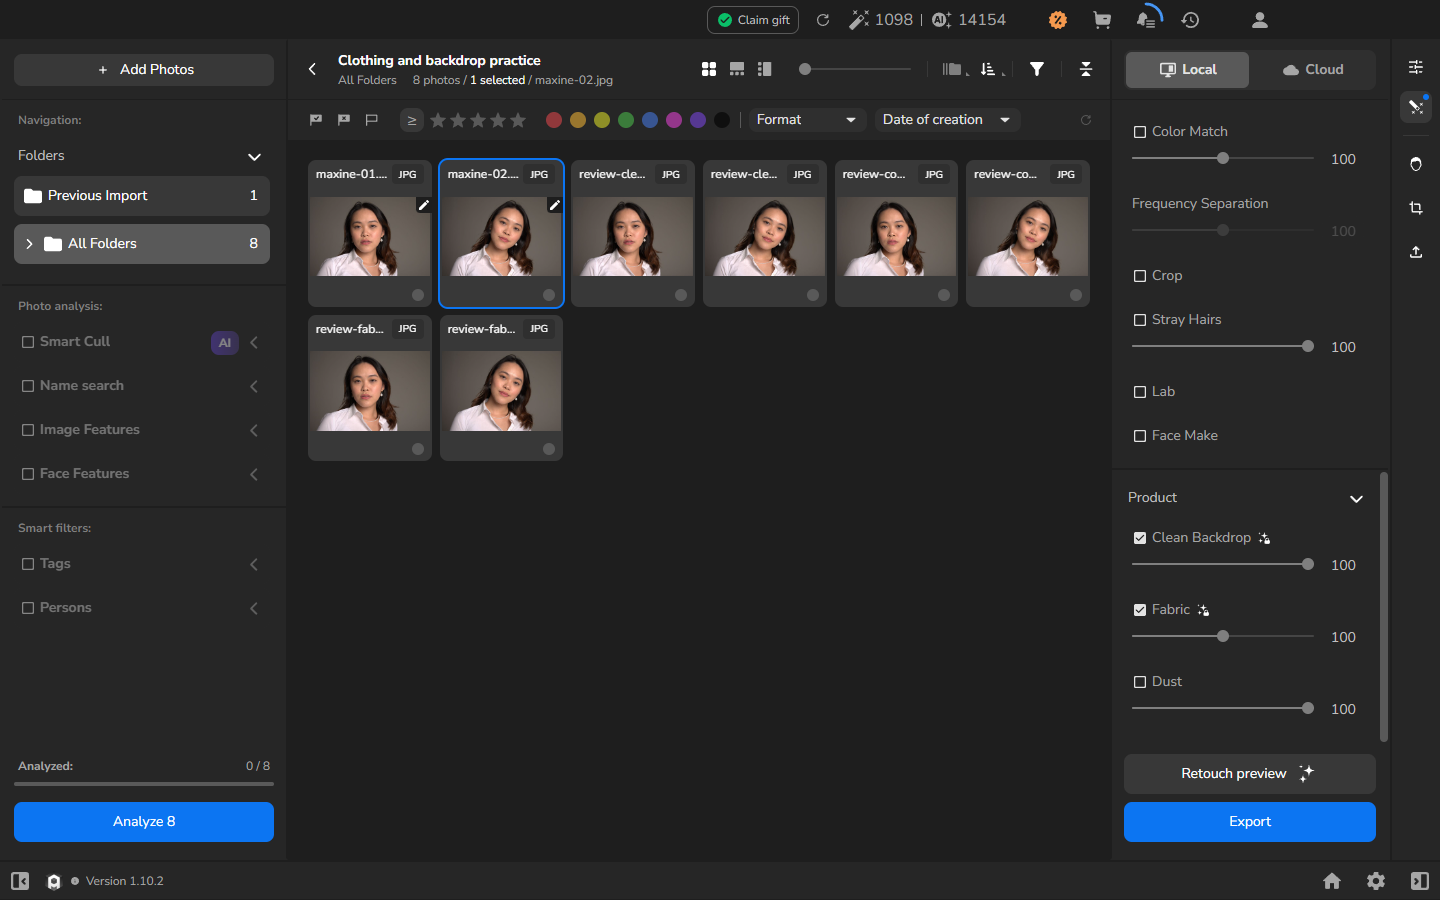
- Export a JPEG copy with Resize to fit off.
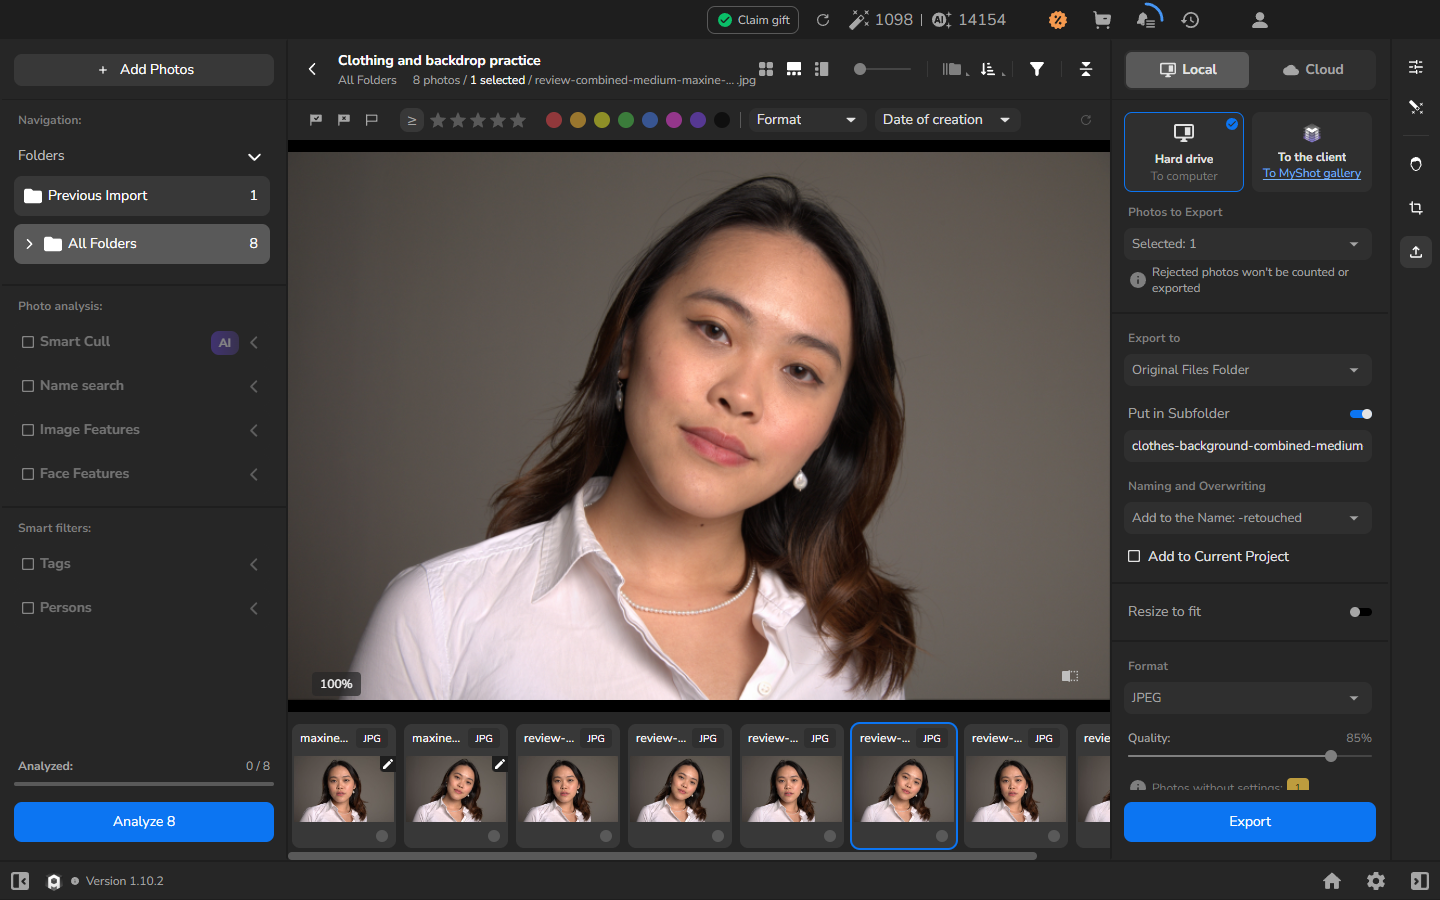
- Open the original and combined result at the same magnification. Compare the shoulder seam, collar, fine fabric texture, stray hairs, skin boundary, and background transition.
Check the result
Section titled “Check the result”Inspect the complete frame as well as close details. The useful clothing and background corrections should both be present, without flattened fabric, erased seams, damaged hair, a halo, or a broken subject outline.
Open the saved JPEG outside Arams at full resolution. Check that it opens normally, retains the expected dimensions, and still looks natural at delivery size. If you need to confirm that processing has finished, check export history for Completed.
If it does not work
Section titled “If it does not work”- Fabric or Clean Backdrop is missing or disabled: check Settings > Plugins and install or activate the tool if it is available to your account.
- The background change is hard to judge: use a photograph with a clearly visible mark on a plain backdrop and compare it at the same magnification.
- Fabric removes useful structure: reduce Blending, export a new copy, and compare the seam, collar, stitching, folds, and weave again.
- Clean Backdrop damages the subject boundary: reduce or disable it for that photograph. Inspect hair, skin, clothing edges, and background transitions at useful magnification.
- Processing or export does not complete: open export history and note the displayed status or error before trying again.
- The output is resized or will not open: leave Resize to fit off and export to a different folder. Keep the original unchanged while you diagnose the problem.